Blog
BLOG
Everything else
Featured


The Handibot can be a great tool to bring on a jobsite and put on material. I've used it to mill interesting things on larger boards that would either be impossible to get onto a larger machine or just impossible.
I've started working on some picture frames which require things to be really precise. To that end I've created this table. The idea here is to have a table that allows for clamping and jigging a variety of different size pieces. I experimented with all kinds of metal hardware. Some of it worked, and some didn't. I don't like the idea of metal being in the cutting area if I can help it either.
Charlie hacked the Maker Table into a light tracing table. Pretty cool! Want to hack your own version of the bench? If you do we'll make it and show it off at Maker Faire Bay Area. We'll also make the milling files available for anyone too.
Matt Donely of MasterSketchup.com contributed a Maker Bench hack for our open design project. Check it out!
Help us hack our maker bench! We're designing an open sourced CNC made bench for students, teachers, hackers and makers. We'll take your ideas, build a real CNC made table, and then open source the entire project so that anyone can build one of these tables.
Being that the high temperature around me has been in the single digits for a few days I decided to find something that didn't involve working in an unheated garage. Teaching people how to use a CNC can be a loud and dusty experience. I've always thought it would be better to have people draw with a CNC first before making any sawdust. It's easier, safer, and quiet.
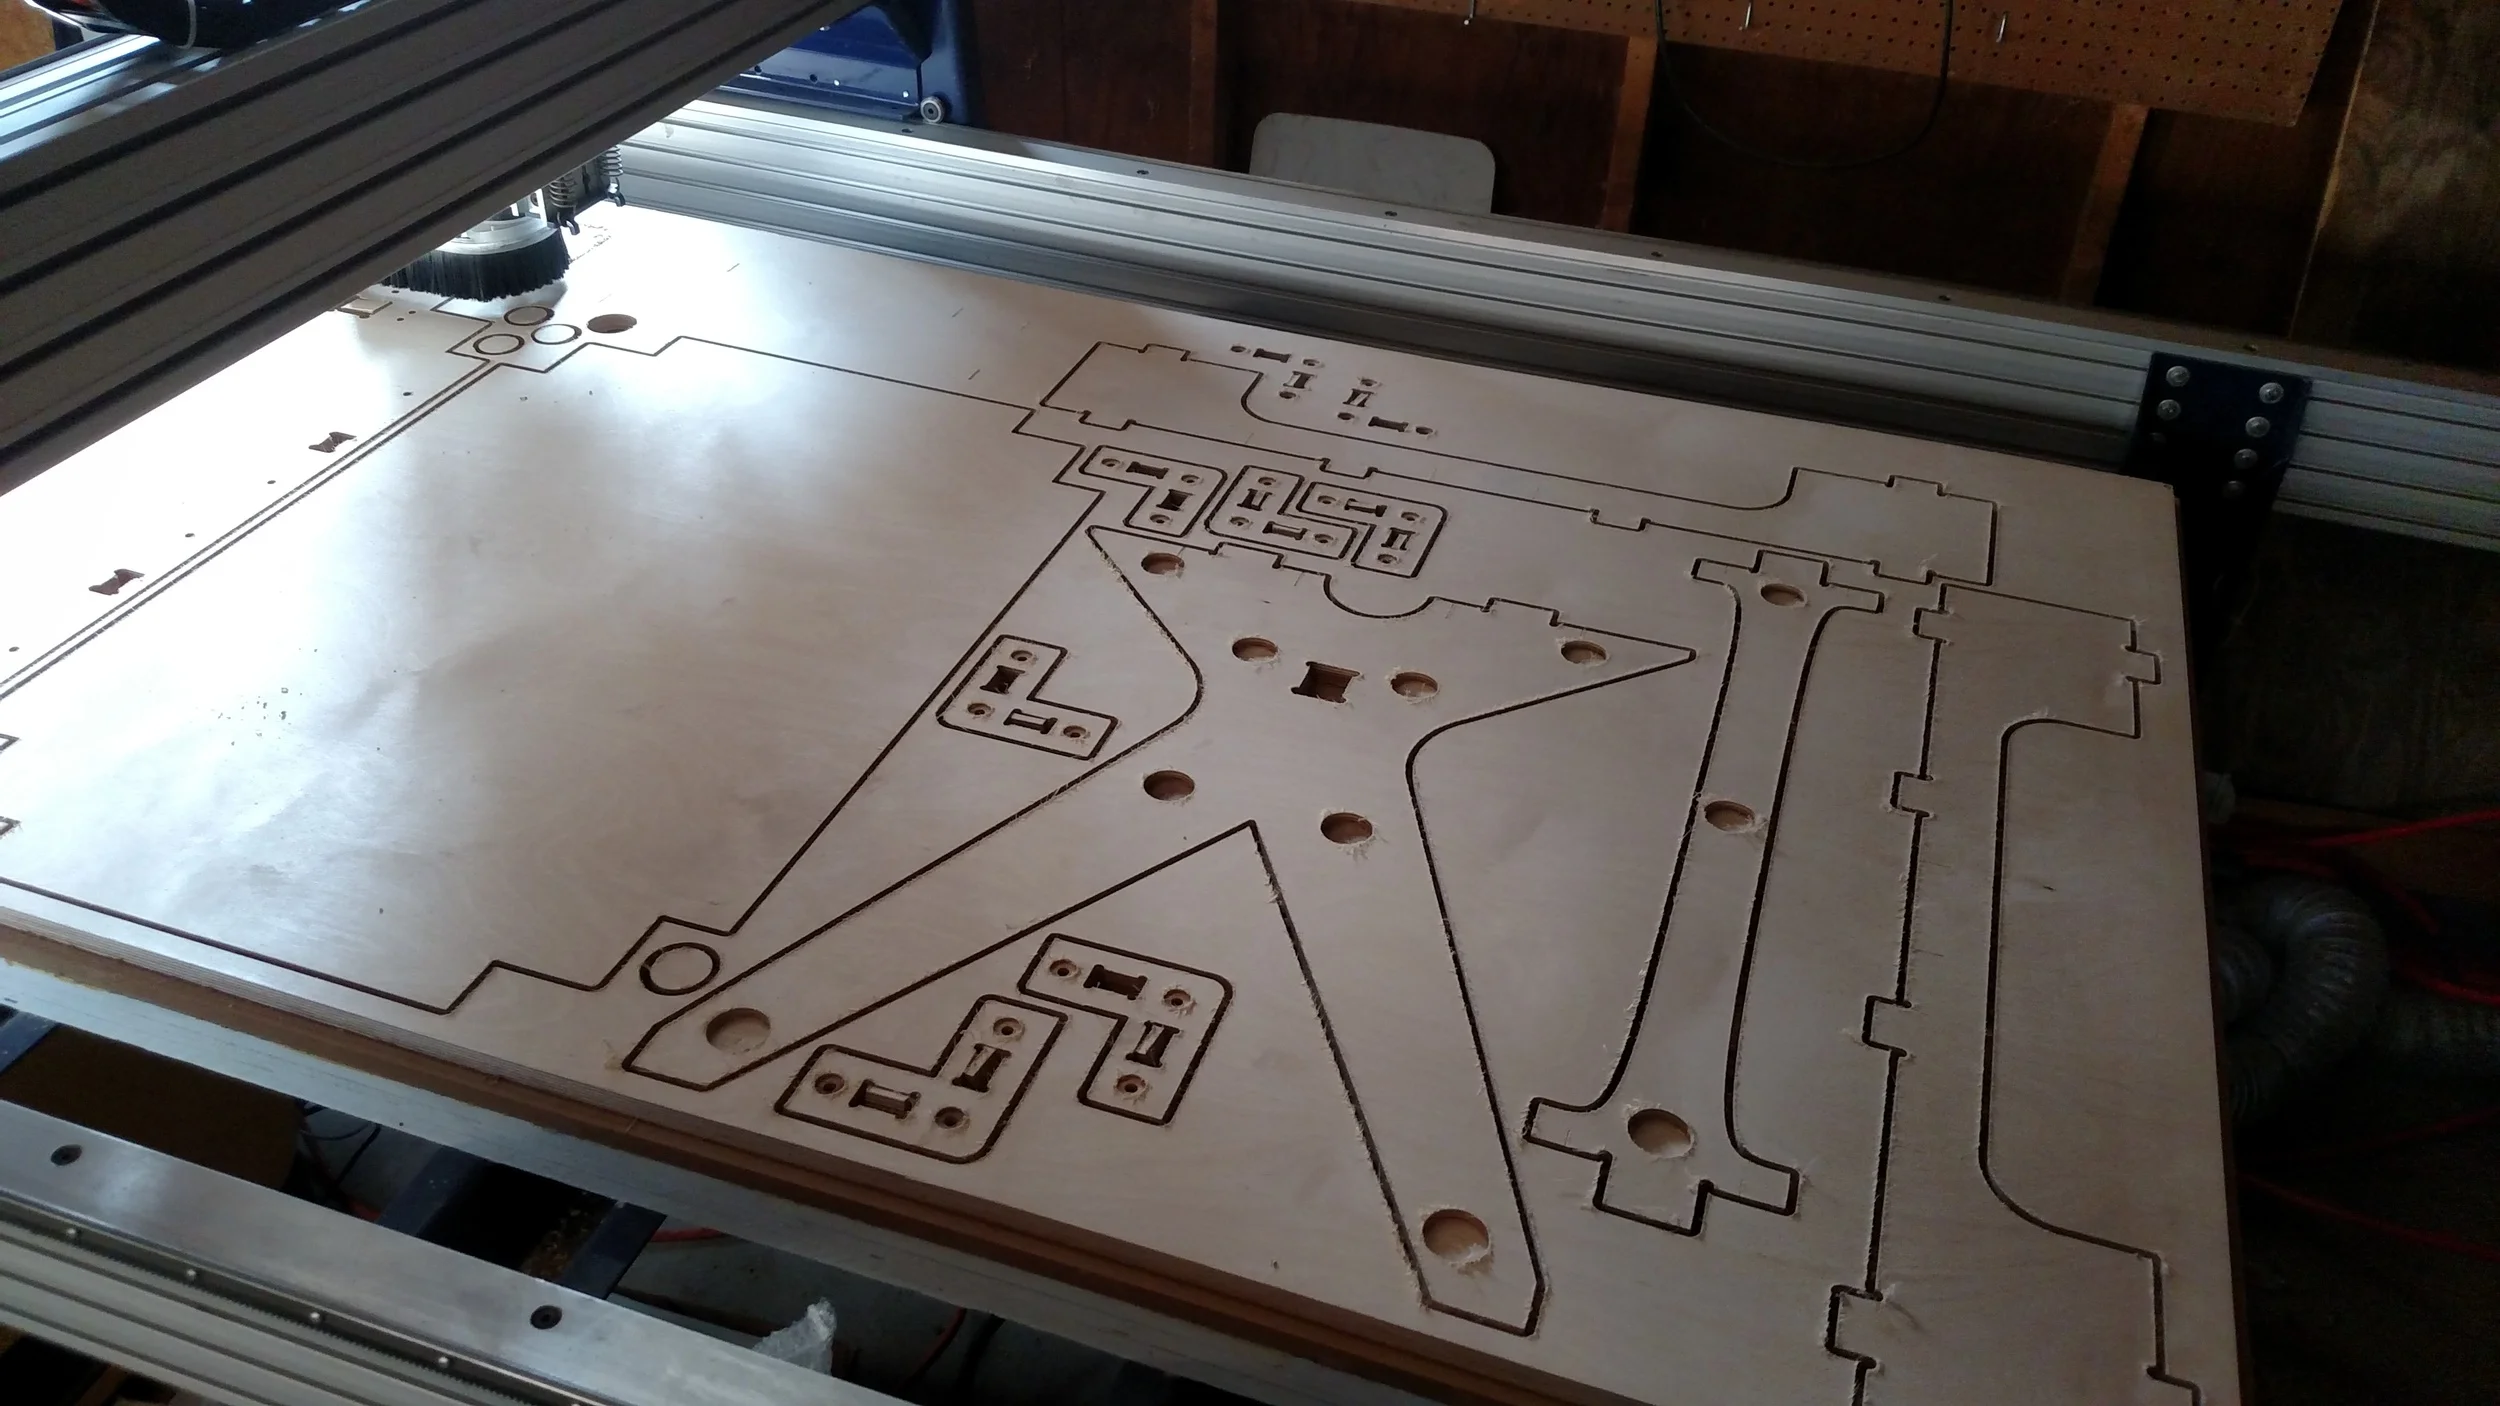
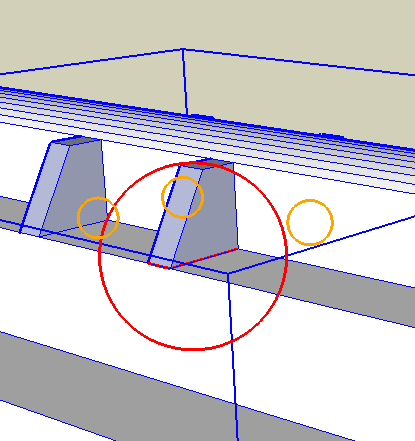
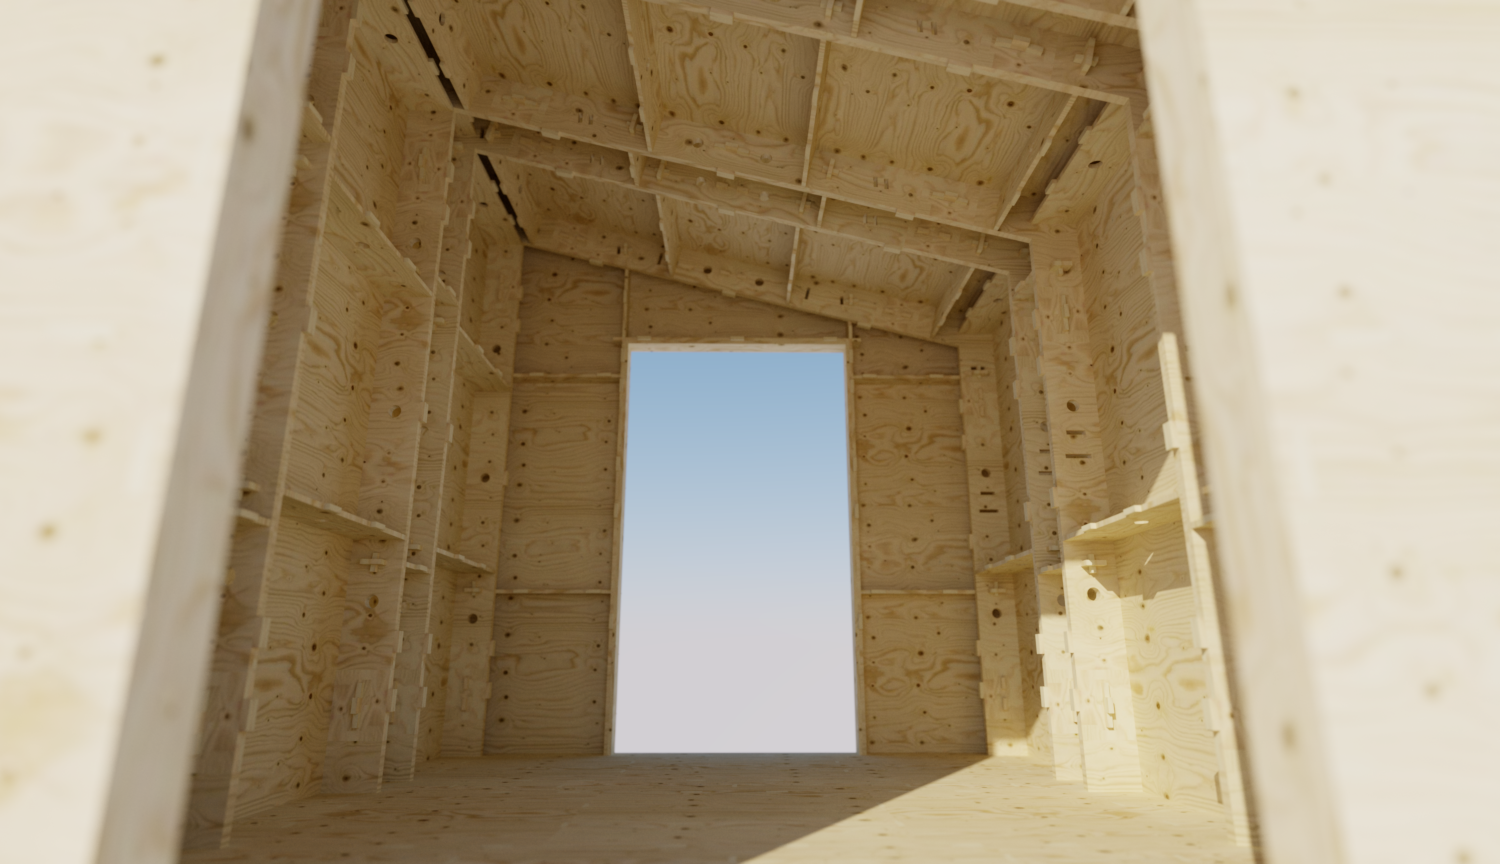
As we get closer and closer to cutting our first real Wikihouse, many people have been asking exactly how this thing goes together. Like most designs, it's done in a modular fashion. You can see in this video how the first module is built and stood up. After that you repeat 7 more times and link the modules together.
If you've ever used 3D printing for SketchUp then you have no doubt heard of Solid Inspector.
Great news today if you are running SketchUp 2014 or 2015 because it's been updated with new features and a brand new UI. Check out ThomThom's video below. I've been using it and it works great.
Check out this quick video that shows some of the features of our kitchen design plugin for SketcUp.
Ninjaflex is a 3D printer filament that is flexible after it prints. Prints come out pliable, stretchy and squishy. This should be really interesting for making gaskets, plugs, and other flexible items. Read about my first experience with it.
SketchUp has announced paid extensions for it's Extension Warehouse. Up until now, all extensions were free which means some of the best paid ones were not available for easy installation.
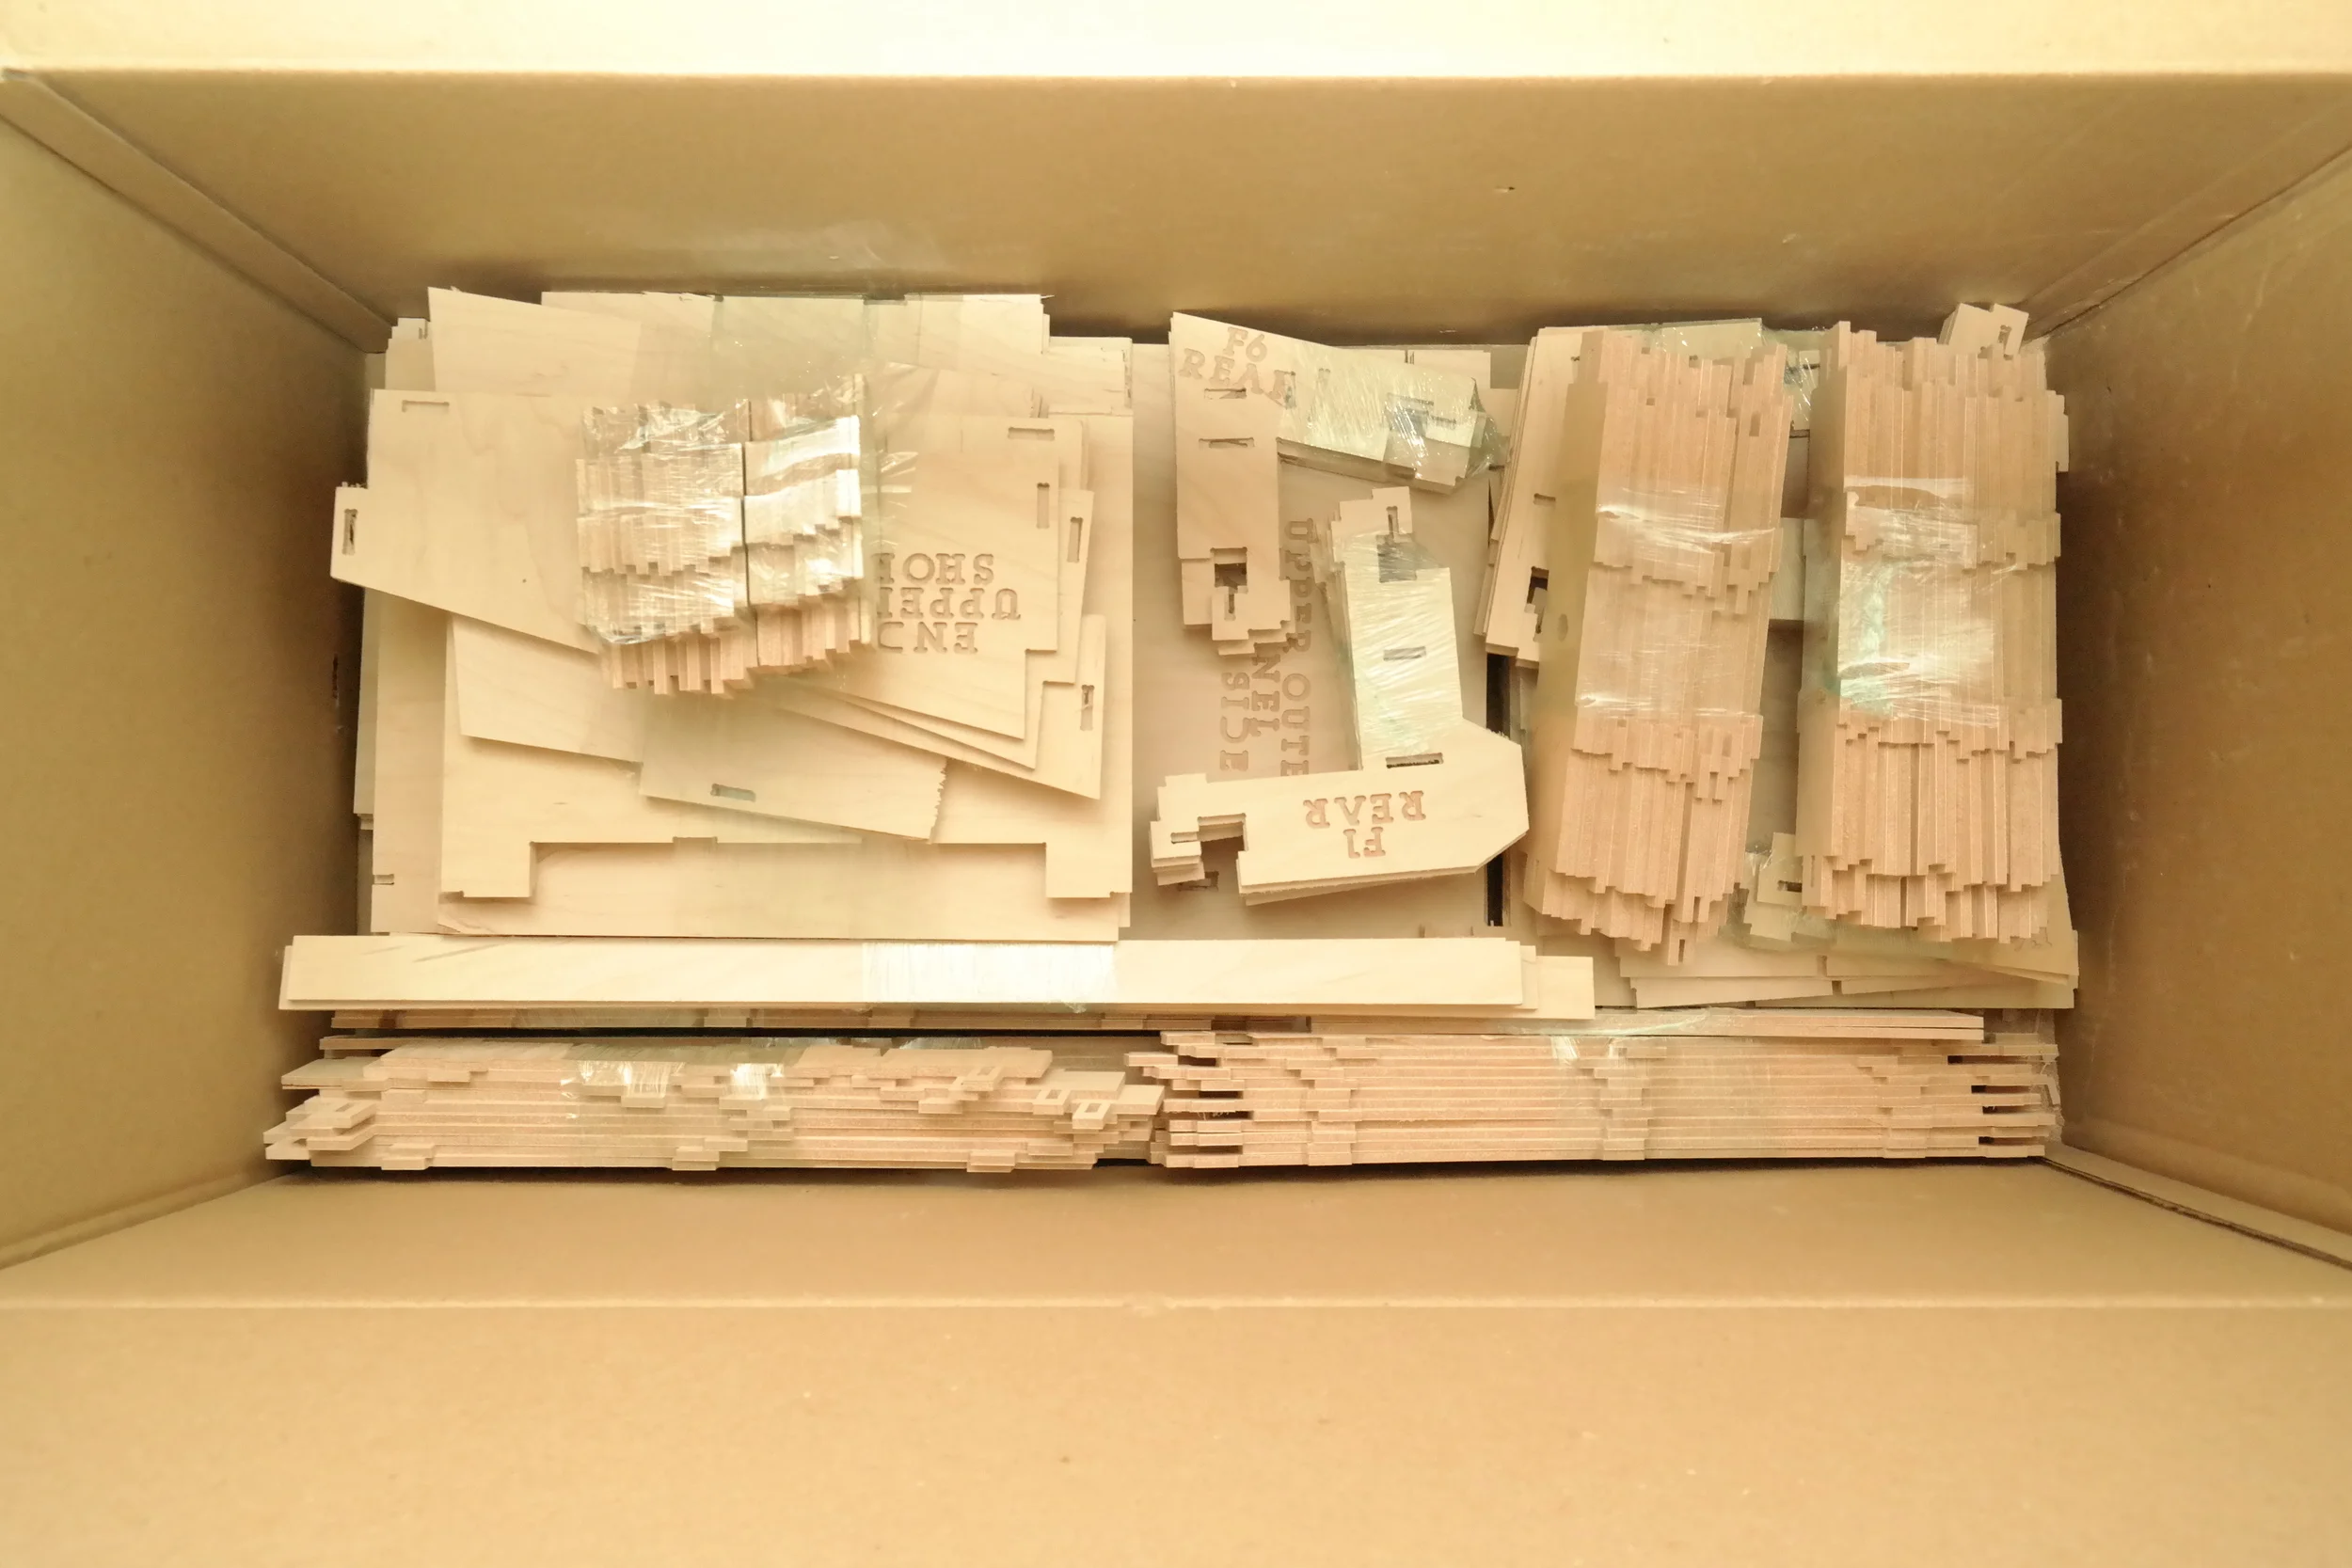
Our Wikihouse design is progressing nicely. We are assembling a 1/3rd scale model. Come take a look at what is probably one of the best puzzles you'll ever assemble. (It makes a great cat house too)
Learn how you can easily make customized kitchen cabinets right in SketchUp without having to draw them from scratch.
This is a miniature geodesic dome that we built using 3D printed hubs and bar straws. Read about how we built it!
Learn how to optimize your Handibot cutting speeds and download a printable cutting speed chart.
New updates on the Wikihouse!