Just the other day I wanted to 3D print, and CNC mill some terrain out onto different materials. The idea here is to use Sketchup to create the terrain, and then send it out to different tools to make the terrain. The vision is to have the CNC mill make large swaths of terrain on foam or wood, and then use the 3D printer for small things like buildings.
To do this effectively I wanted to be able to use Sketchup. Sketchup allows for easy scaling of objects, and also has the "sandbox" tools that allow for roads and buildings to be stamped into terrain.
Challenge 1: Getting terrain models into Sketchup
This was not as easy as I thought it would be. For several versions now Sketchup has had the ability to import Google Earth terrain. While this does work, and you can mill it, you are only allowed to bring in very small plots at one time. This can make it nearly impossible to do a whole mountain at once. Even a state as small as Massachusetts could require 50 imports. I wanted a better way...
Sketchup has a little known importer called DEM. DEM stands for "Digital Elevation Data"
“The 7.5-minute Digital Elevation Model (DEM) data files are digital representations of cartographic information in a raster form.”

The DEM files can be easily downloaded from this website.

Before you complete the import, click on options:

Set your "points" for import to 9,999. if you don't, the default will be a very bumpy terrain import.
Once you've imported your model, you'll get something that looks like this. This may look a little flat, we can fix that using the Scale tool in Sketchup. Click once to highlight your terrain, and click the Scale tool.

You can see when you scale it vertically you get much more definition in the terrain. A scale factor of 4 can be seen here.
You may notice that Sophie, who is life sized in Sketchup is really small now. That's because this terrain comes into Sketchup full scale. For our purposes here we're going to want to scale this down, a lot. If you bring this into Aspire or MakerWare it's going to be so huge it may be difficult to figure out what's going on. Thankfully this is really easy in Sketchup.
Double click your terrain to enter it's group. Once you do that, click on the tape measure tool and measure from point to point. This terrain is over 35,000 feet on the short side! Once you click for the measurement, just type in how wide you want it to be. In this case I made it 6". You can see after I press enter that the terrain shrinks to a more manageable width.

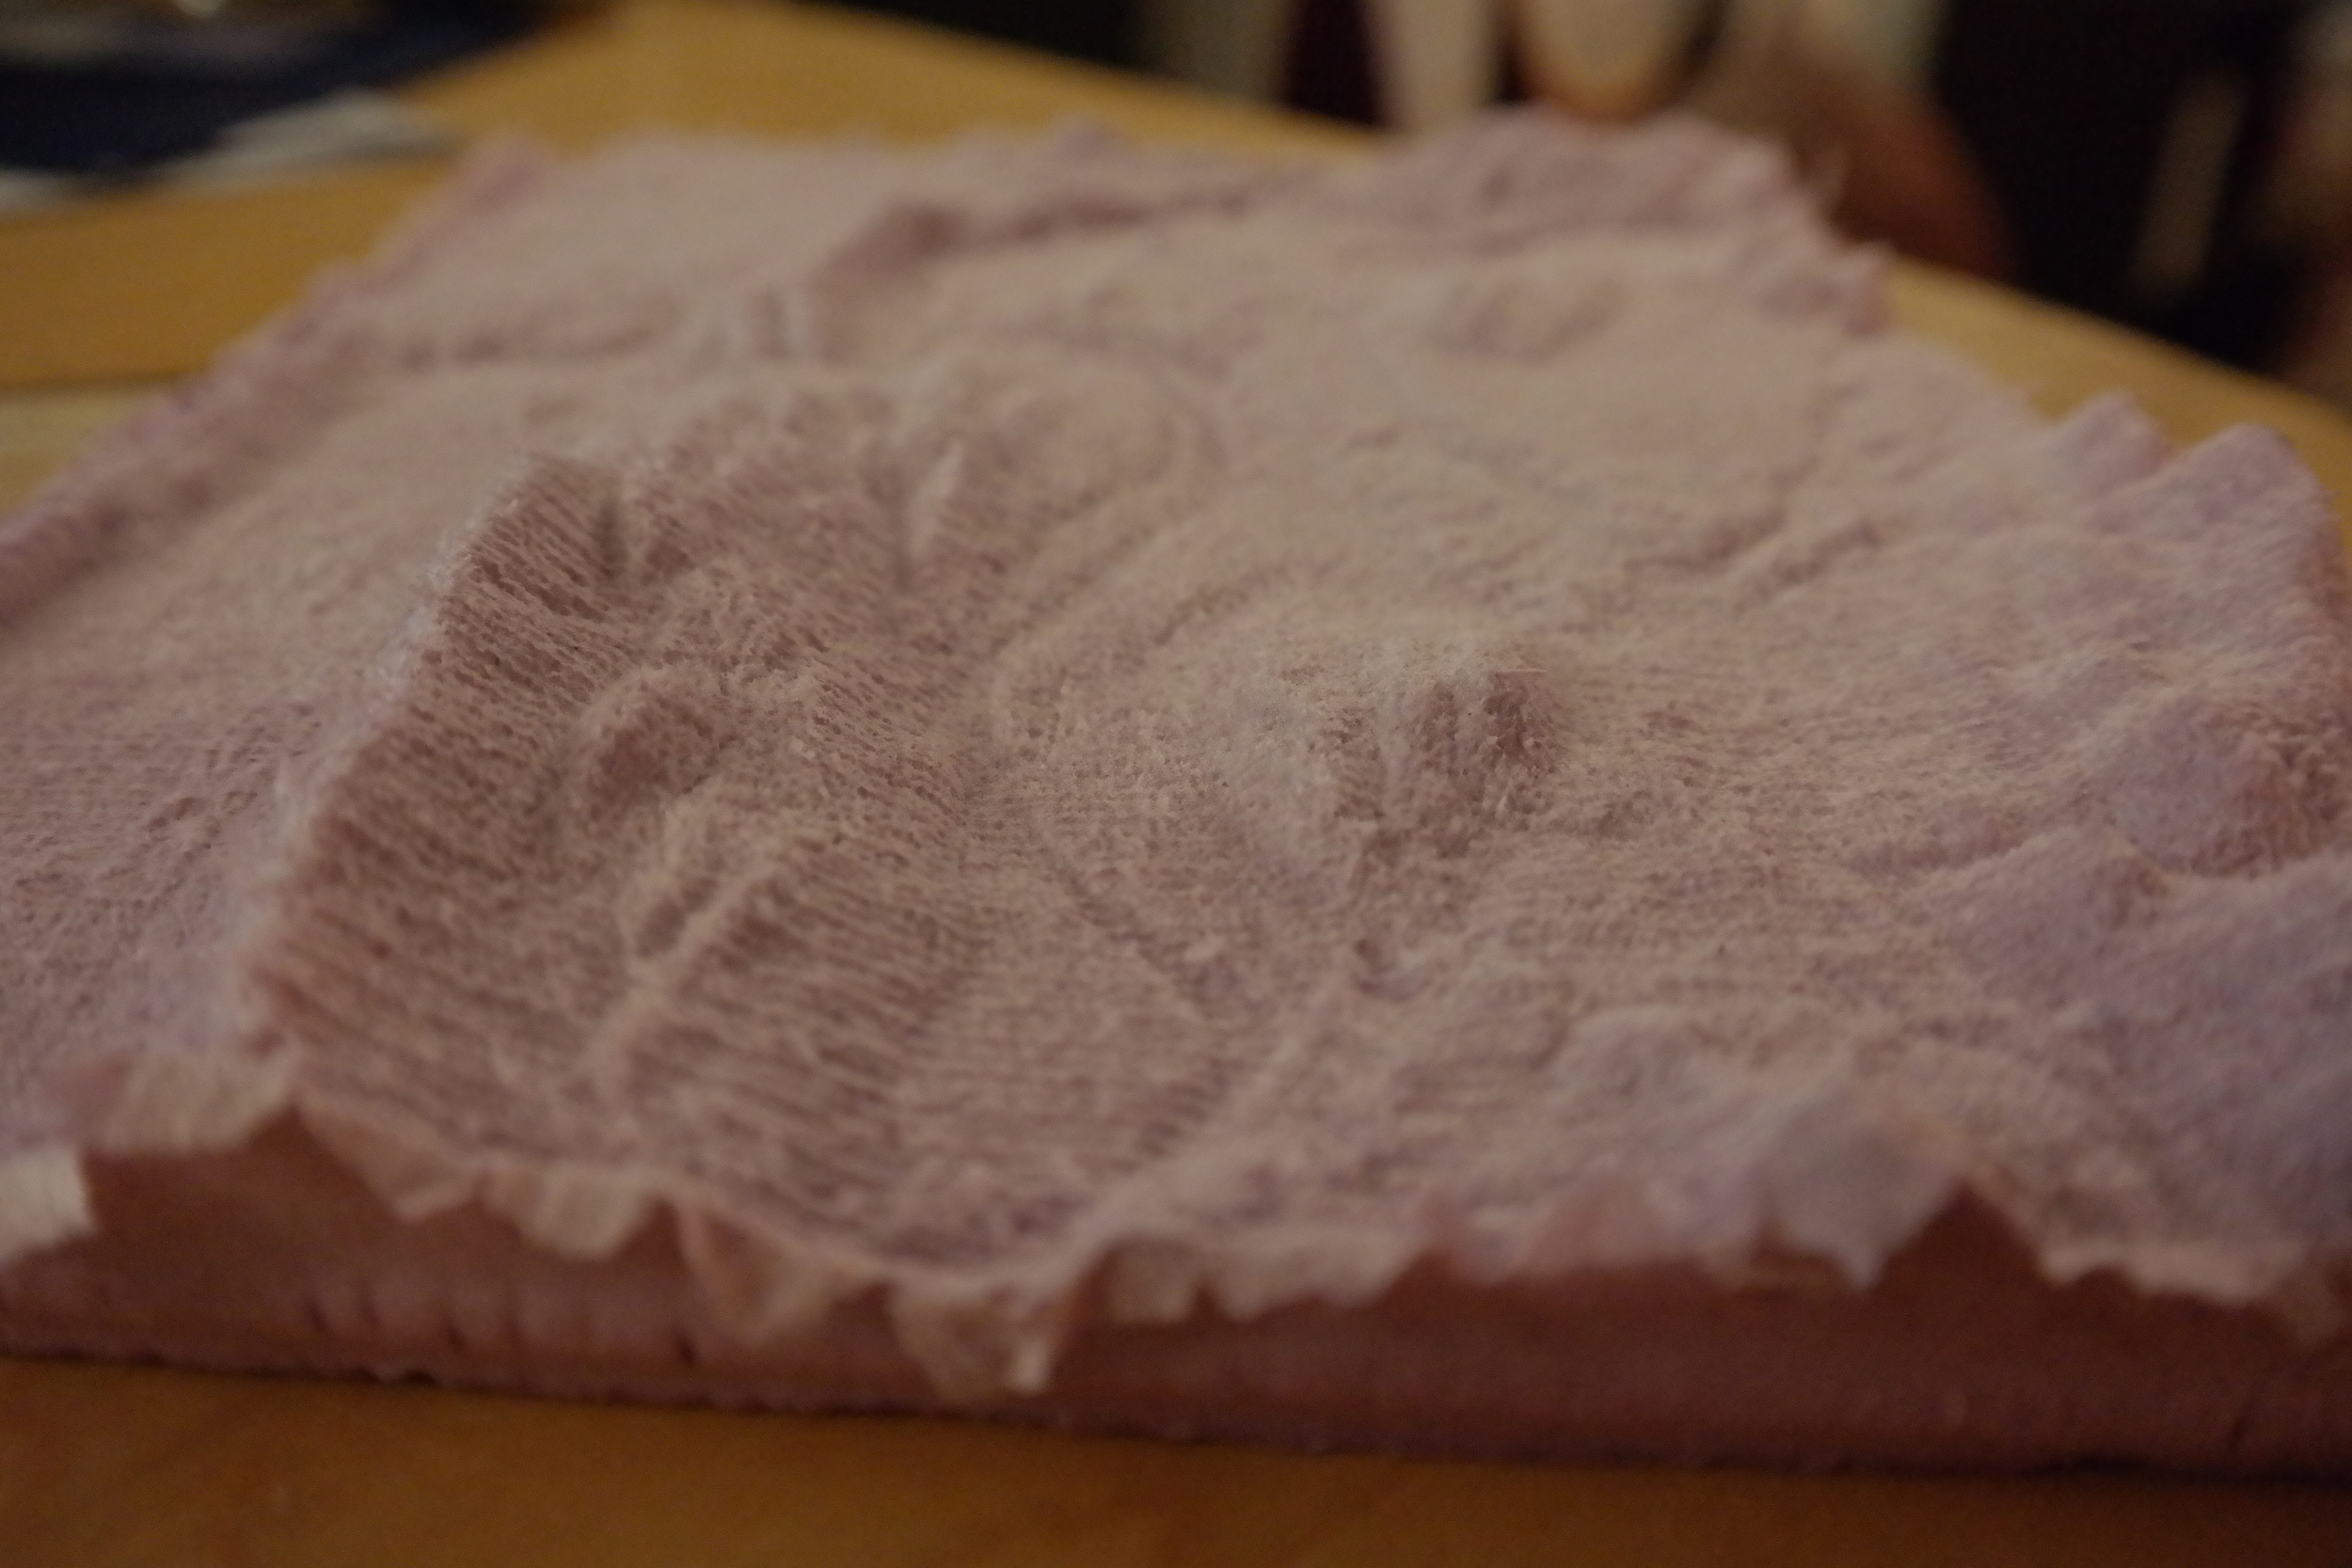
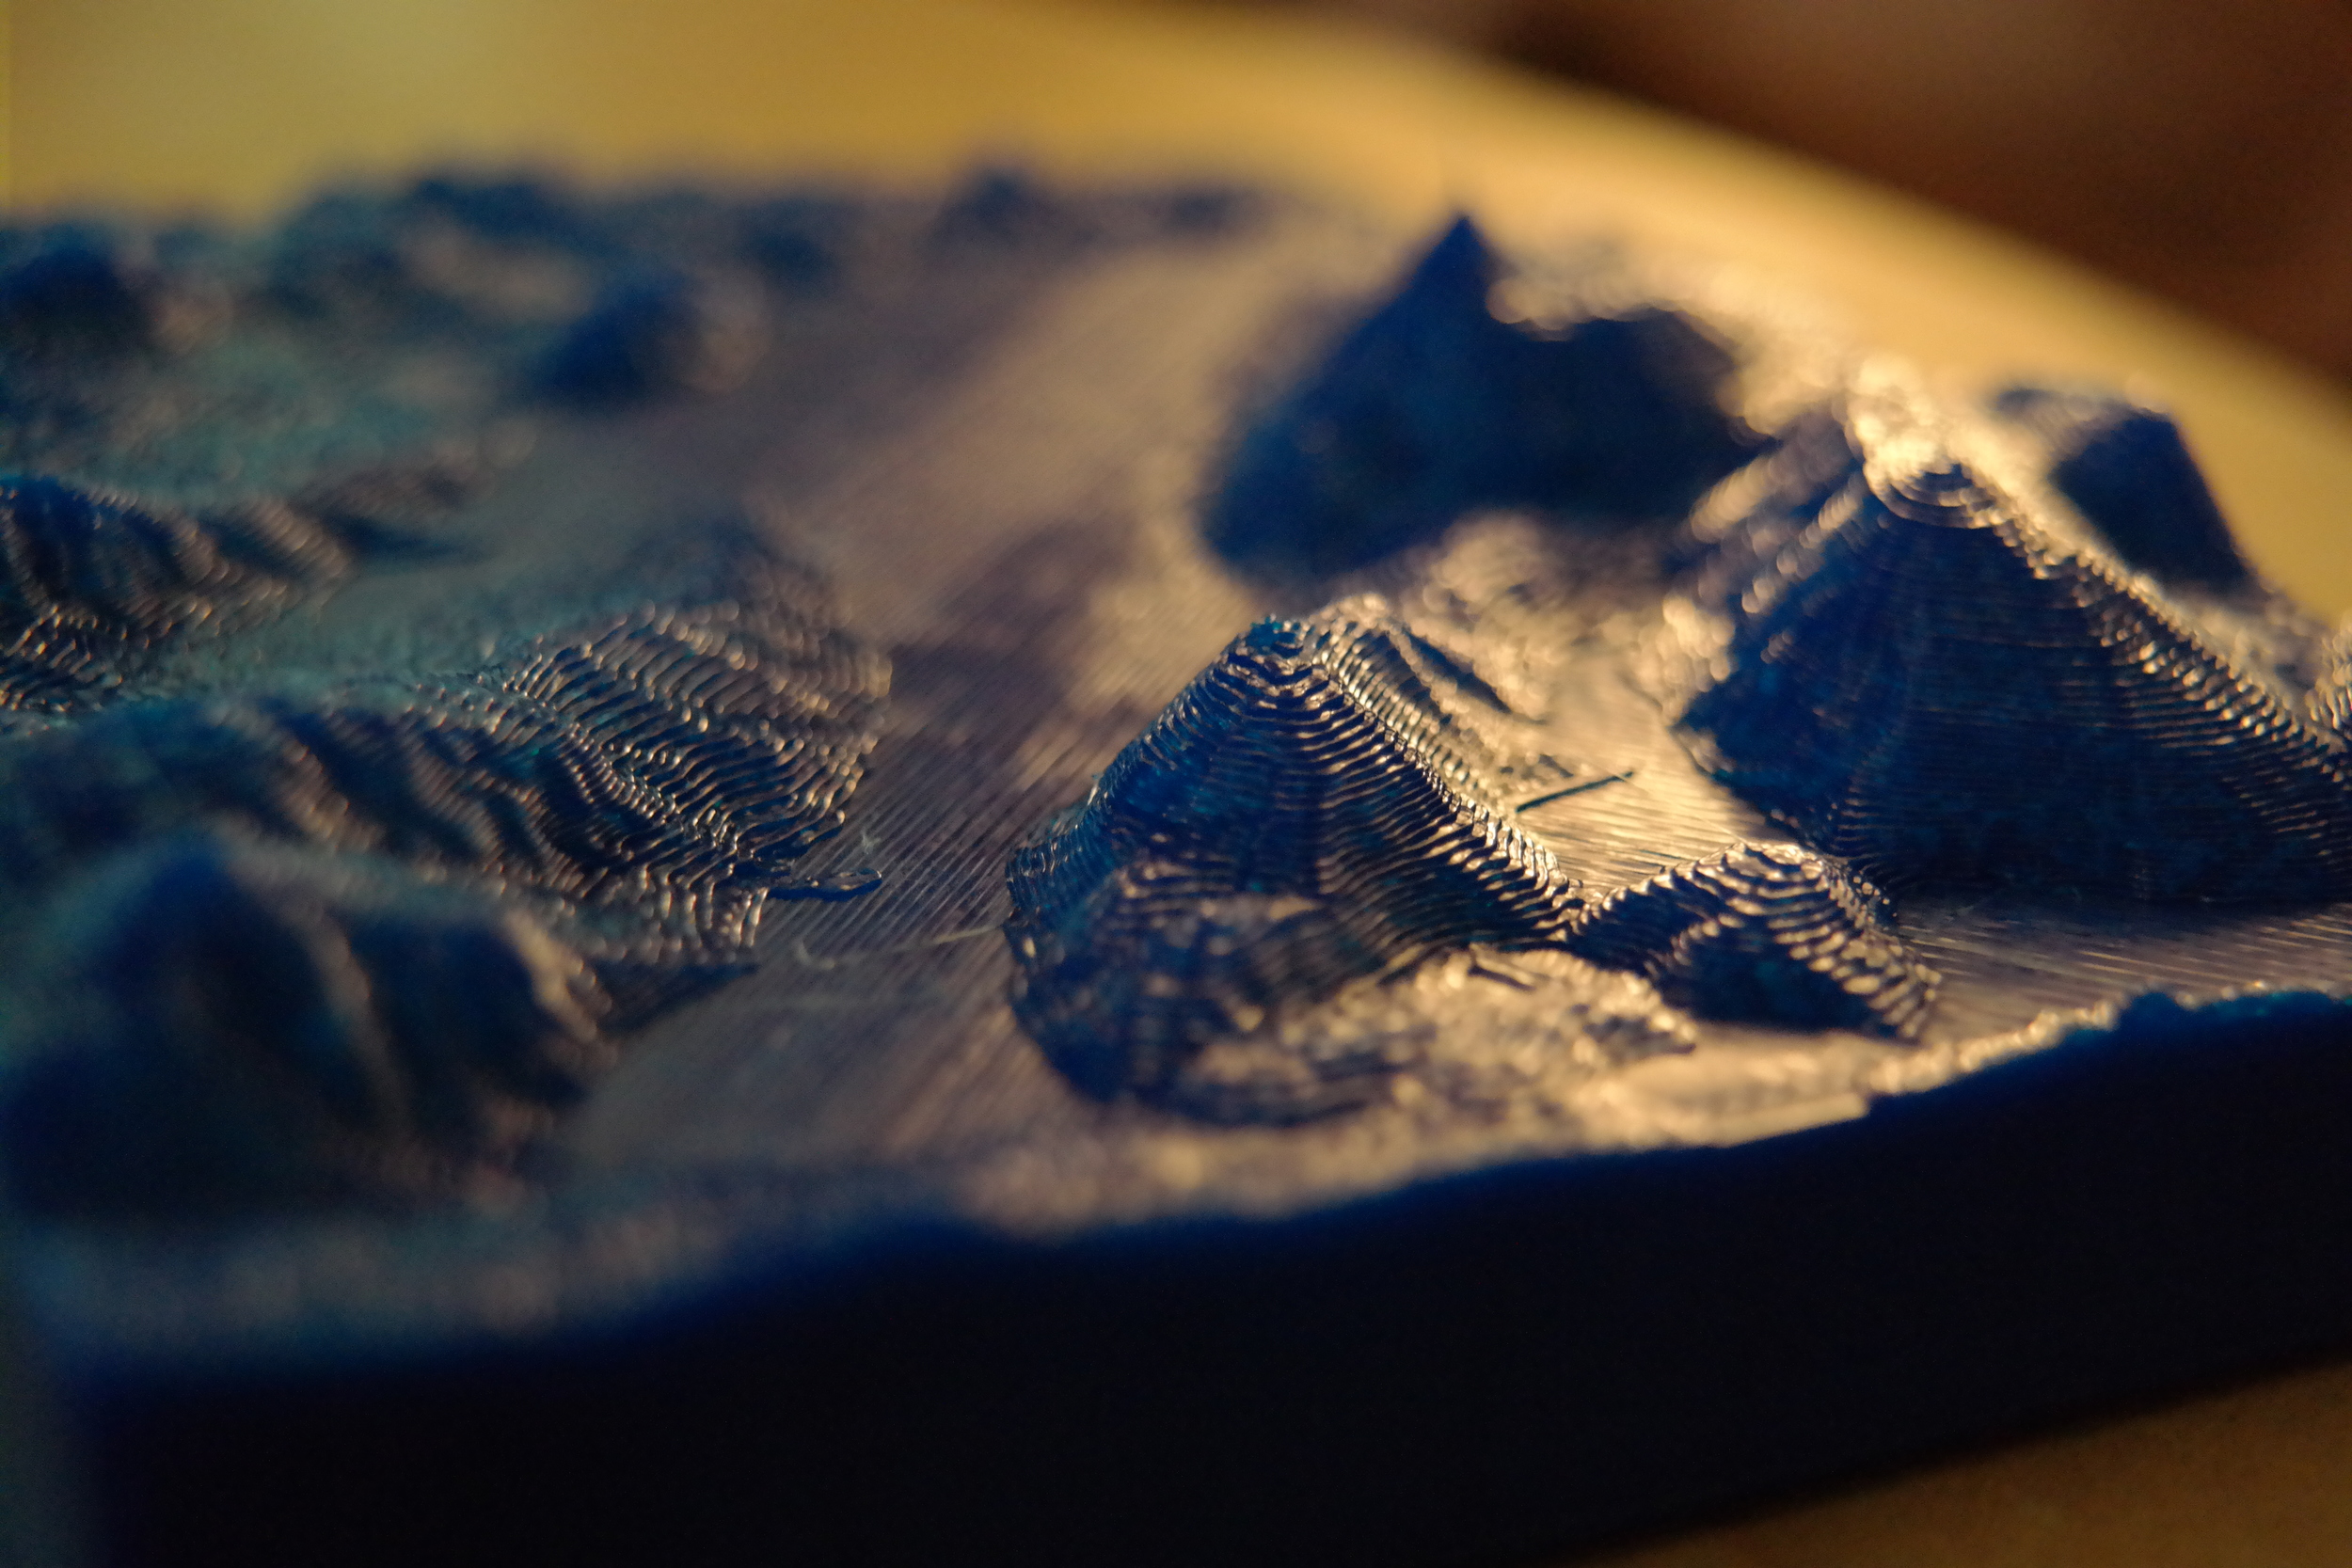
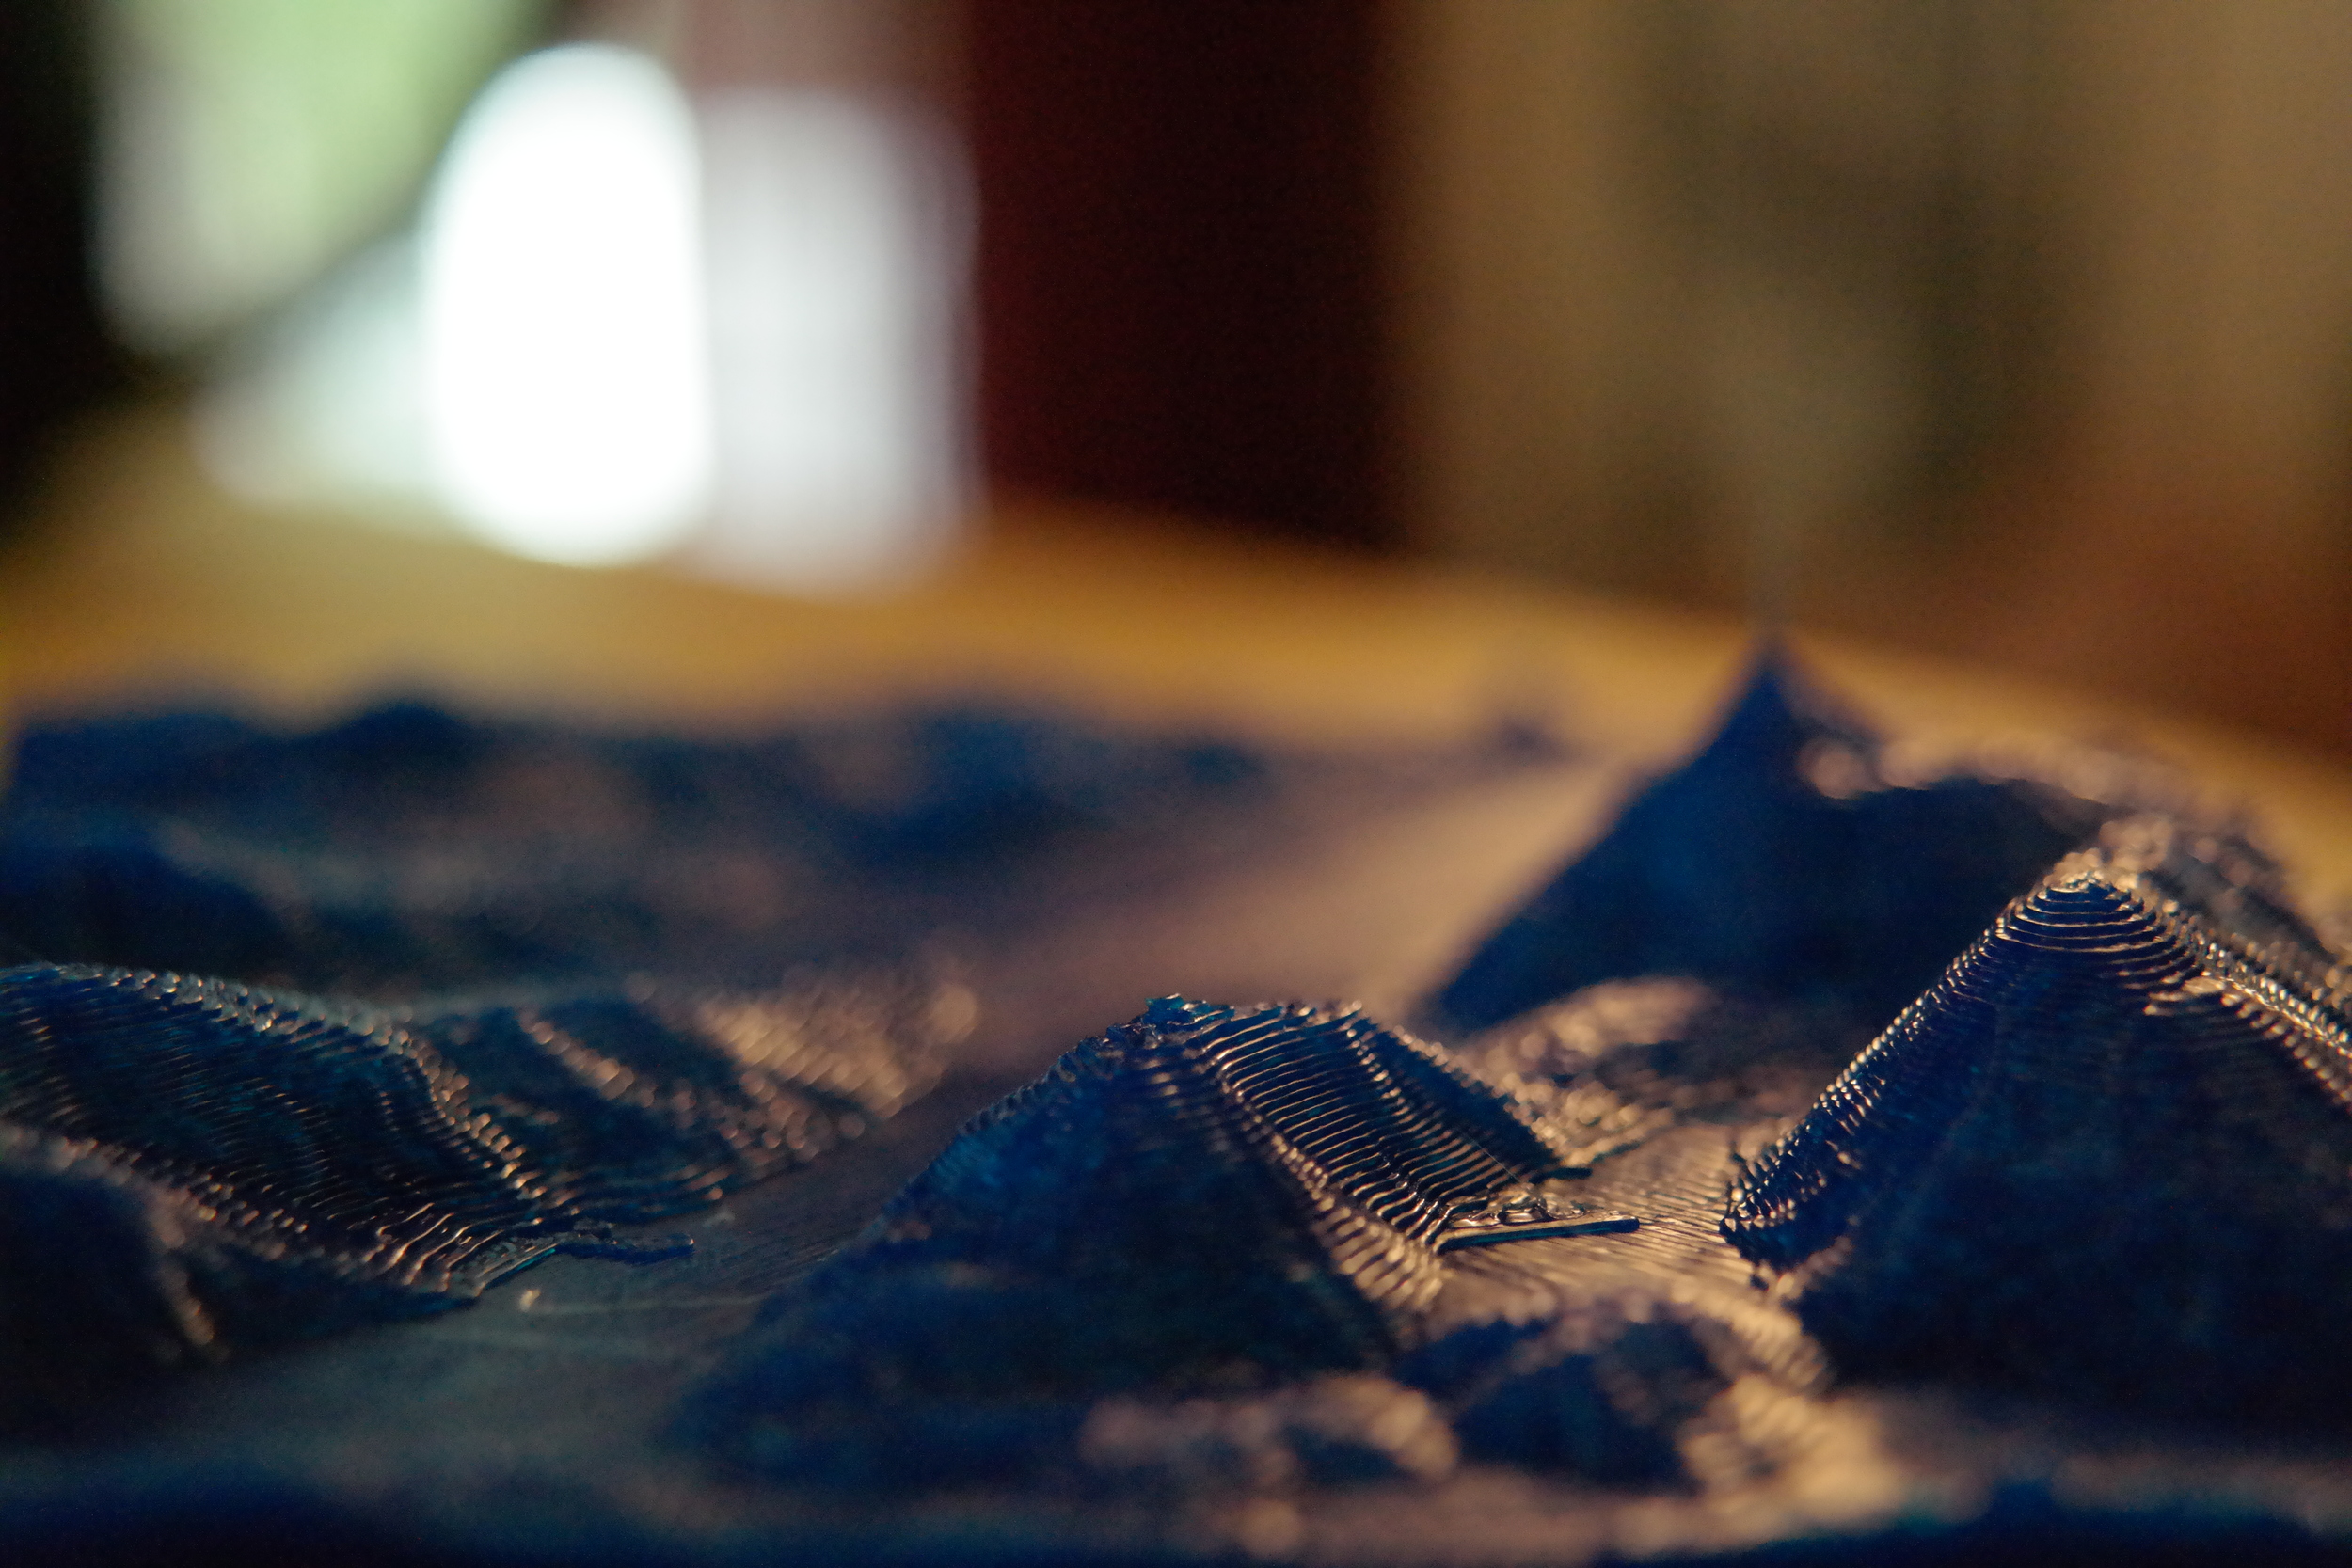
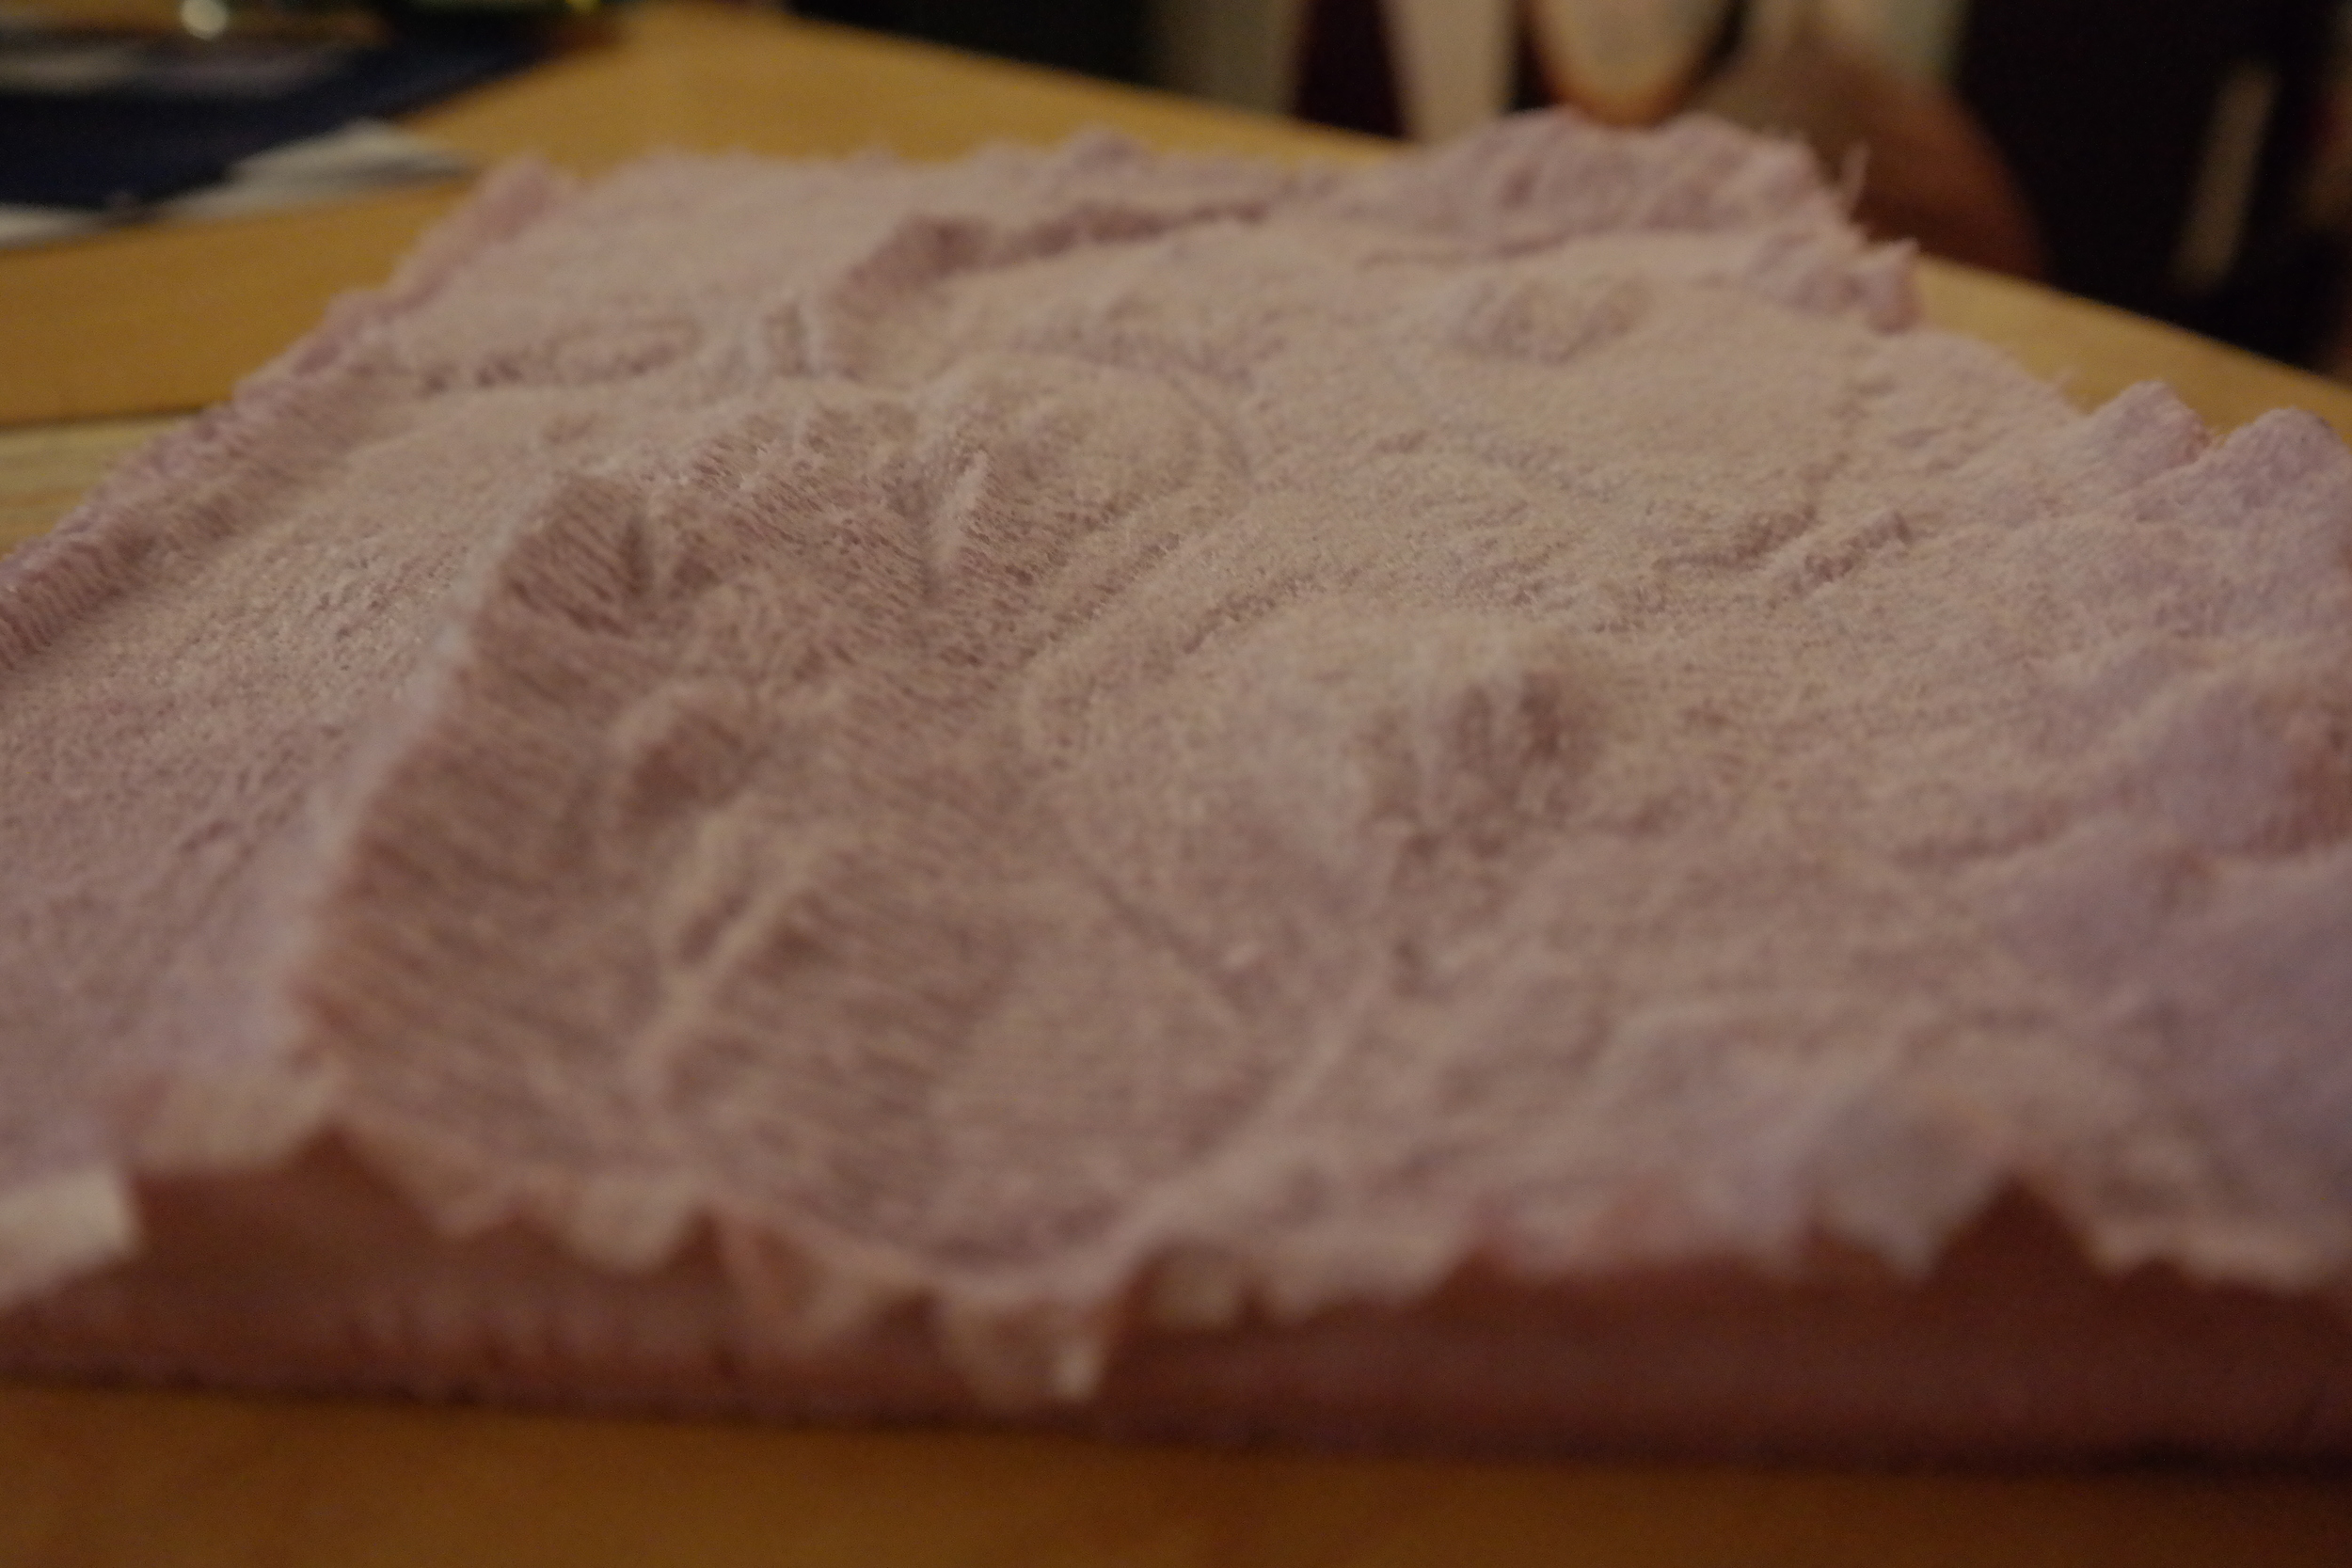
Once you've done the scaling, you can export the terrain to STL. Now you can bring that file into Aspire for CNC milling. (I did mine on the Handibot). You can also bring that same STL into Makerware for 3D printing.
STL Ready for 3D printing
STL ready for CNC milling in Aspire
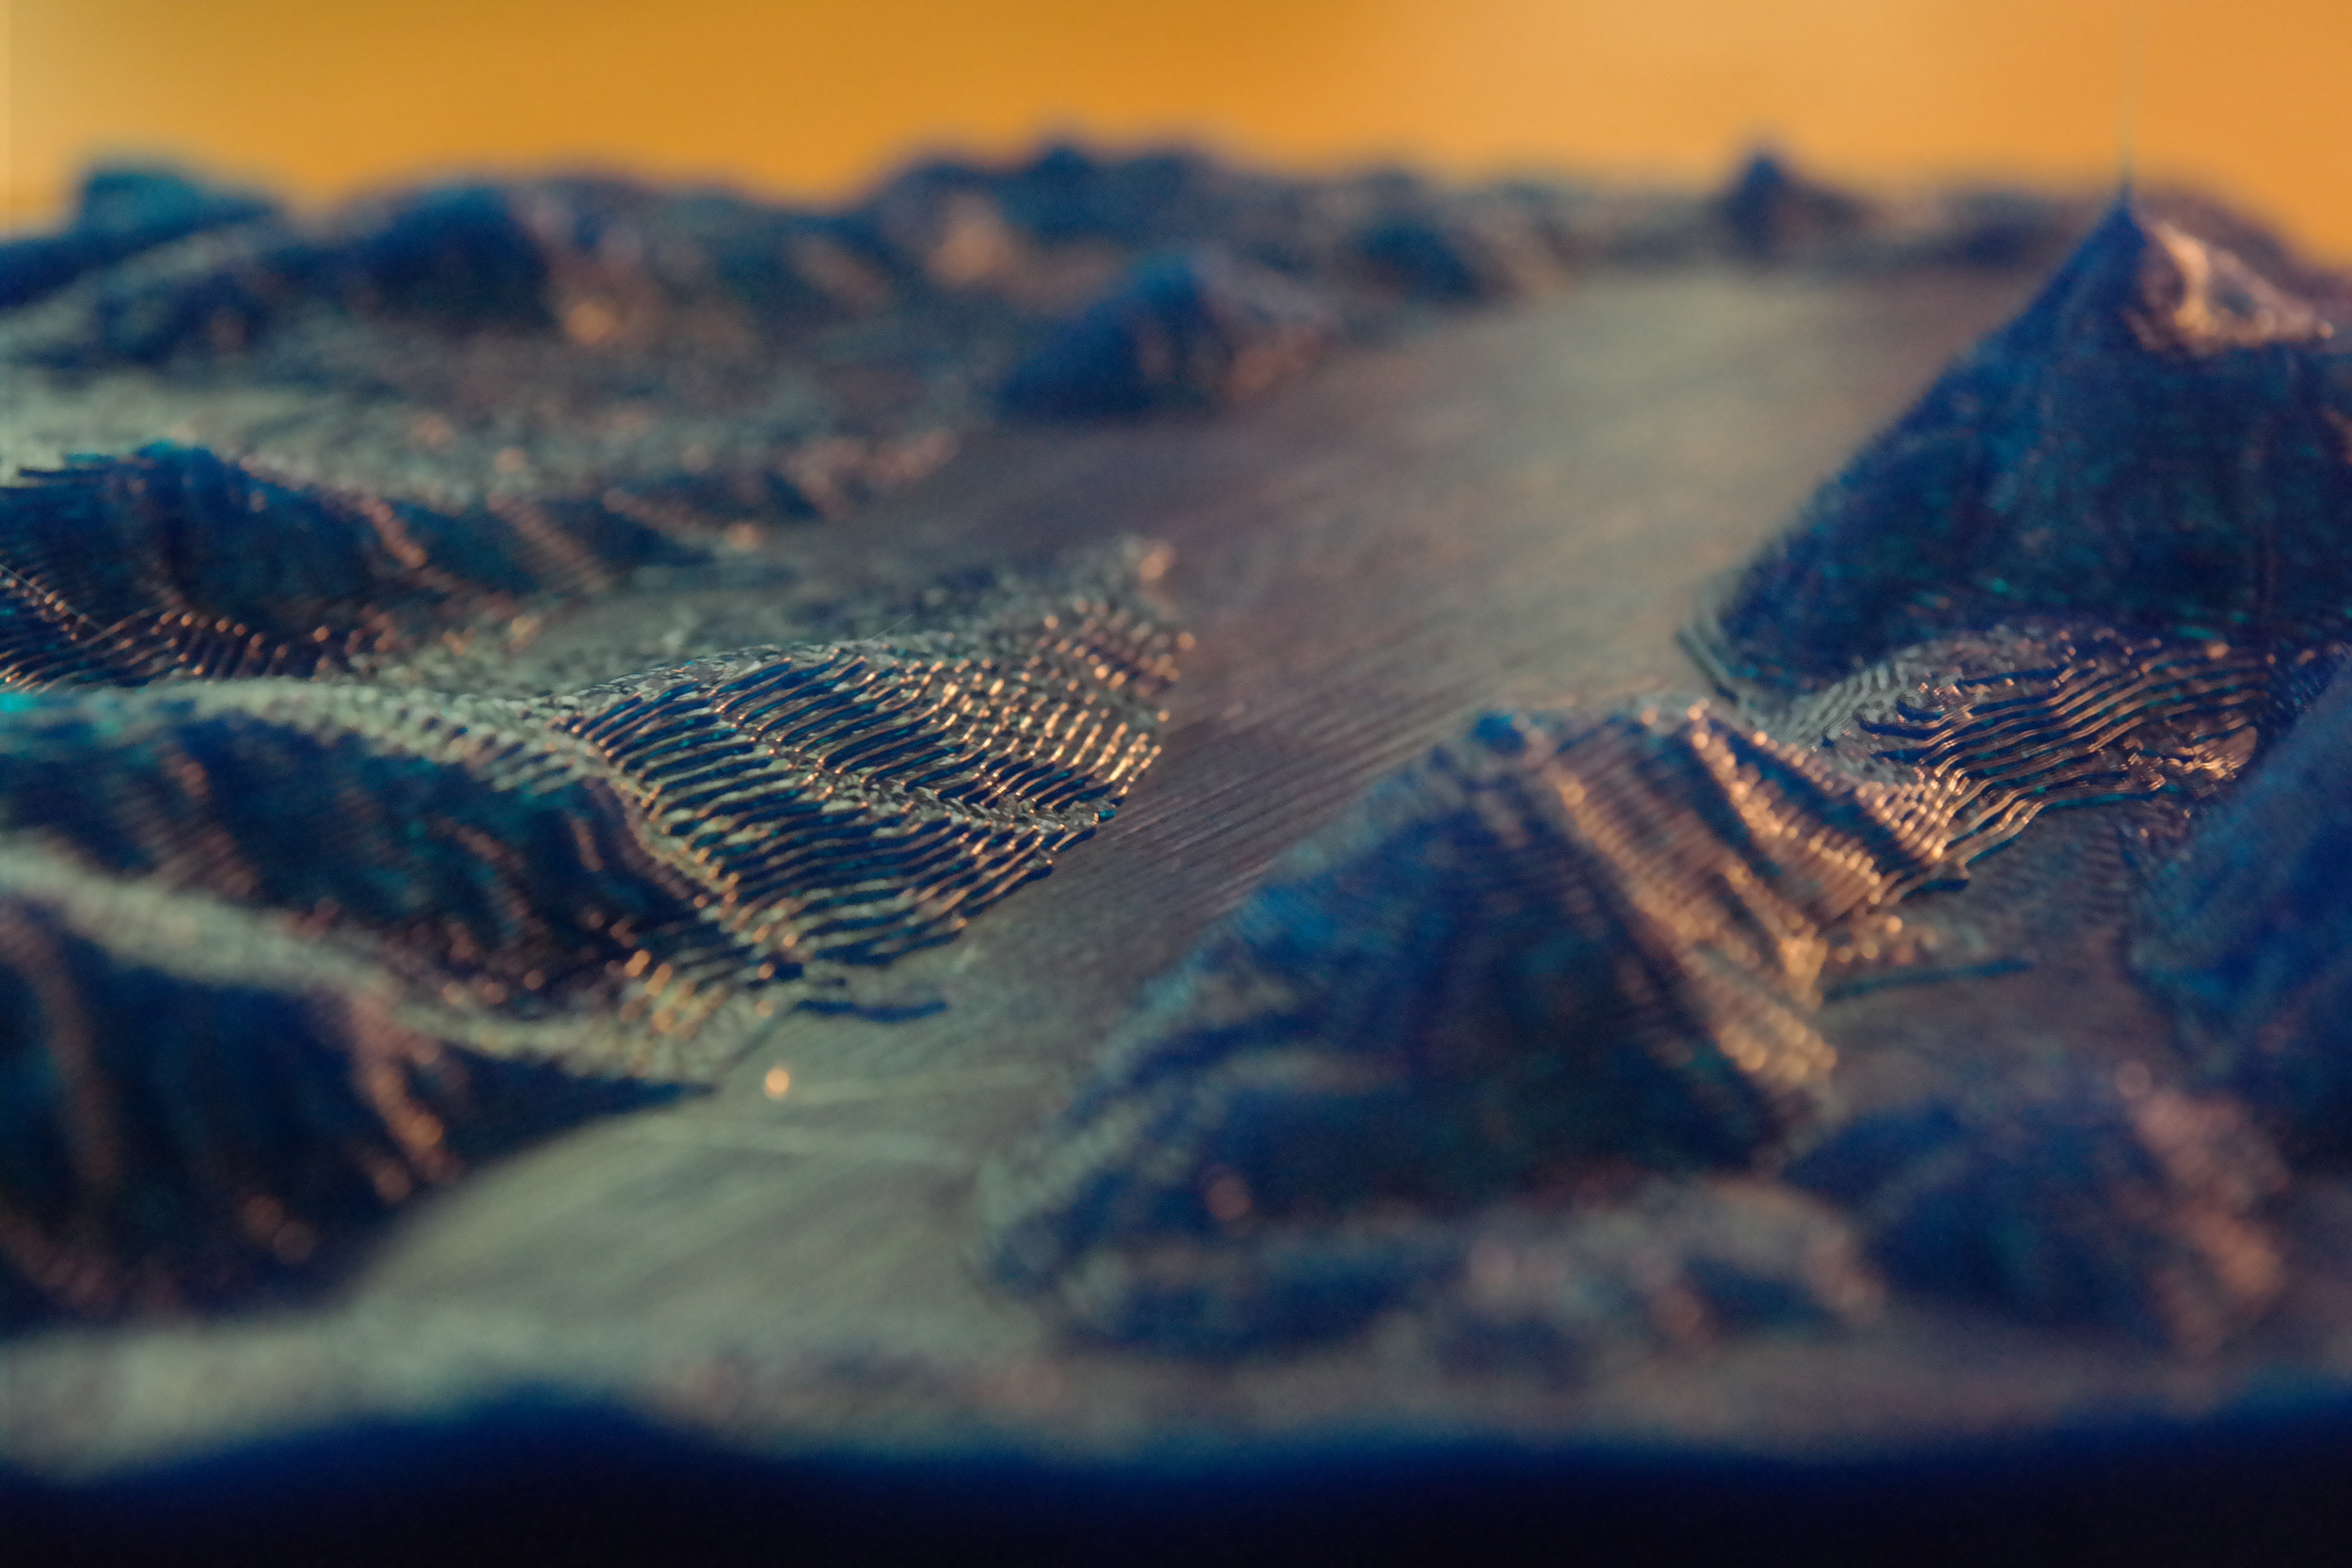
The results? Great! You can see in the gallery below I 3D printed, and CNC milled this section of terrain. Having Sketchup as the nexus for this 3D models is fantastic. I could see an architect or a city planner using this method to print large parts of terrain with a CNC, and then doing buildings and other obstacles with the 3D printer. You could make sure they are all scaled properly using Sketchup.
Some considerations:
The way this works is that you start from a full scale terrain model and you shrink it down and then enhance it's elevation. If you were building a large map, and only had access to smaller CNC machines like a Handibot it would be wise to develop some rules for scaling. If you pick a particular scale factor for both the overall size, and the height enhancement you could mill lots of these "tiles" and stick them together for a huge map. Since the initial dataset (the DEM files) is uniform you could potentially farm this work out to something like 100kGarages and quickly get a huge terrain model done.