Blog

Kitchen Design Plugin for Sketchup, Sketchup training.

Mountain Box

I had an occasion to make a gift box on my Handibot. The person who was receiving the gift really likes mountains. I decided to make a very simple mountain shaped box that could hold things, and look good on a shelf. As usual I modeled it in Sketchup first:

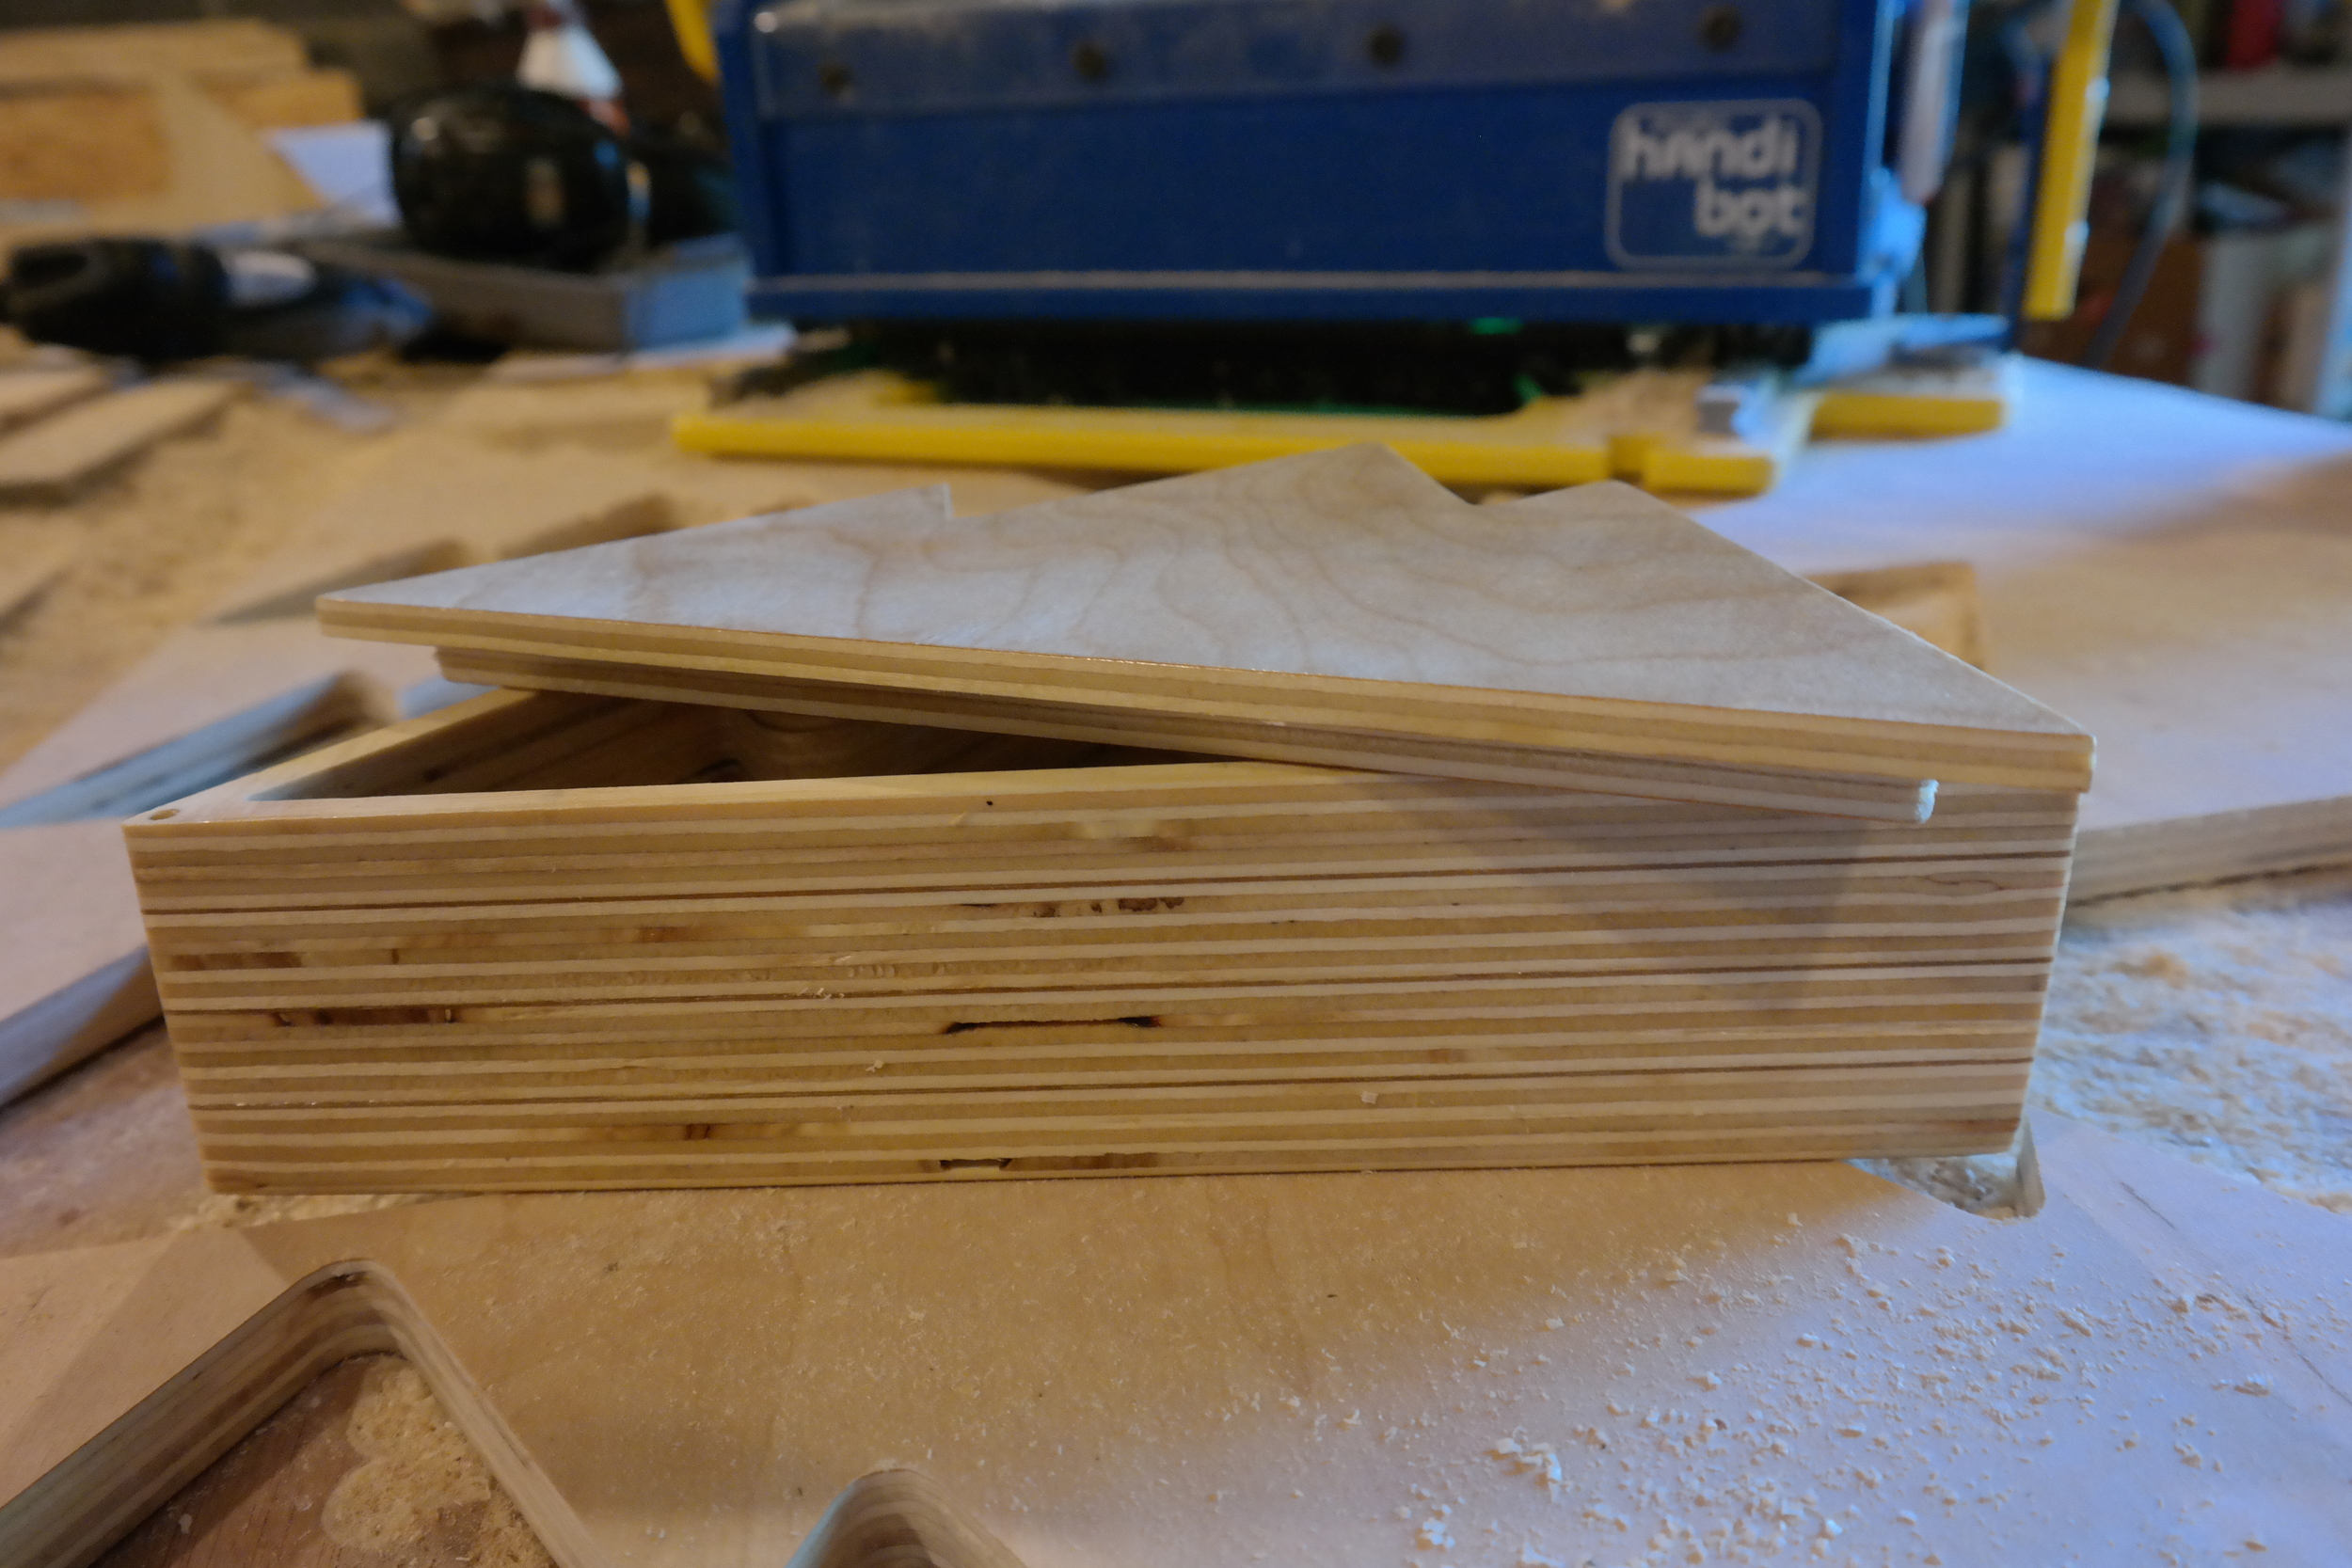
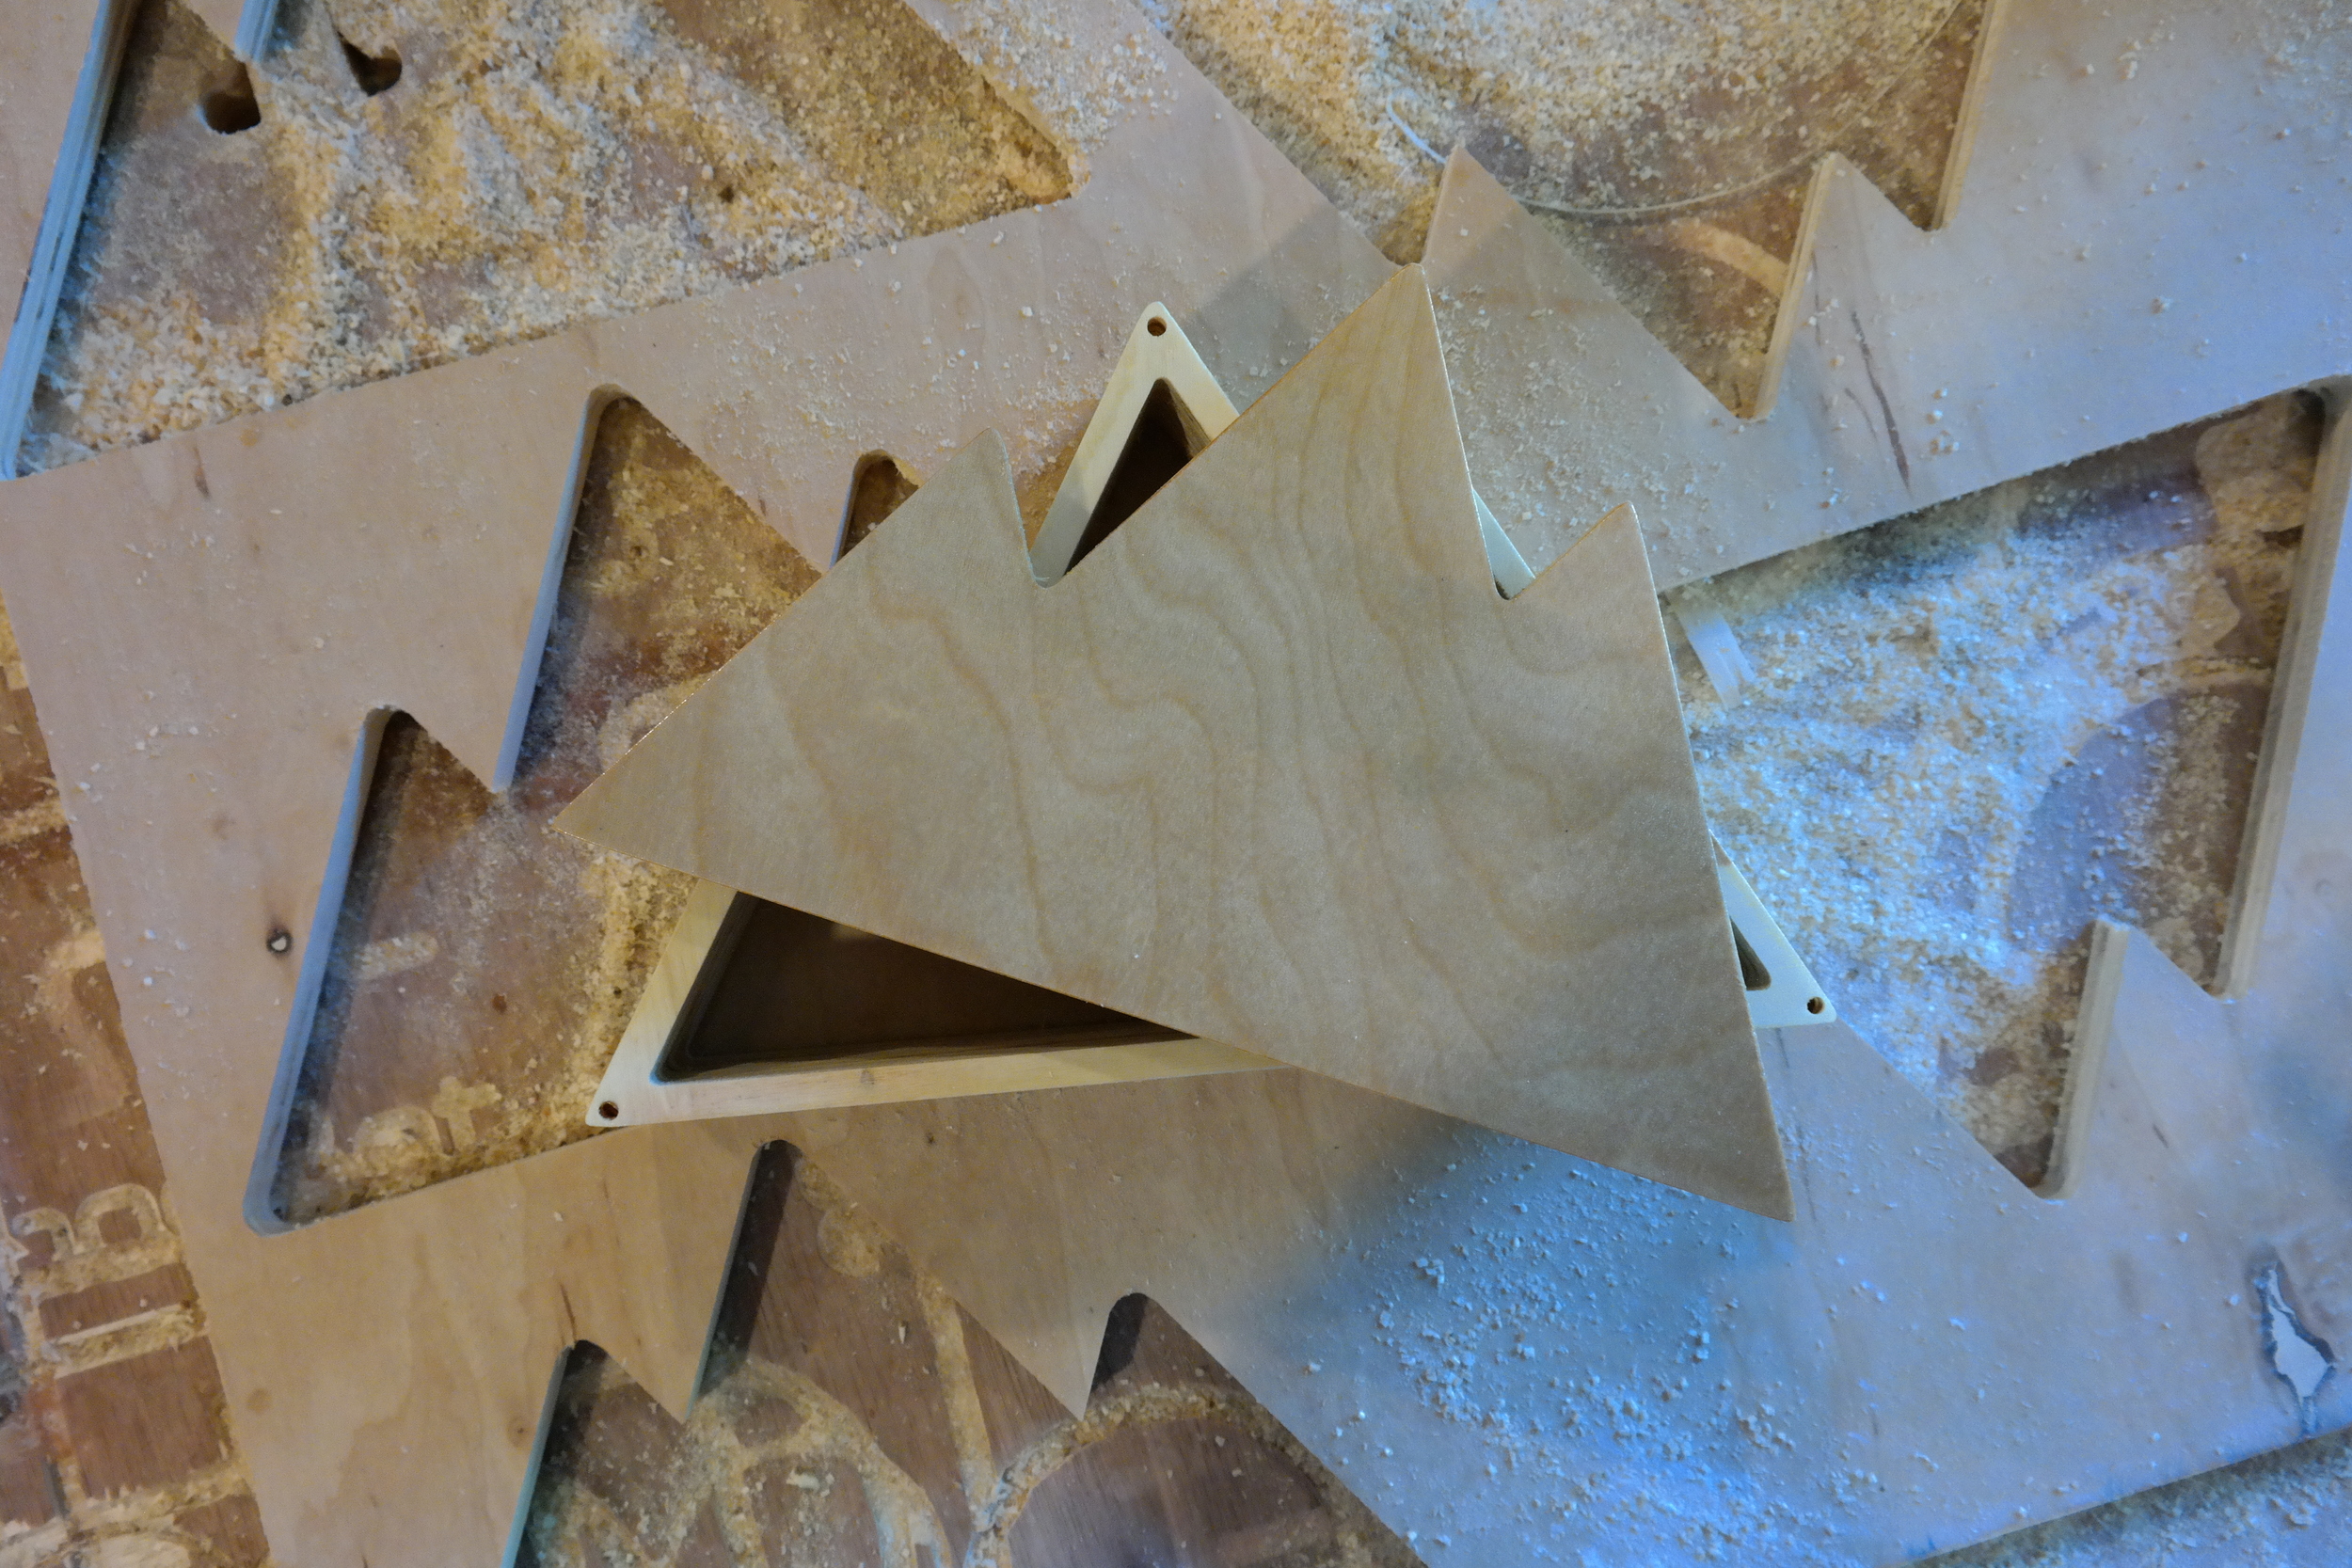
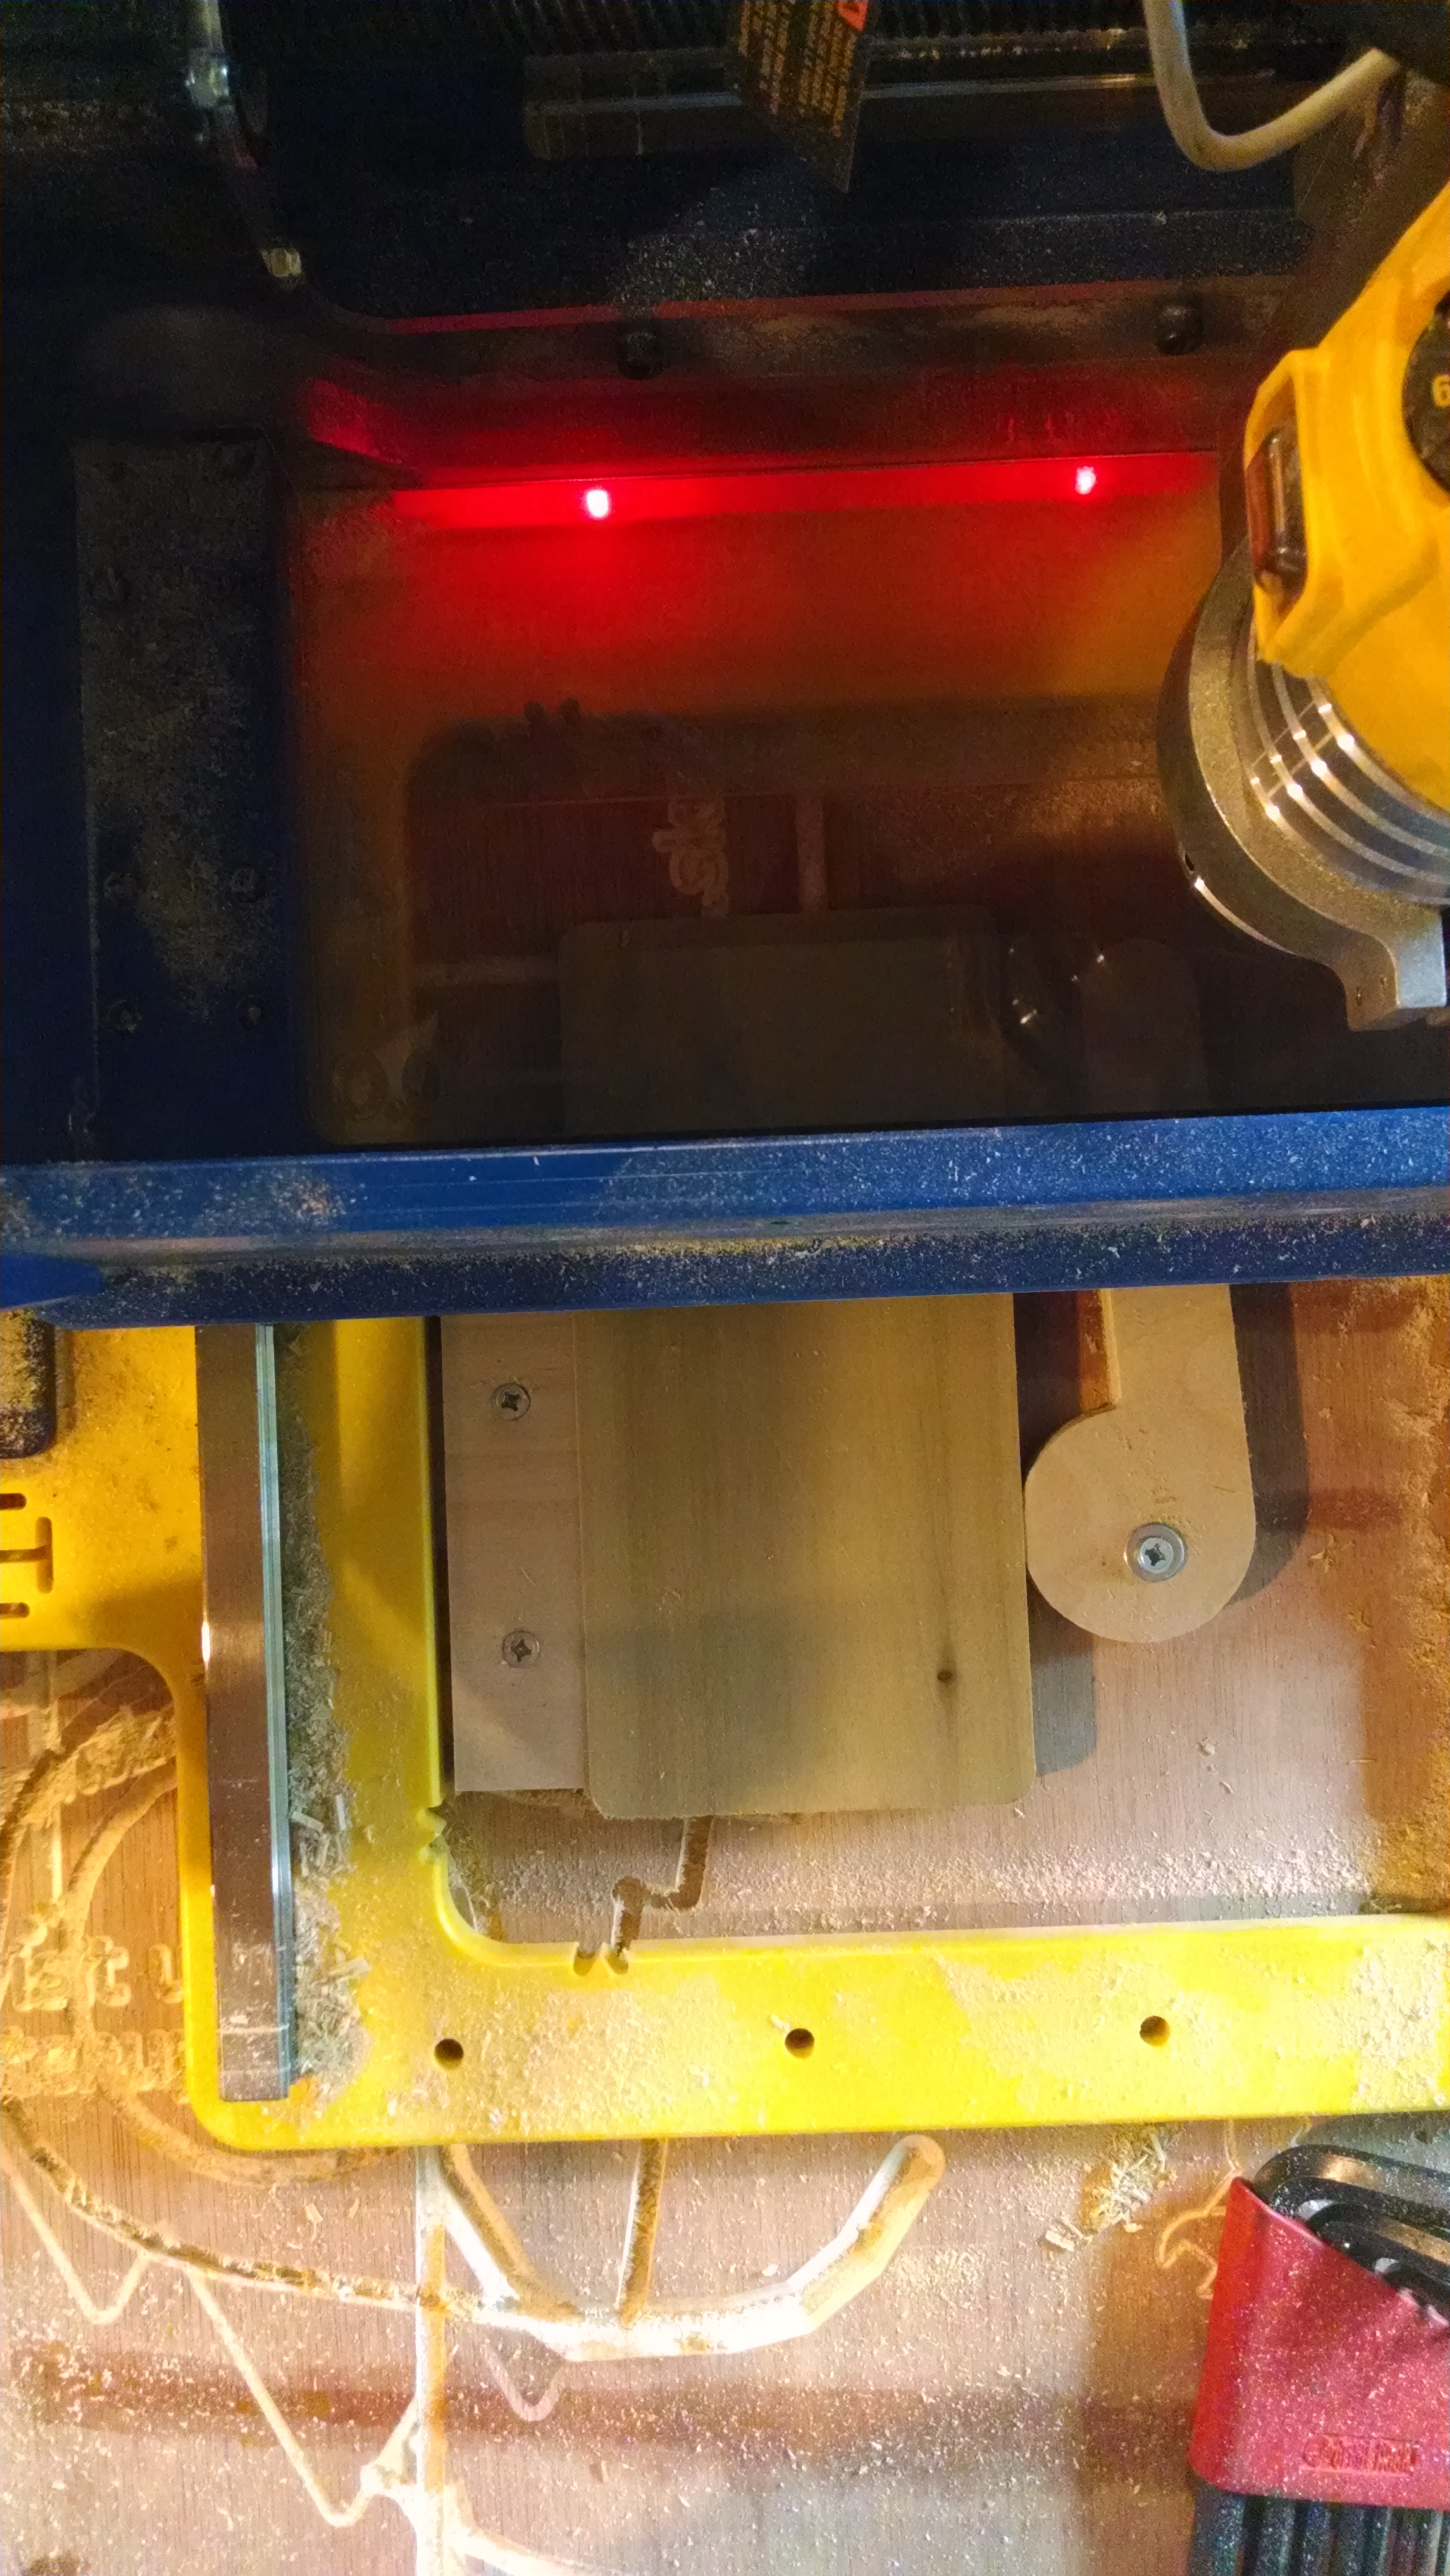
After that I brought it into VCarve Pro, setup my toolpaths and milled all the parts. You can see in this shot below how I milled the top. I just did it upside down and milled the "lip" into the wood, and then cut out the rest. I added a .02" tolerance so the top fit loosely enough into the box to not fall out, but not be hard to open. There can be a little trial and error getting just the right tolerance.

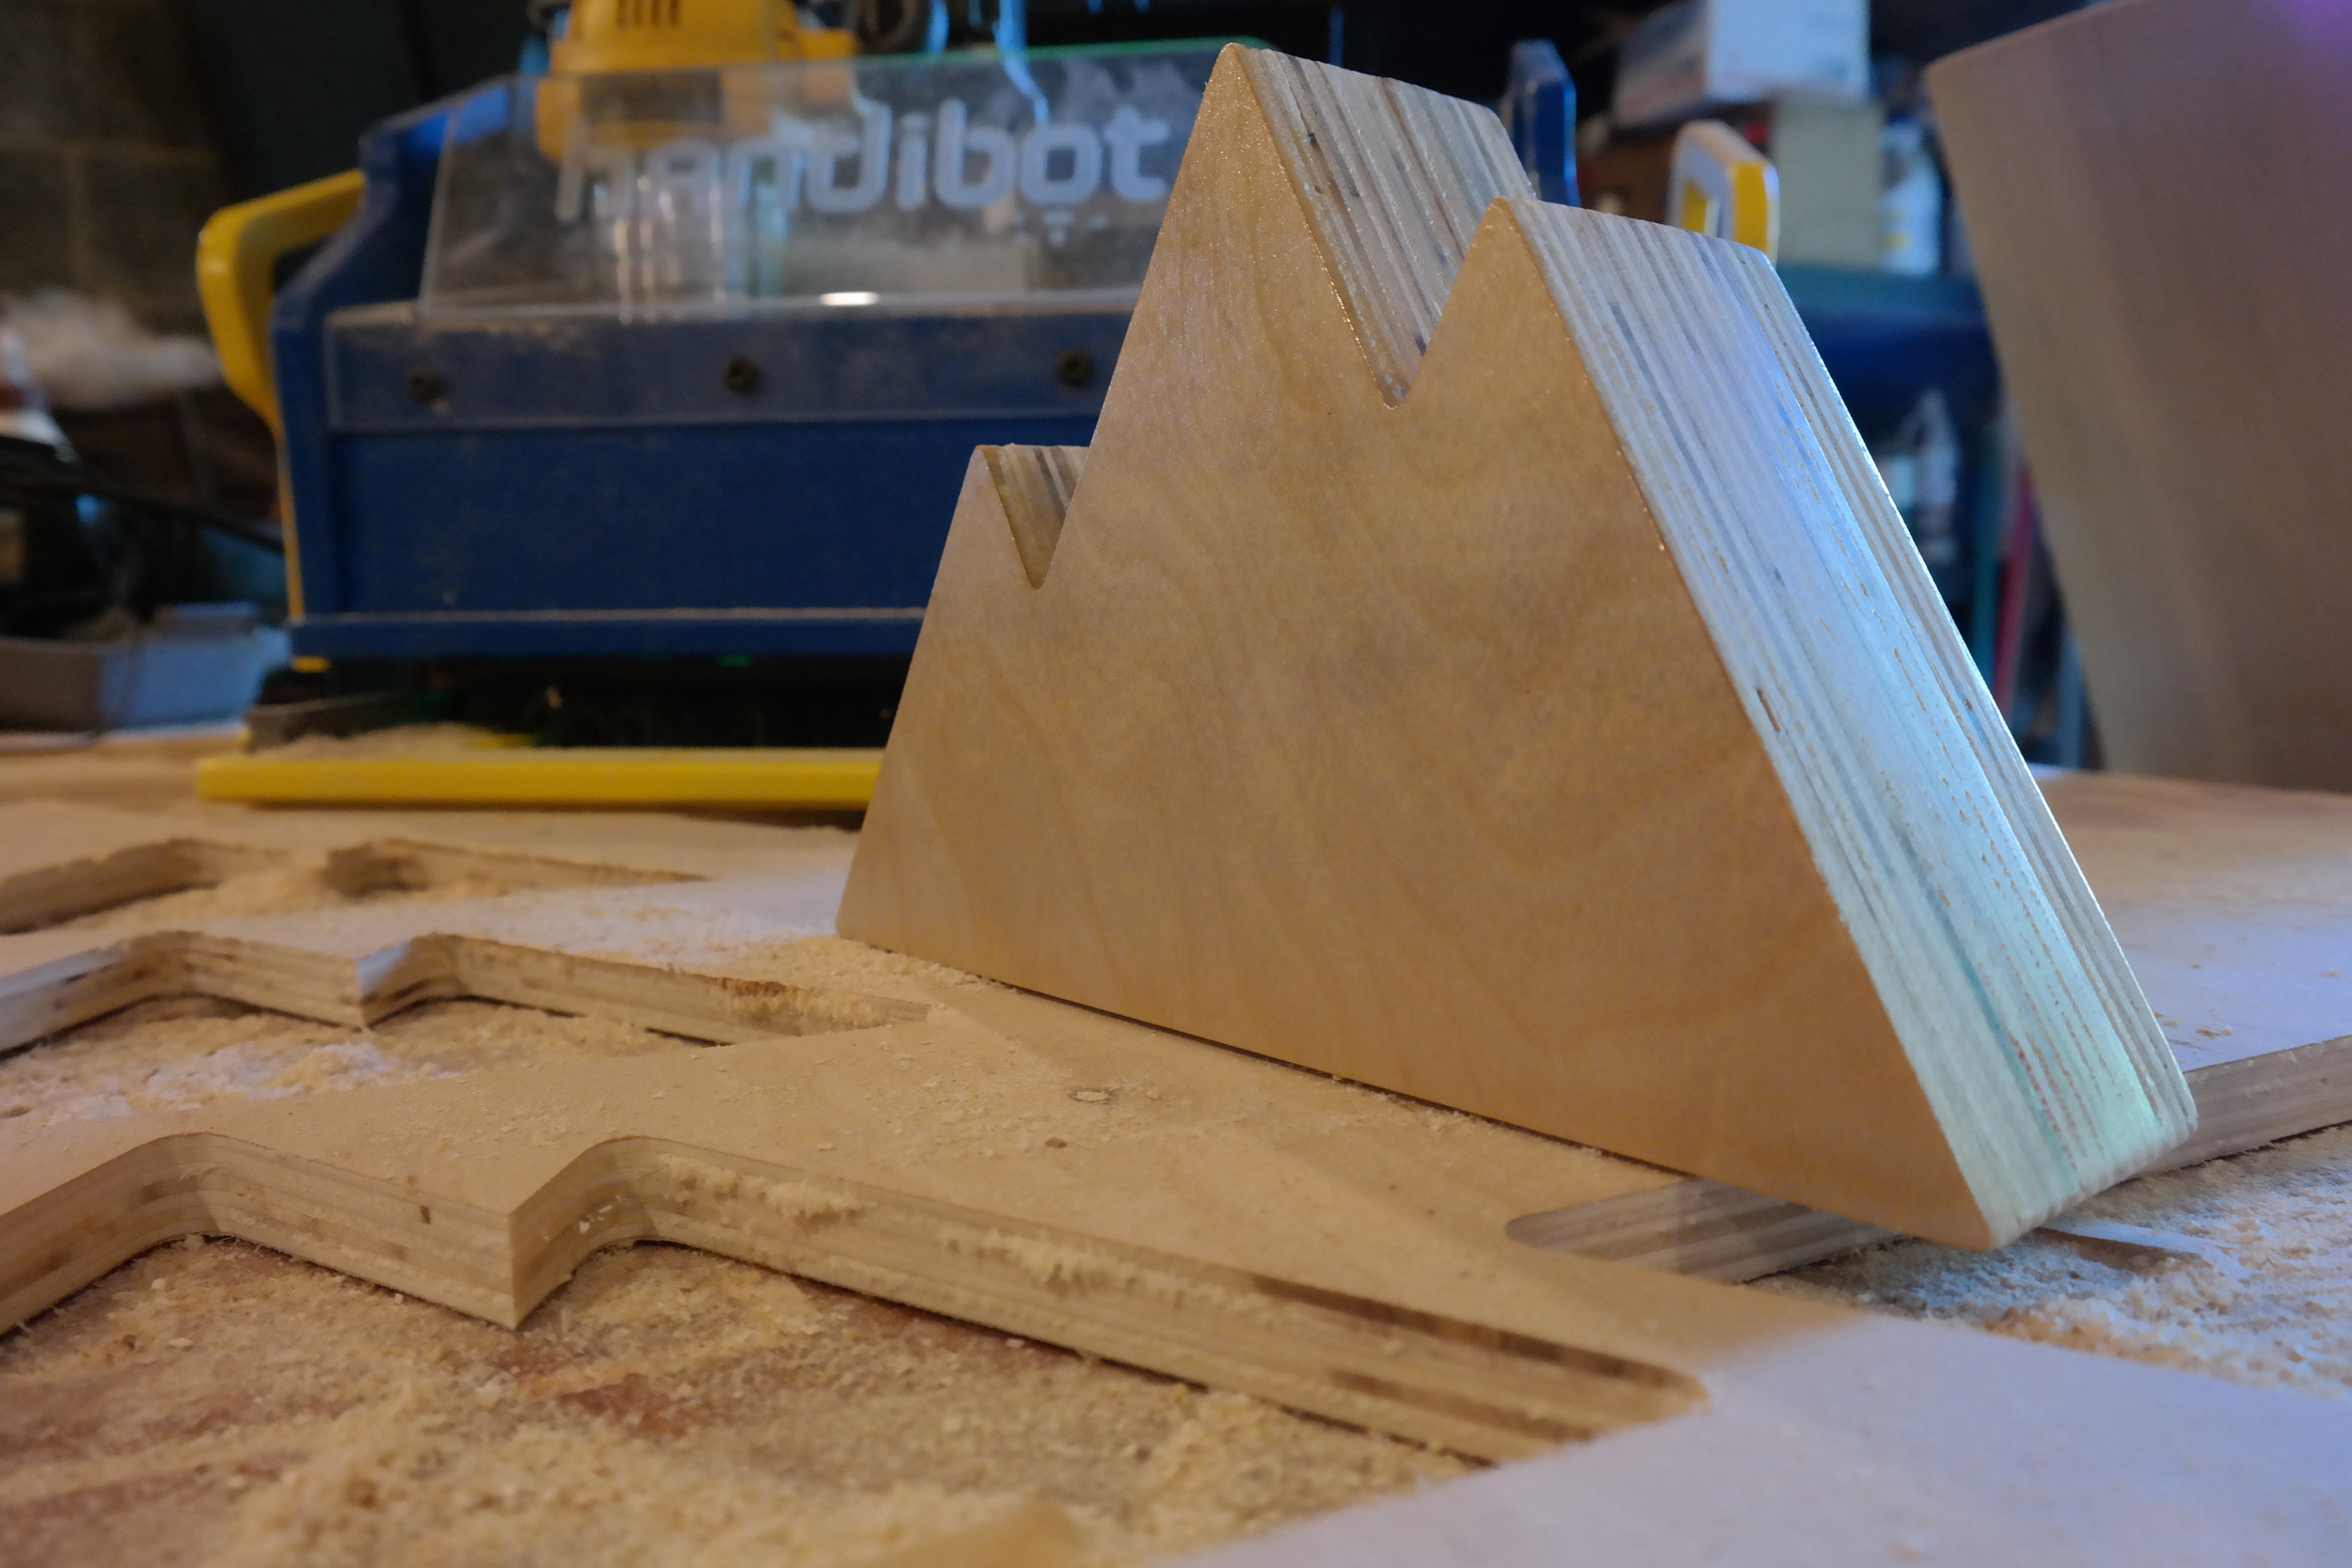
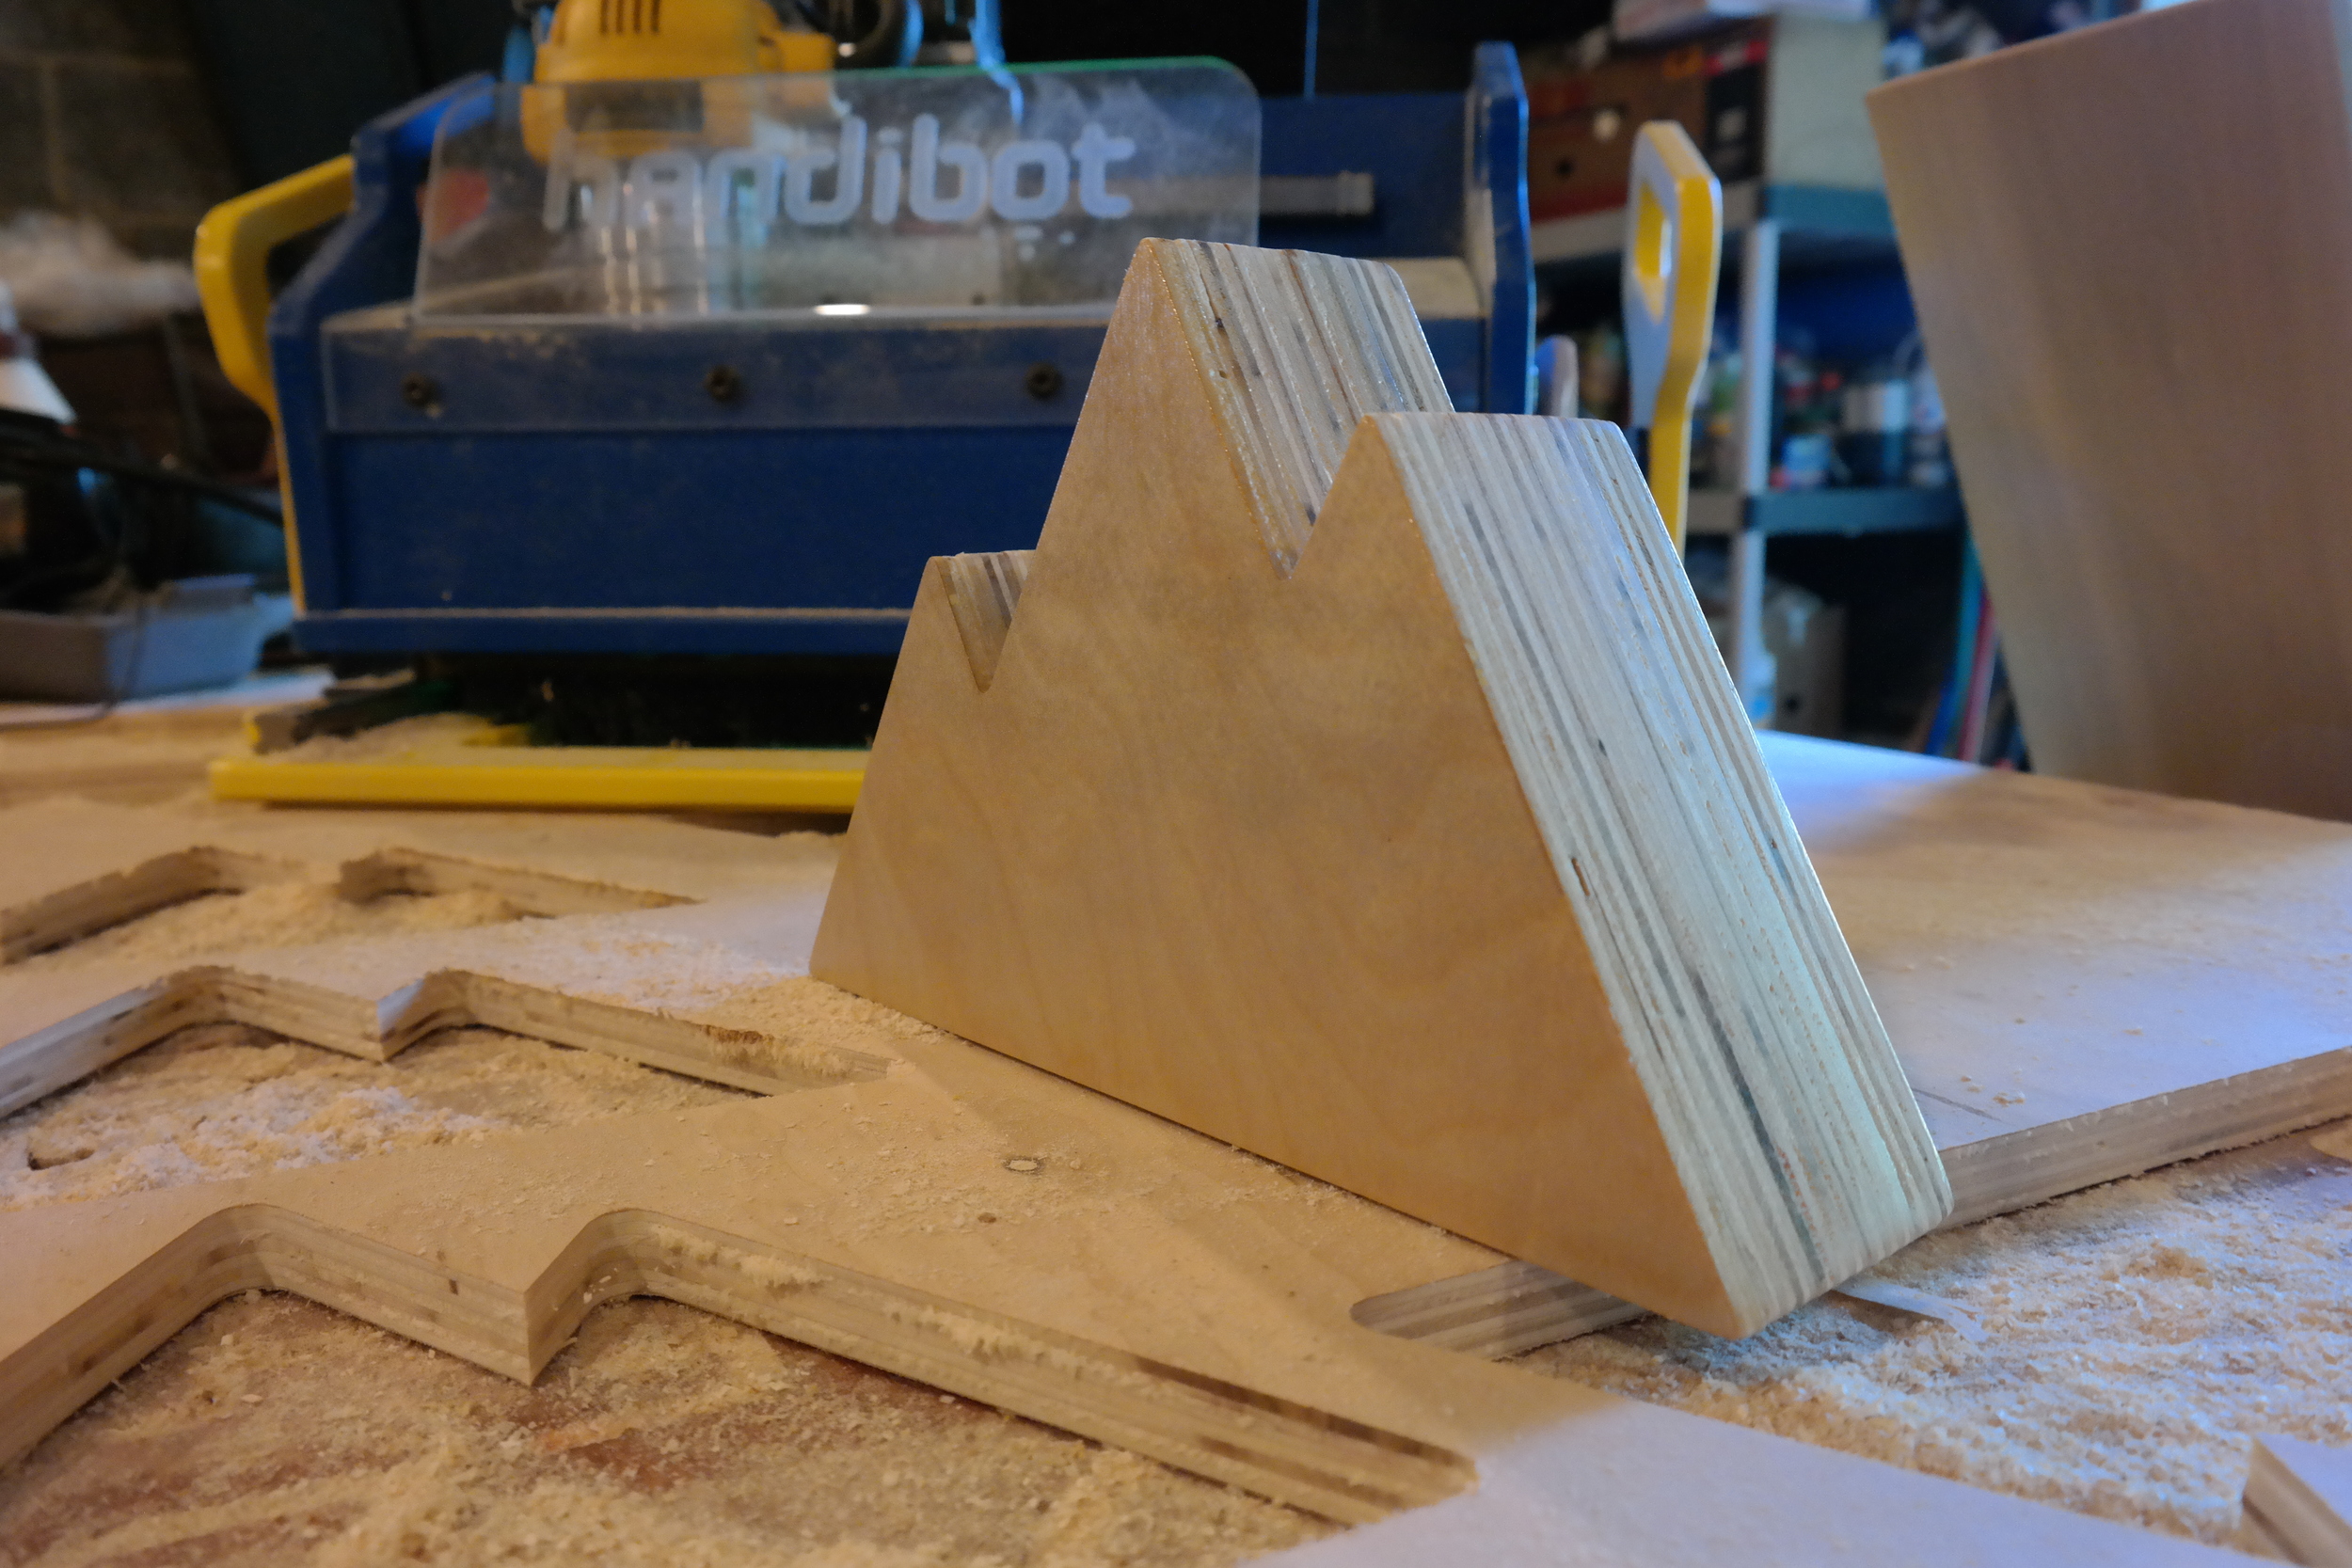
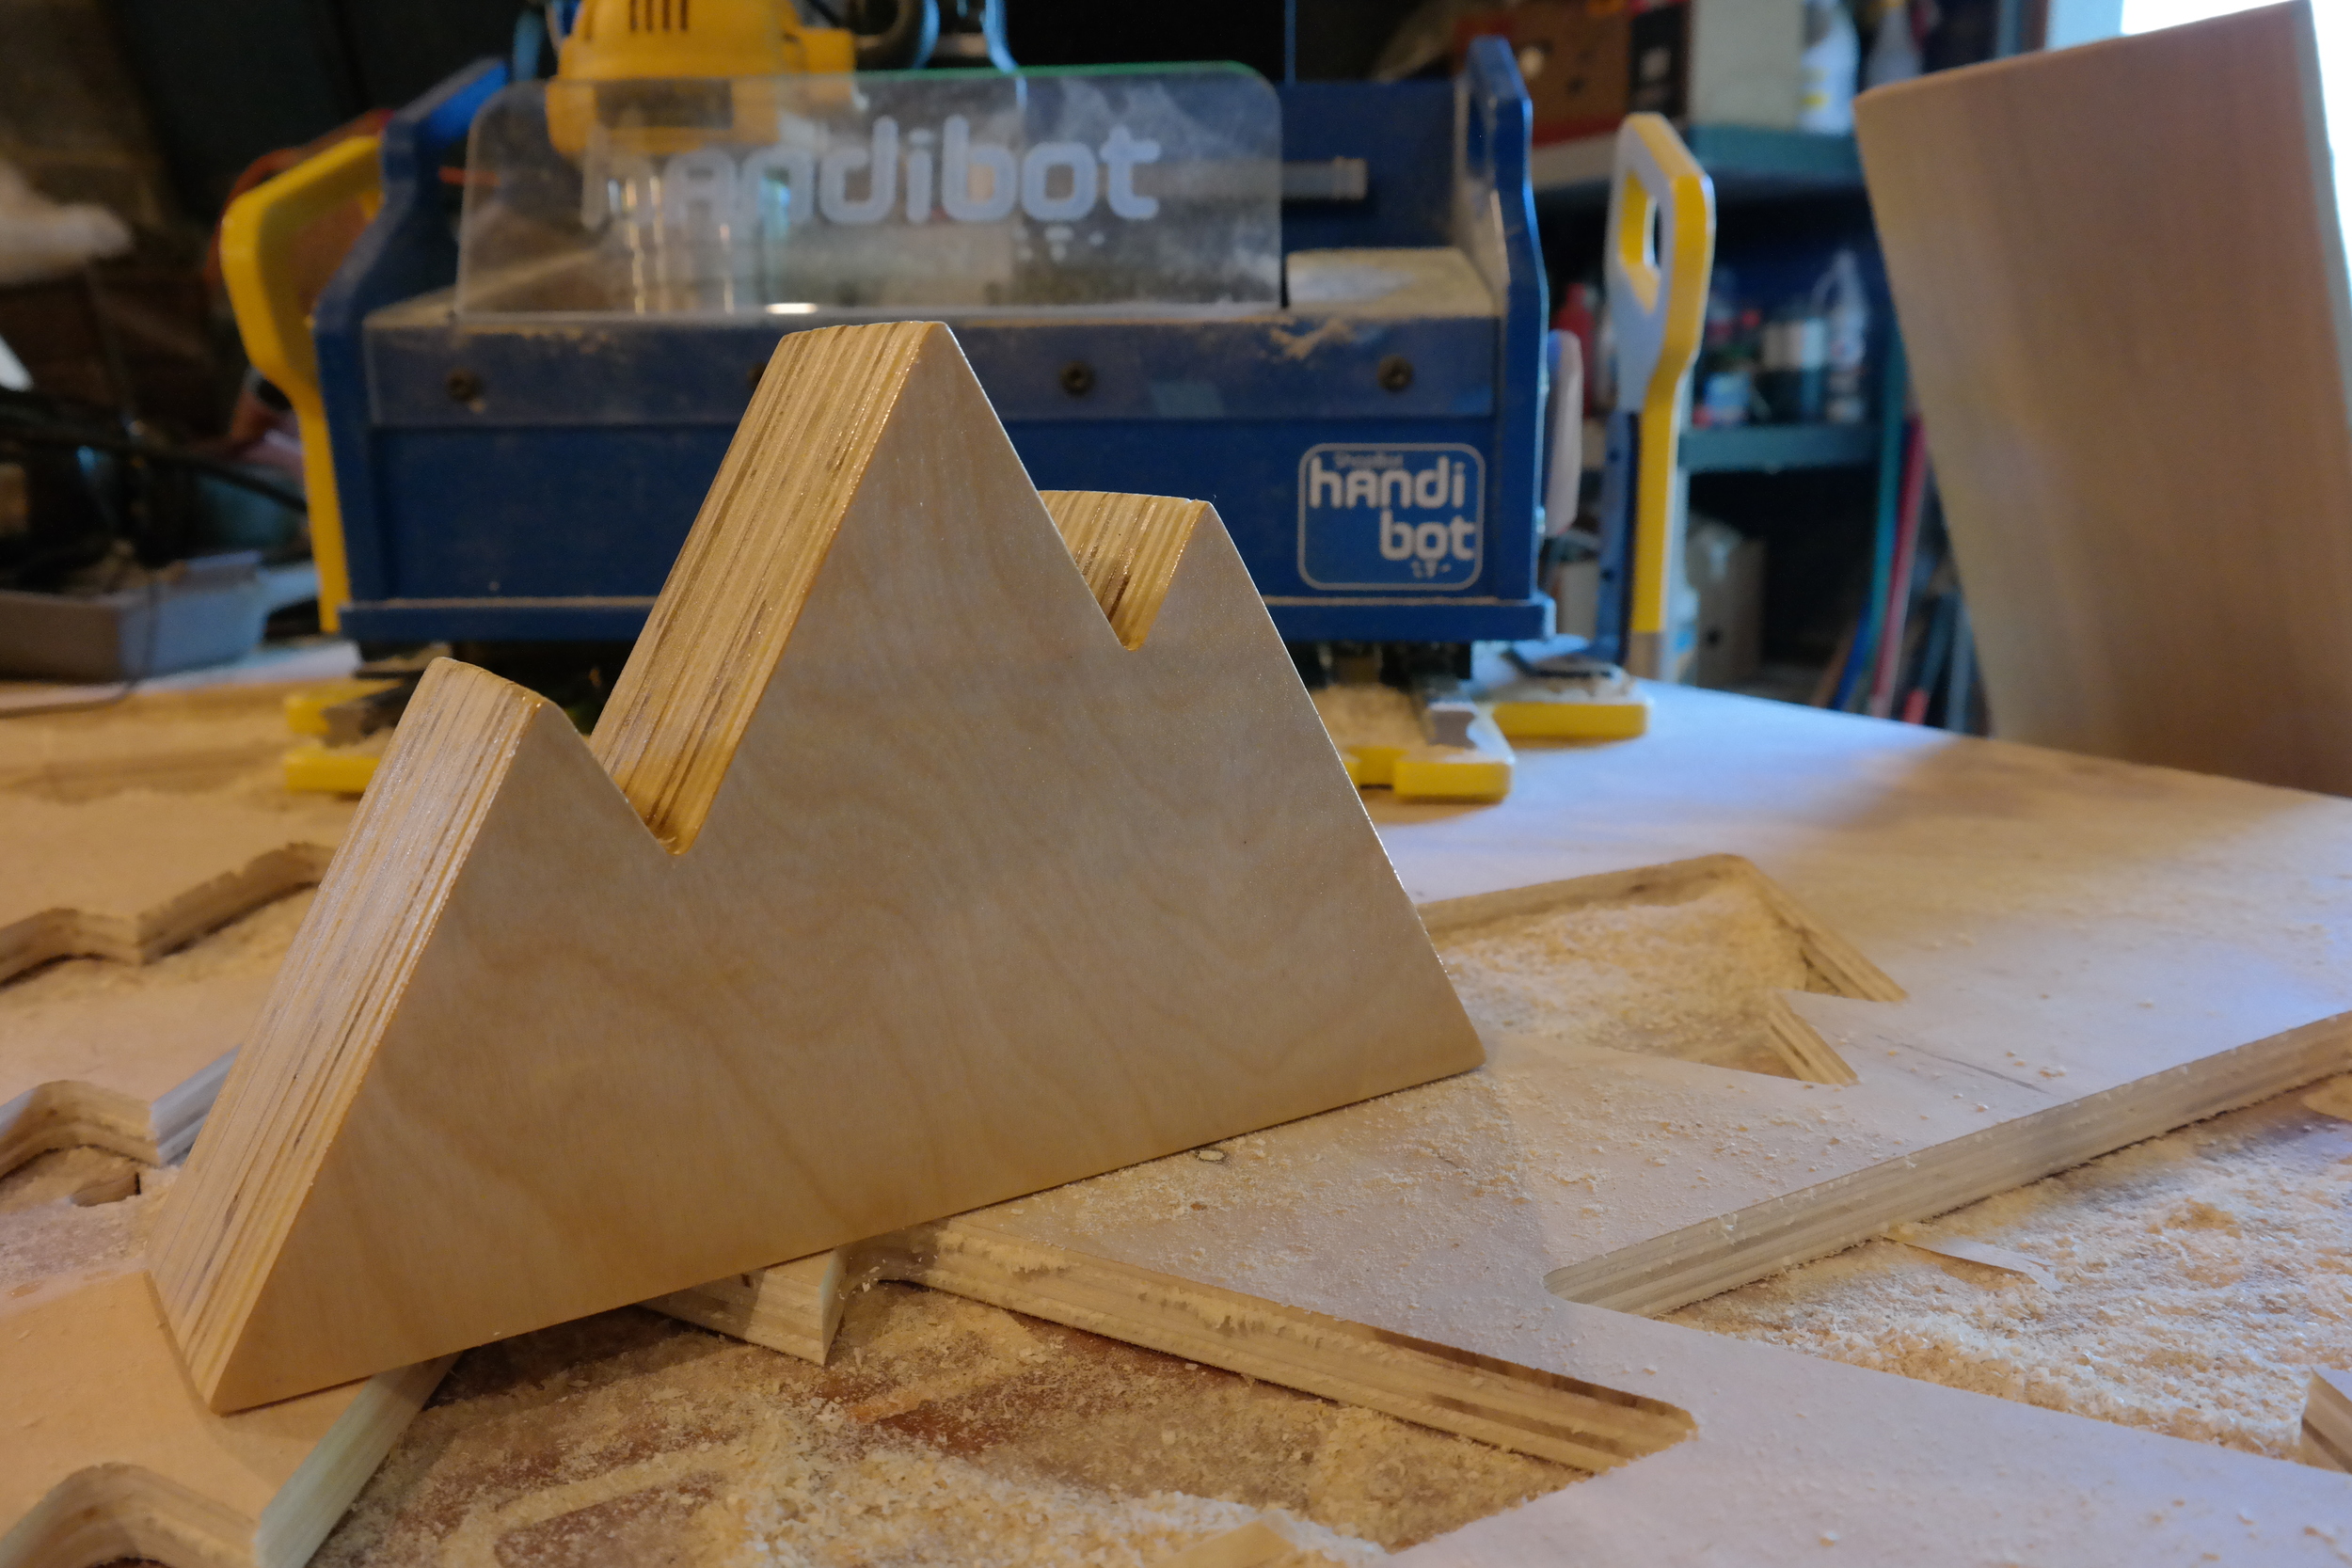
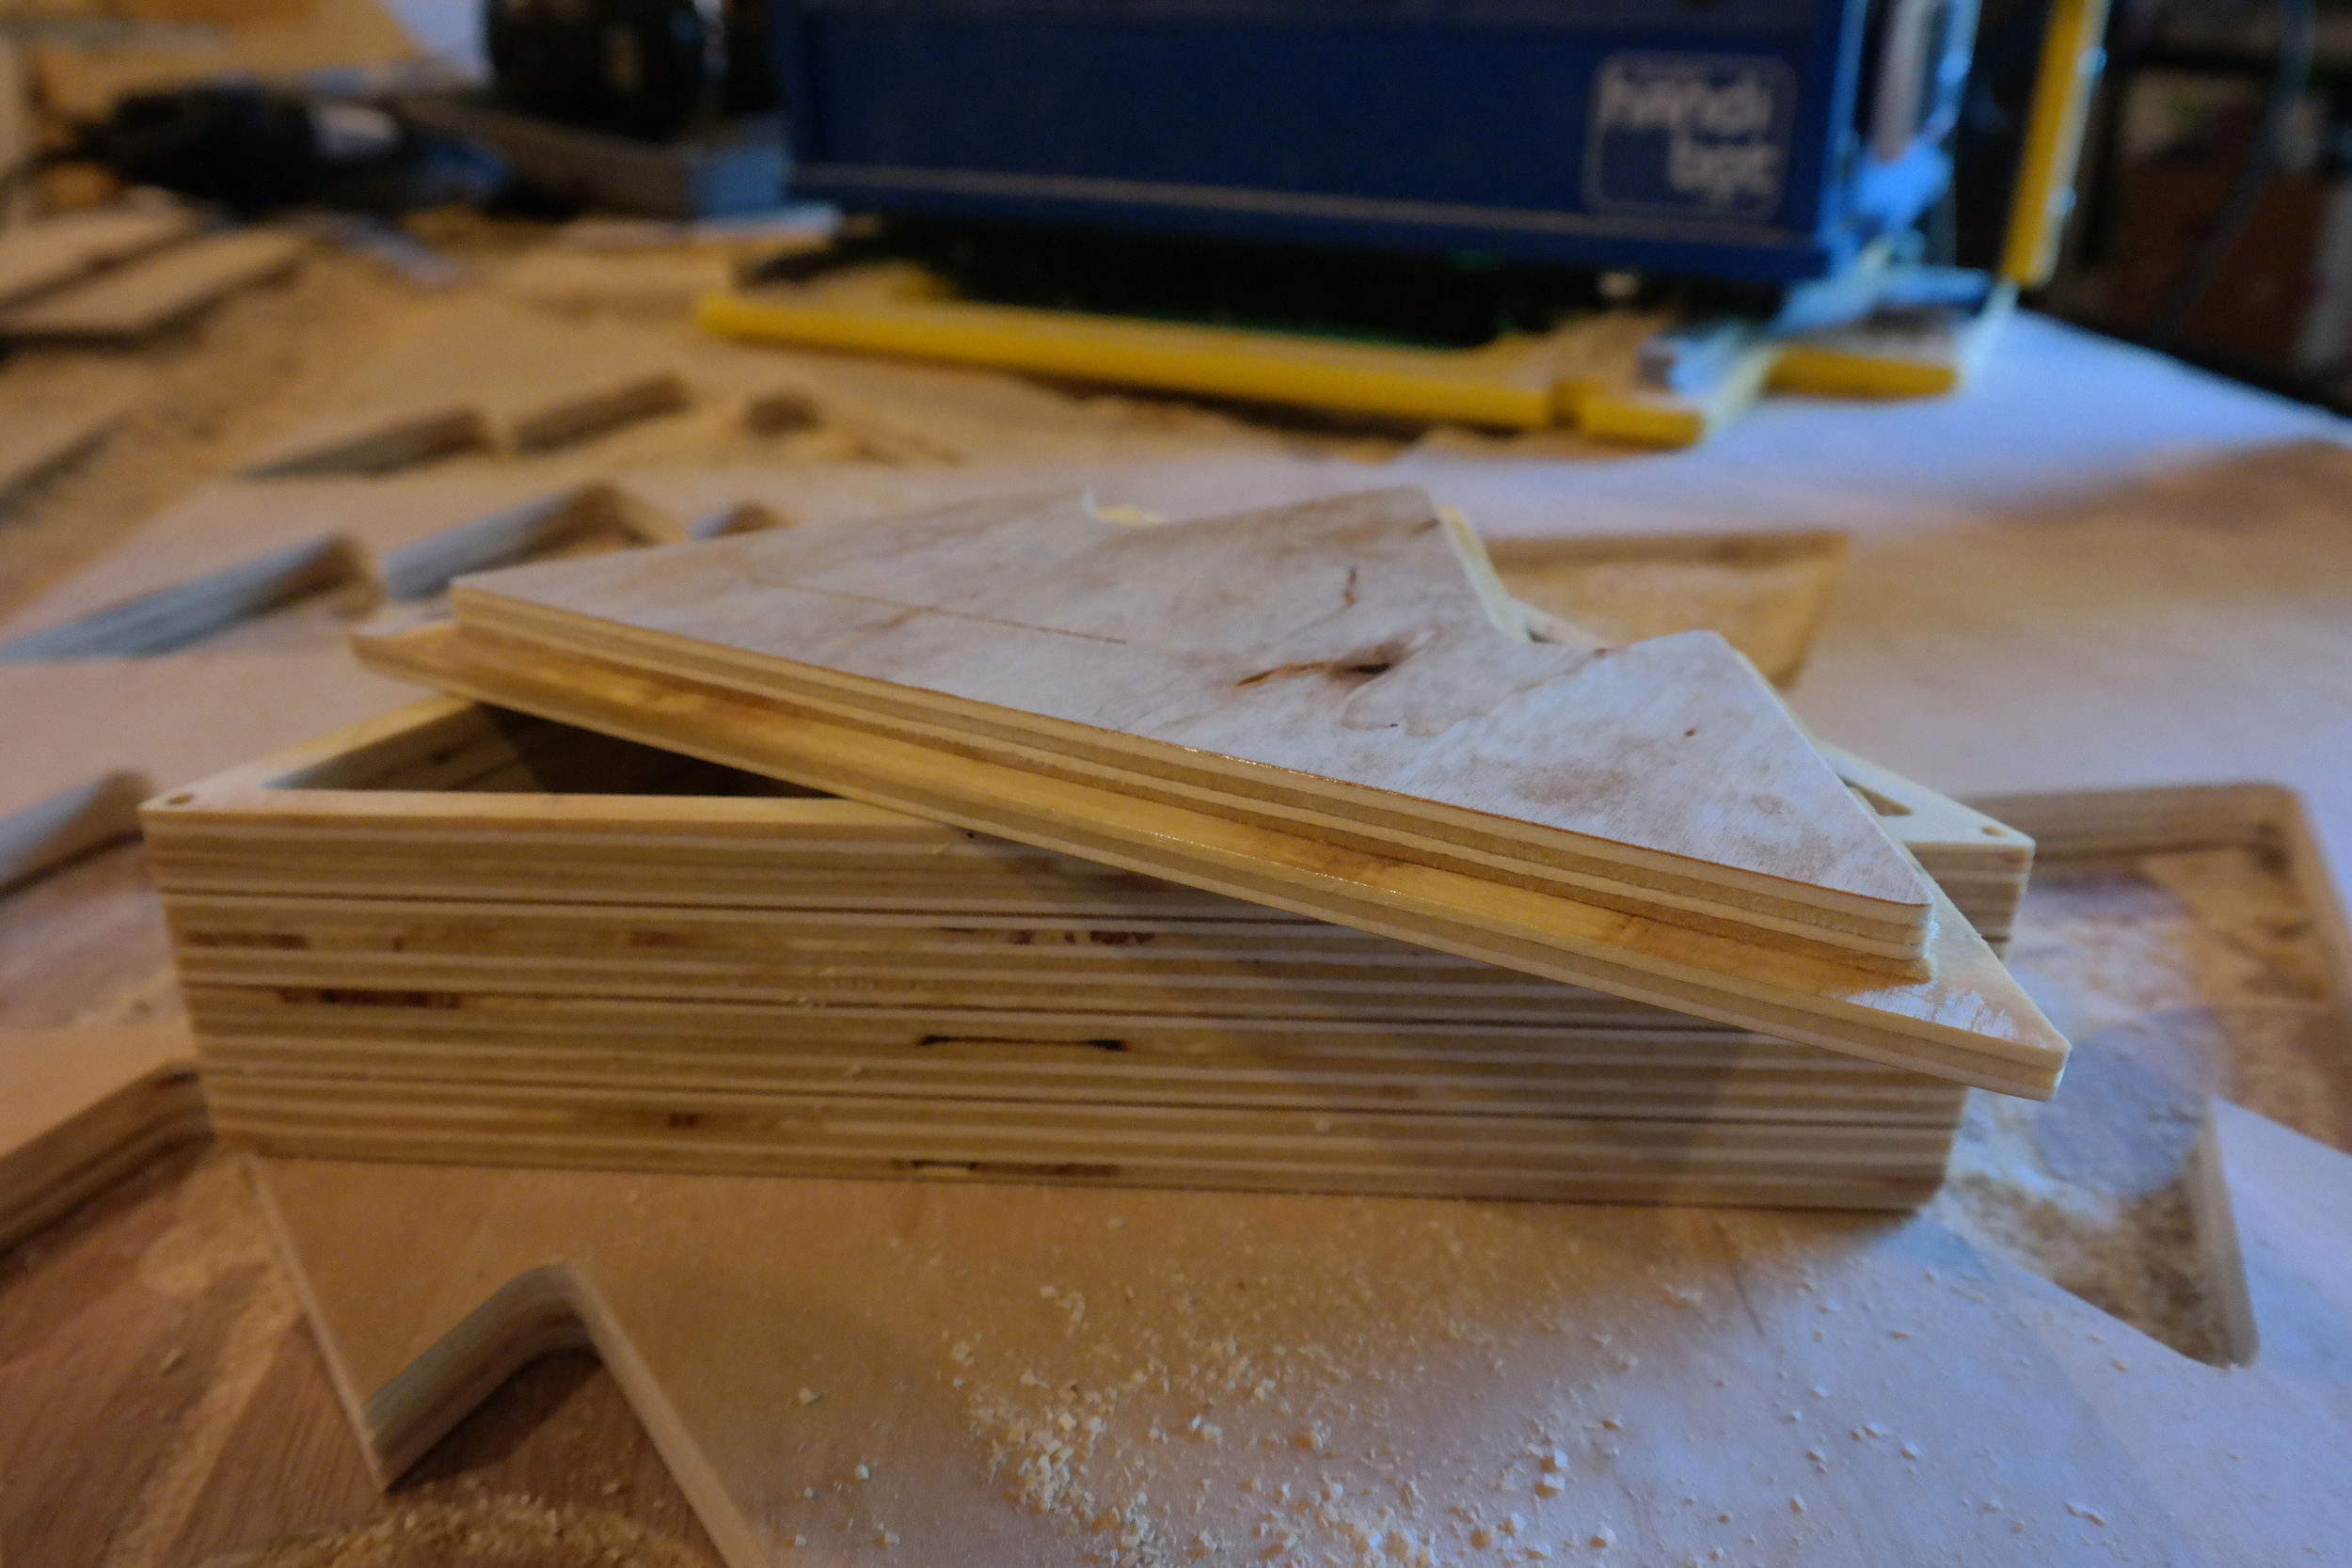
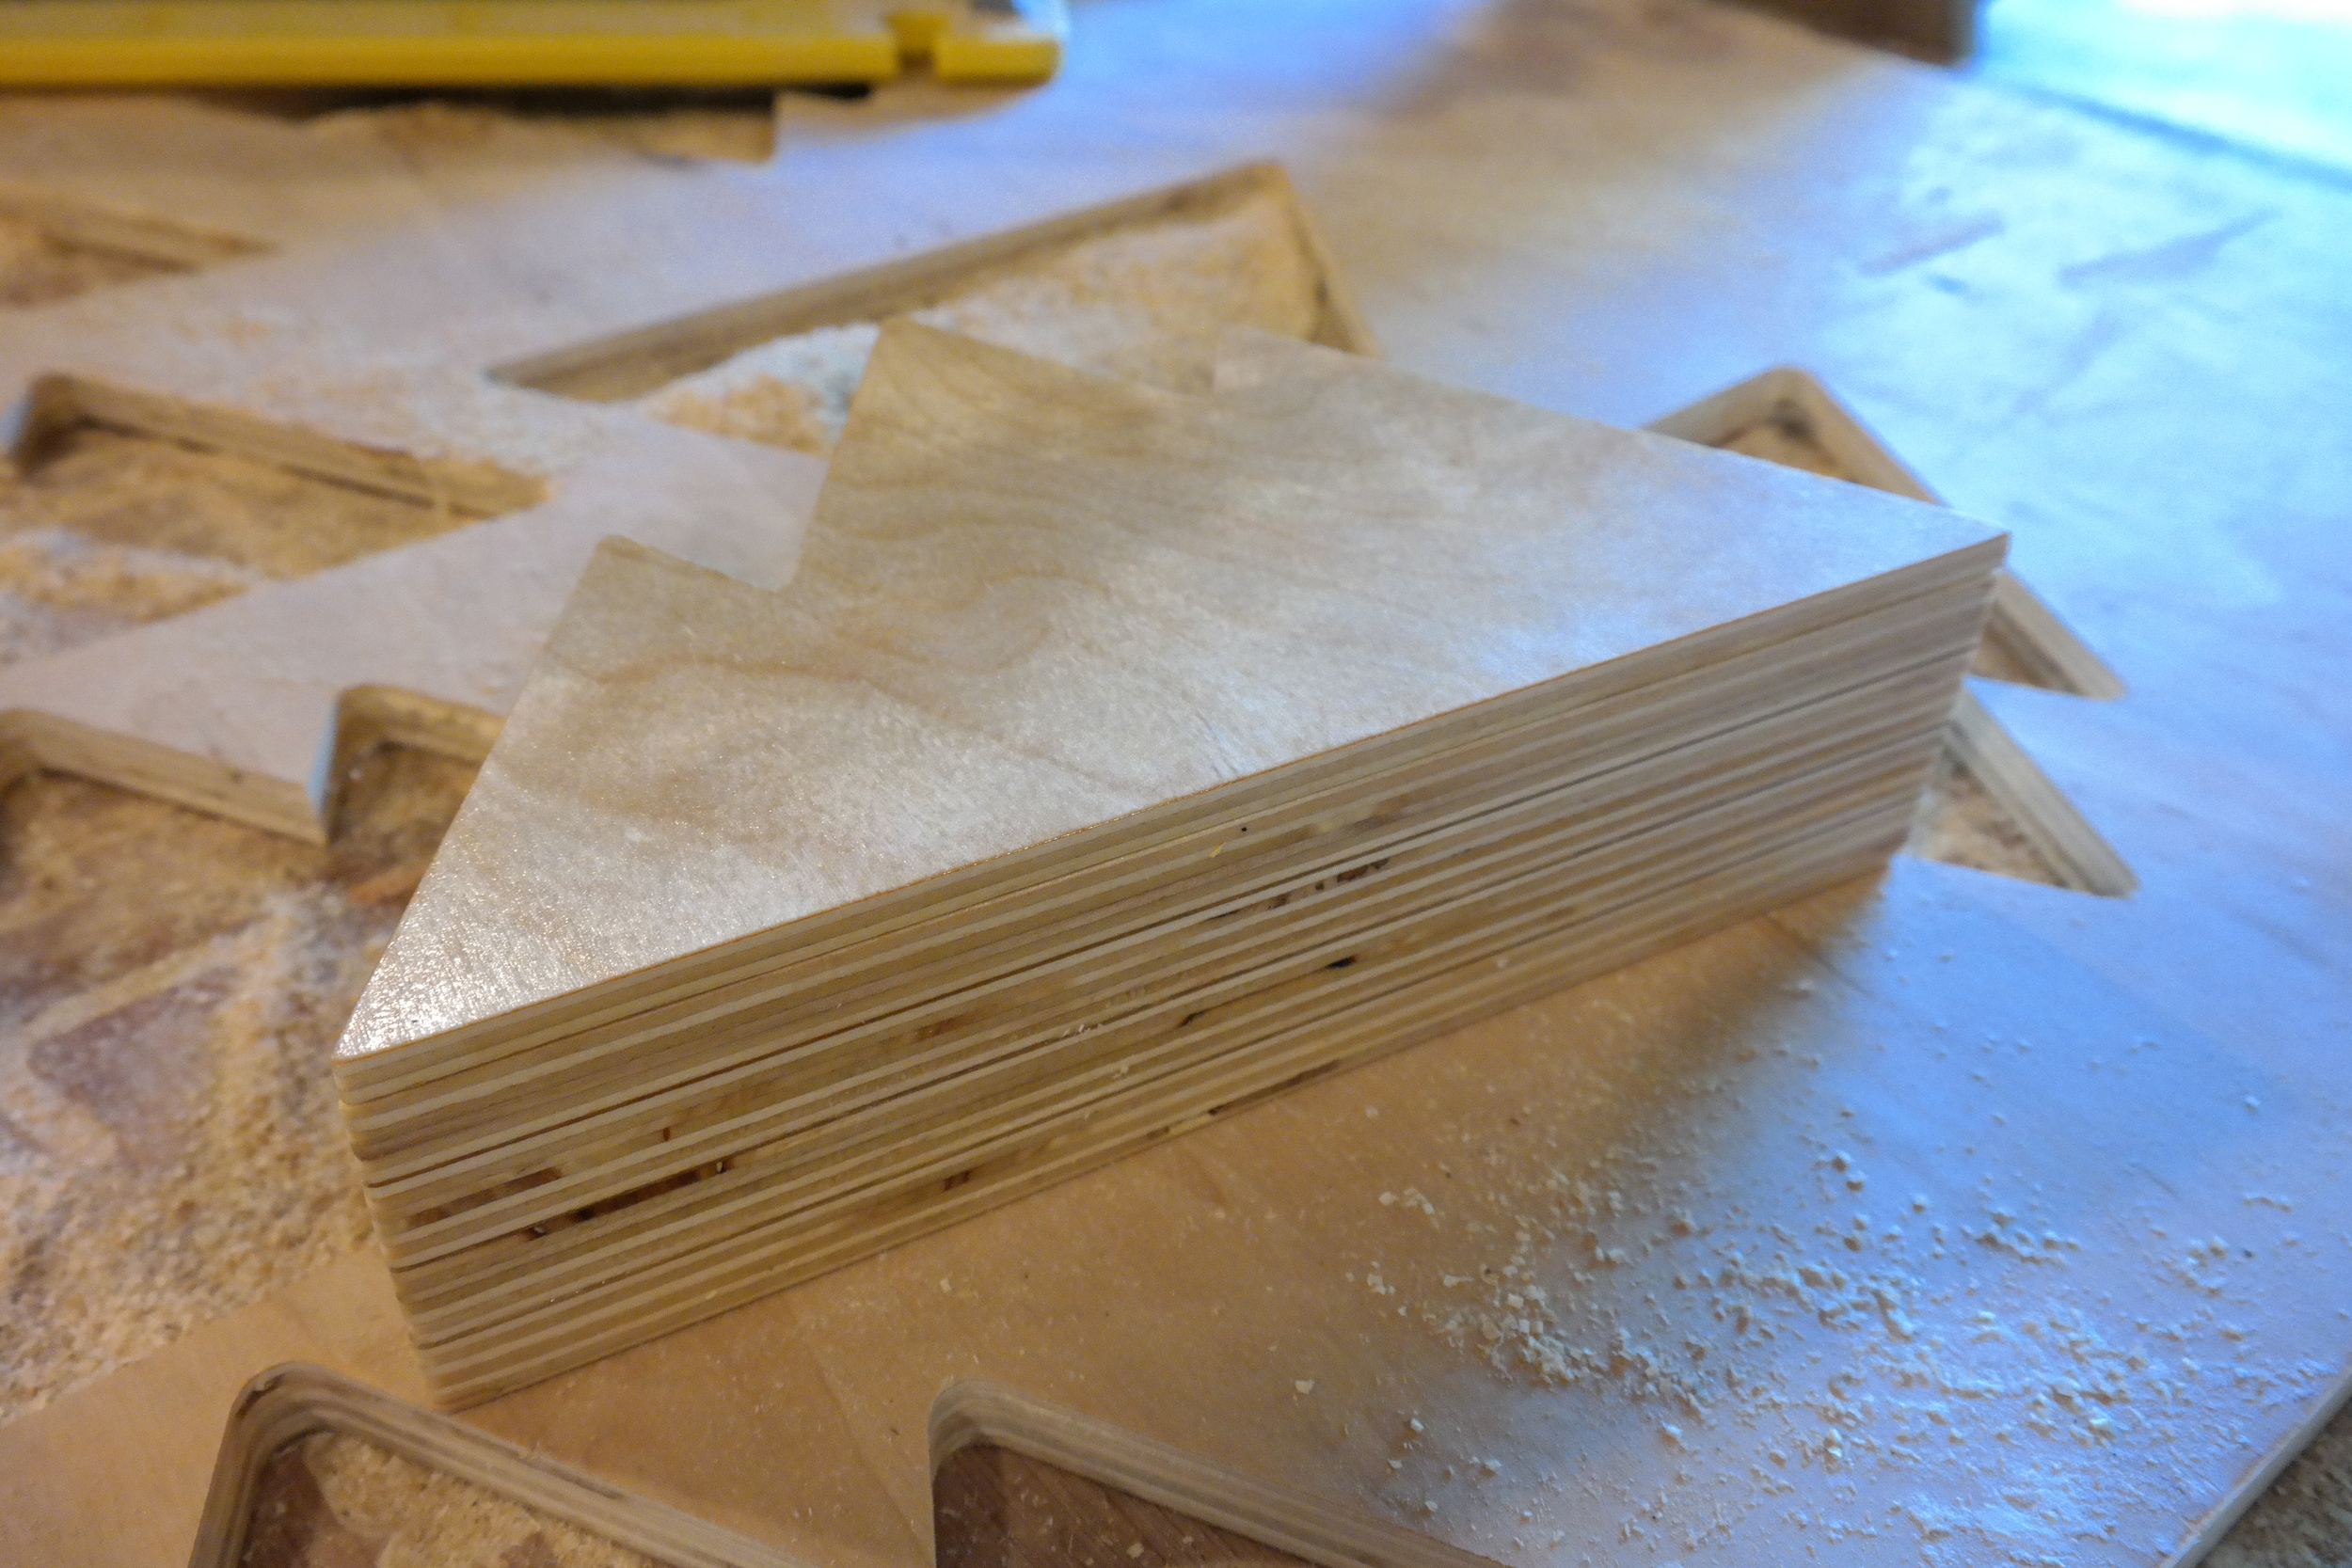
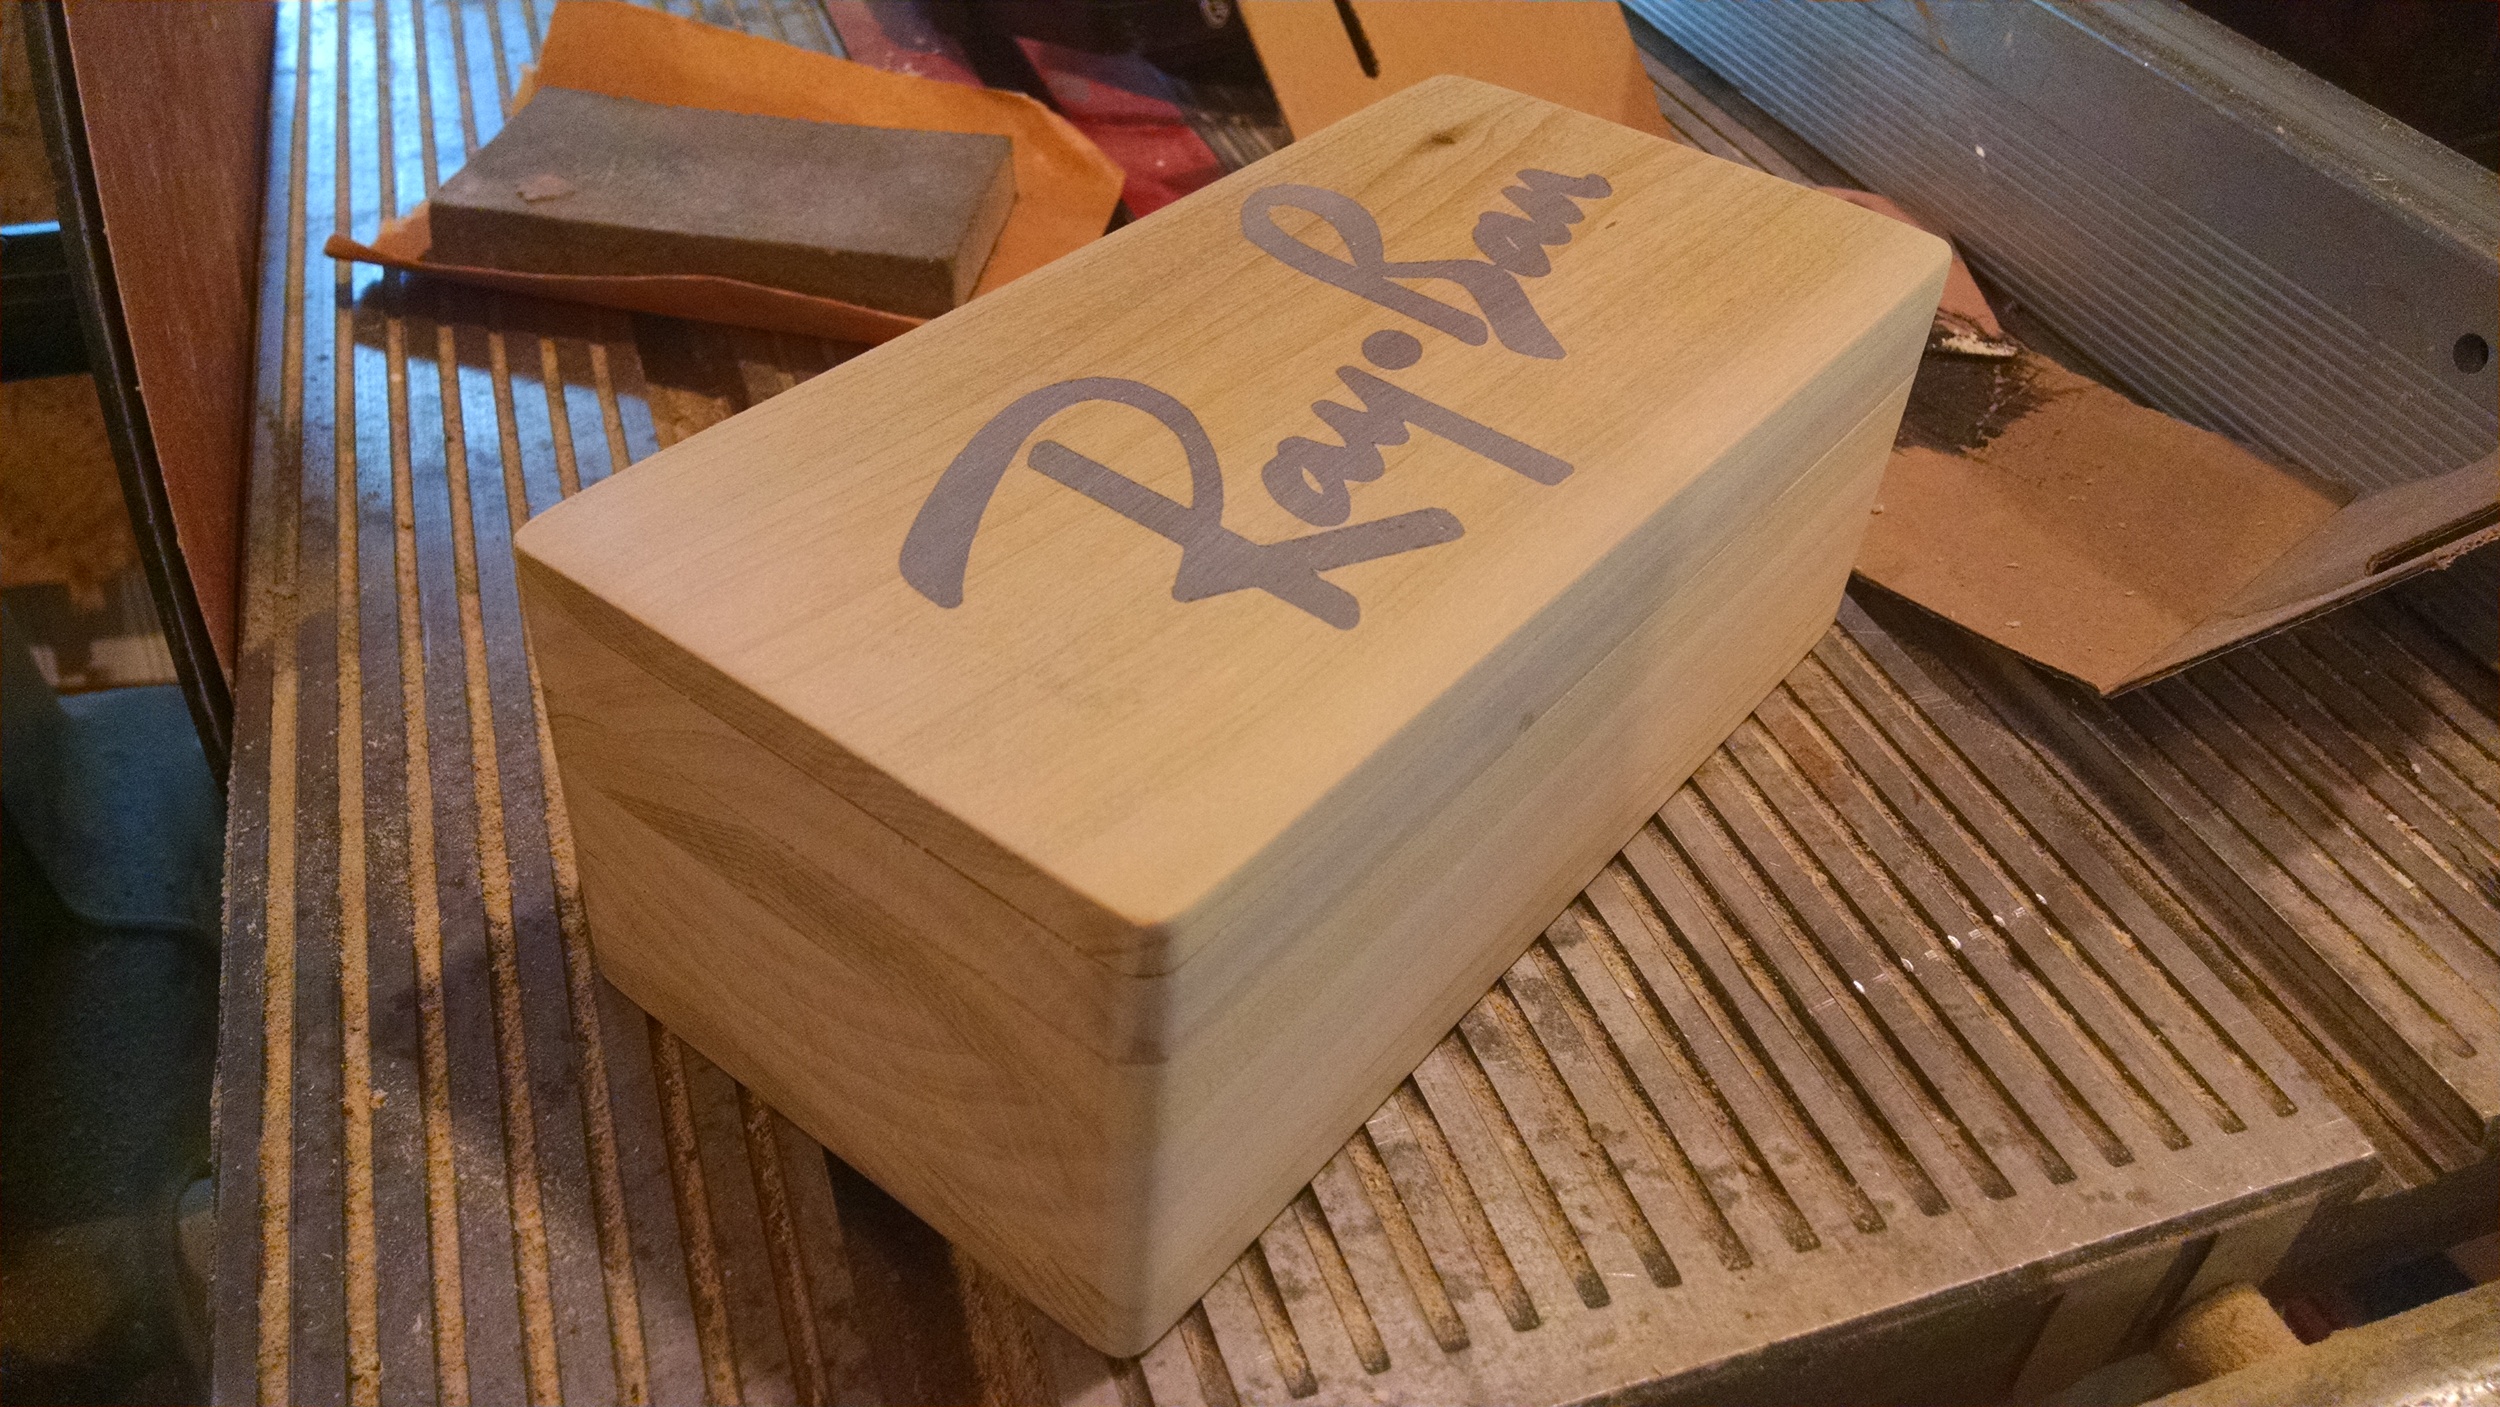
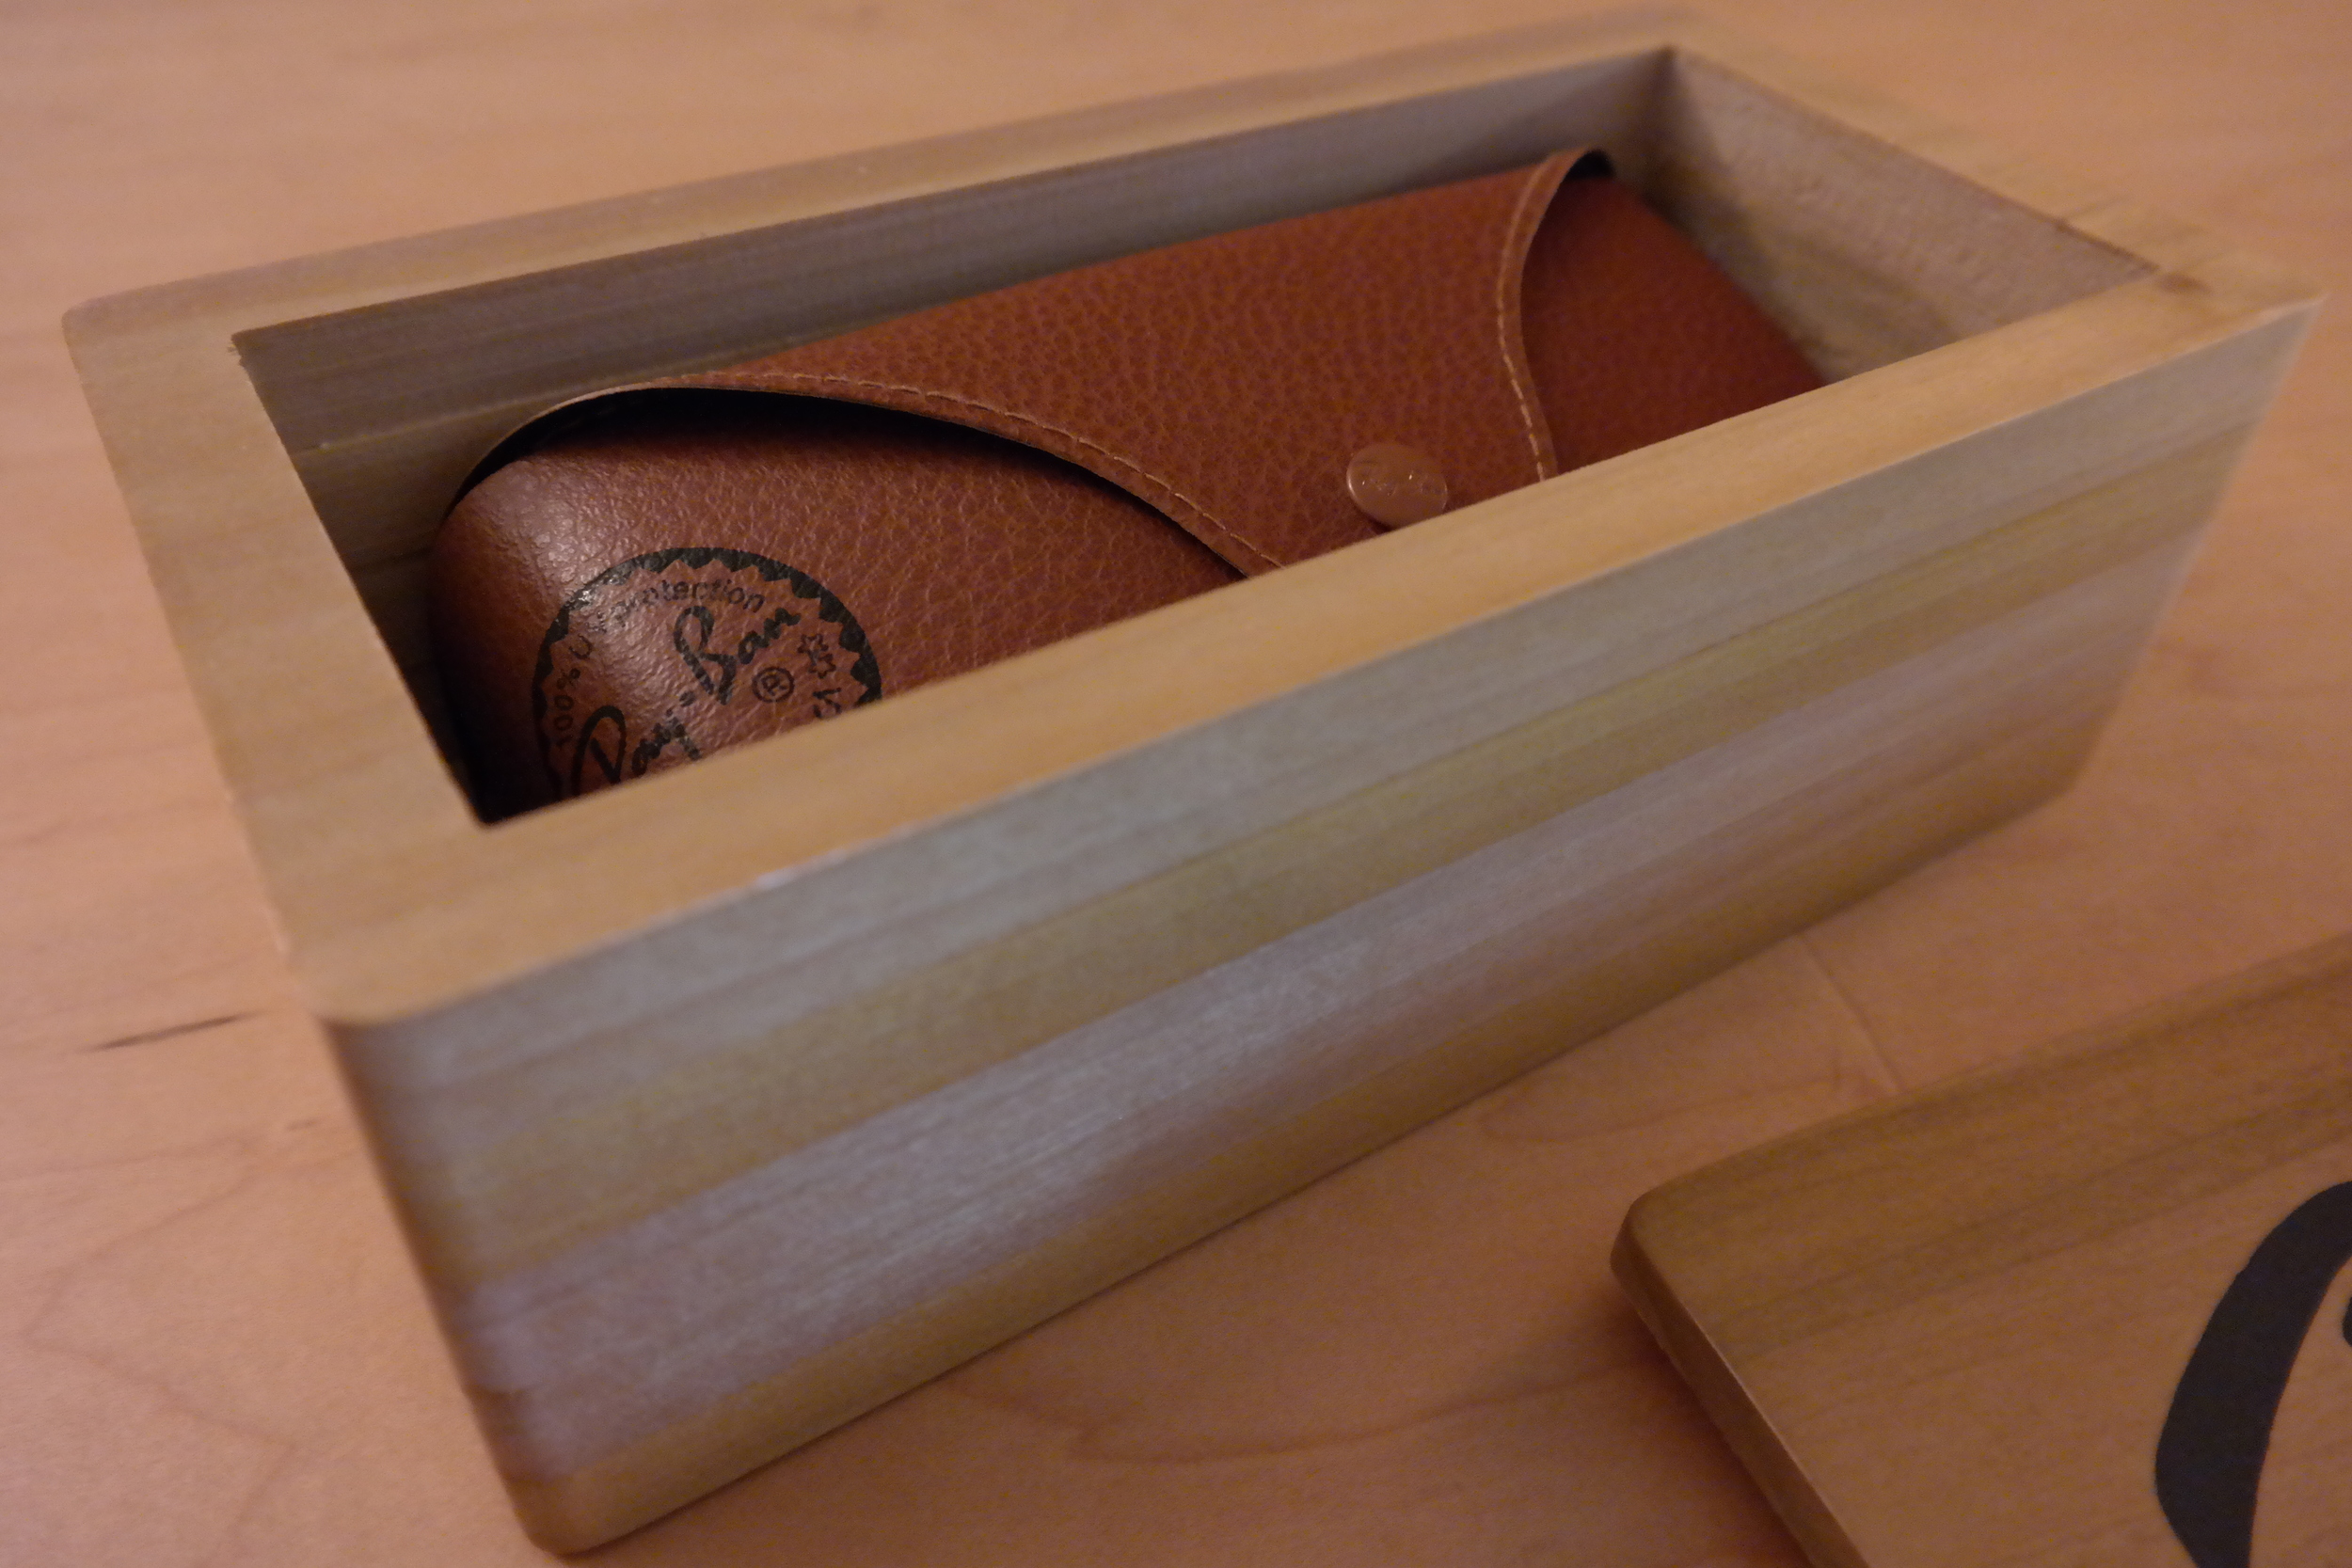
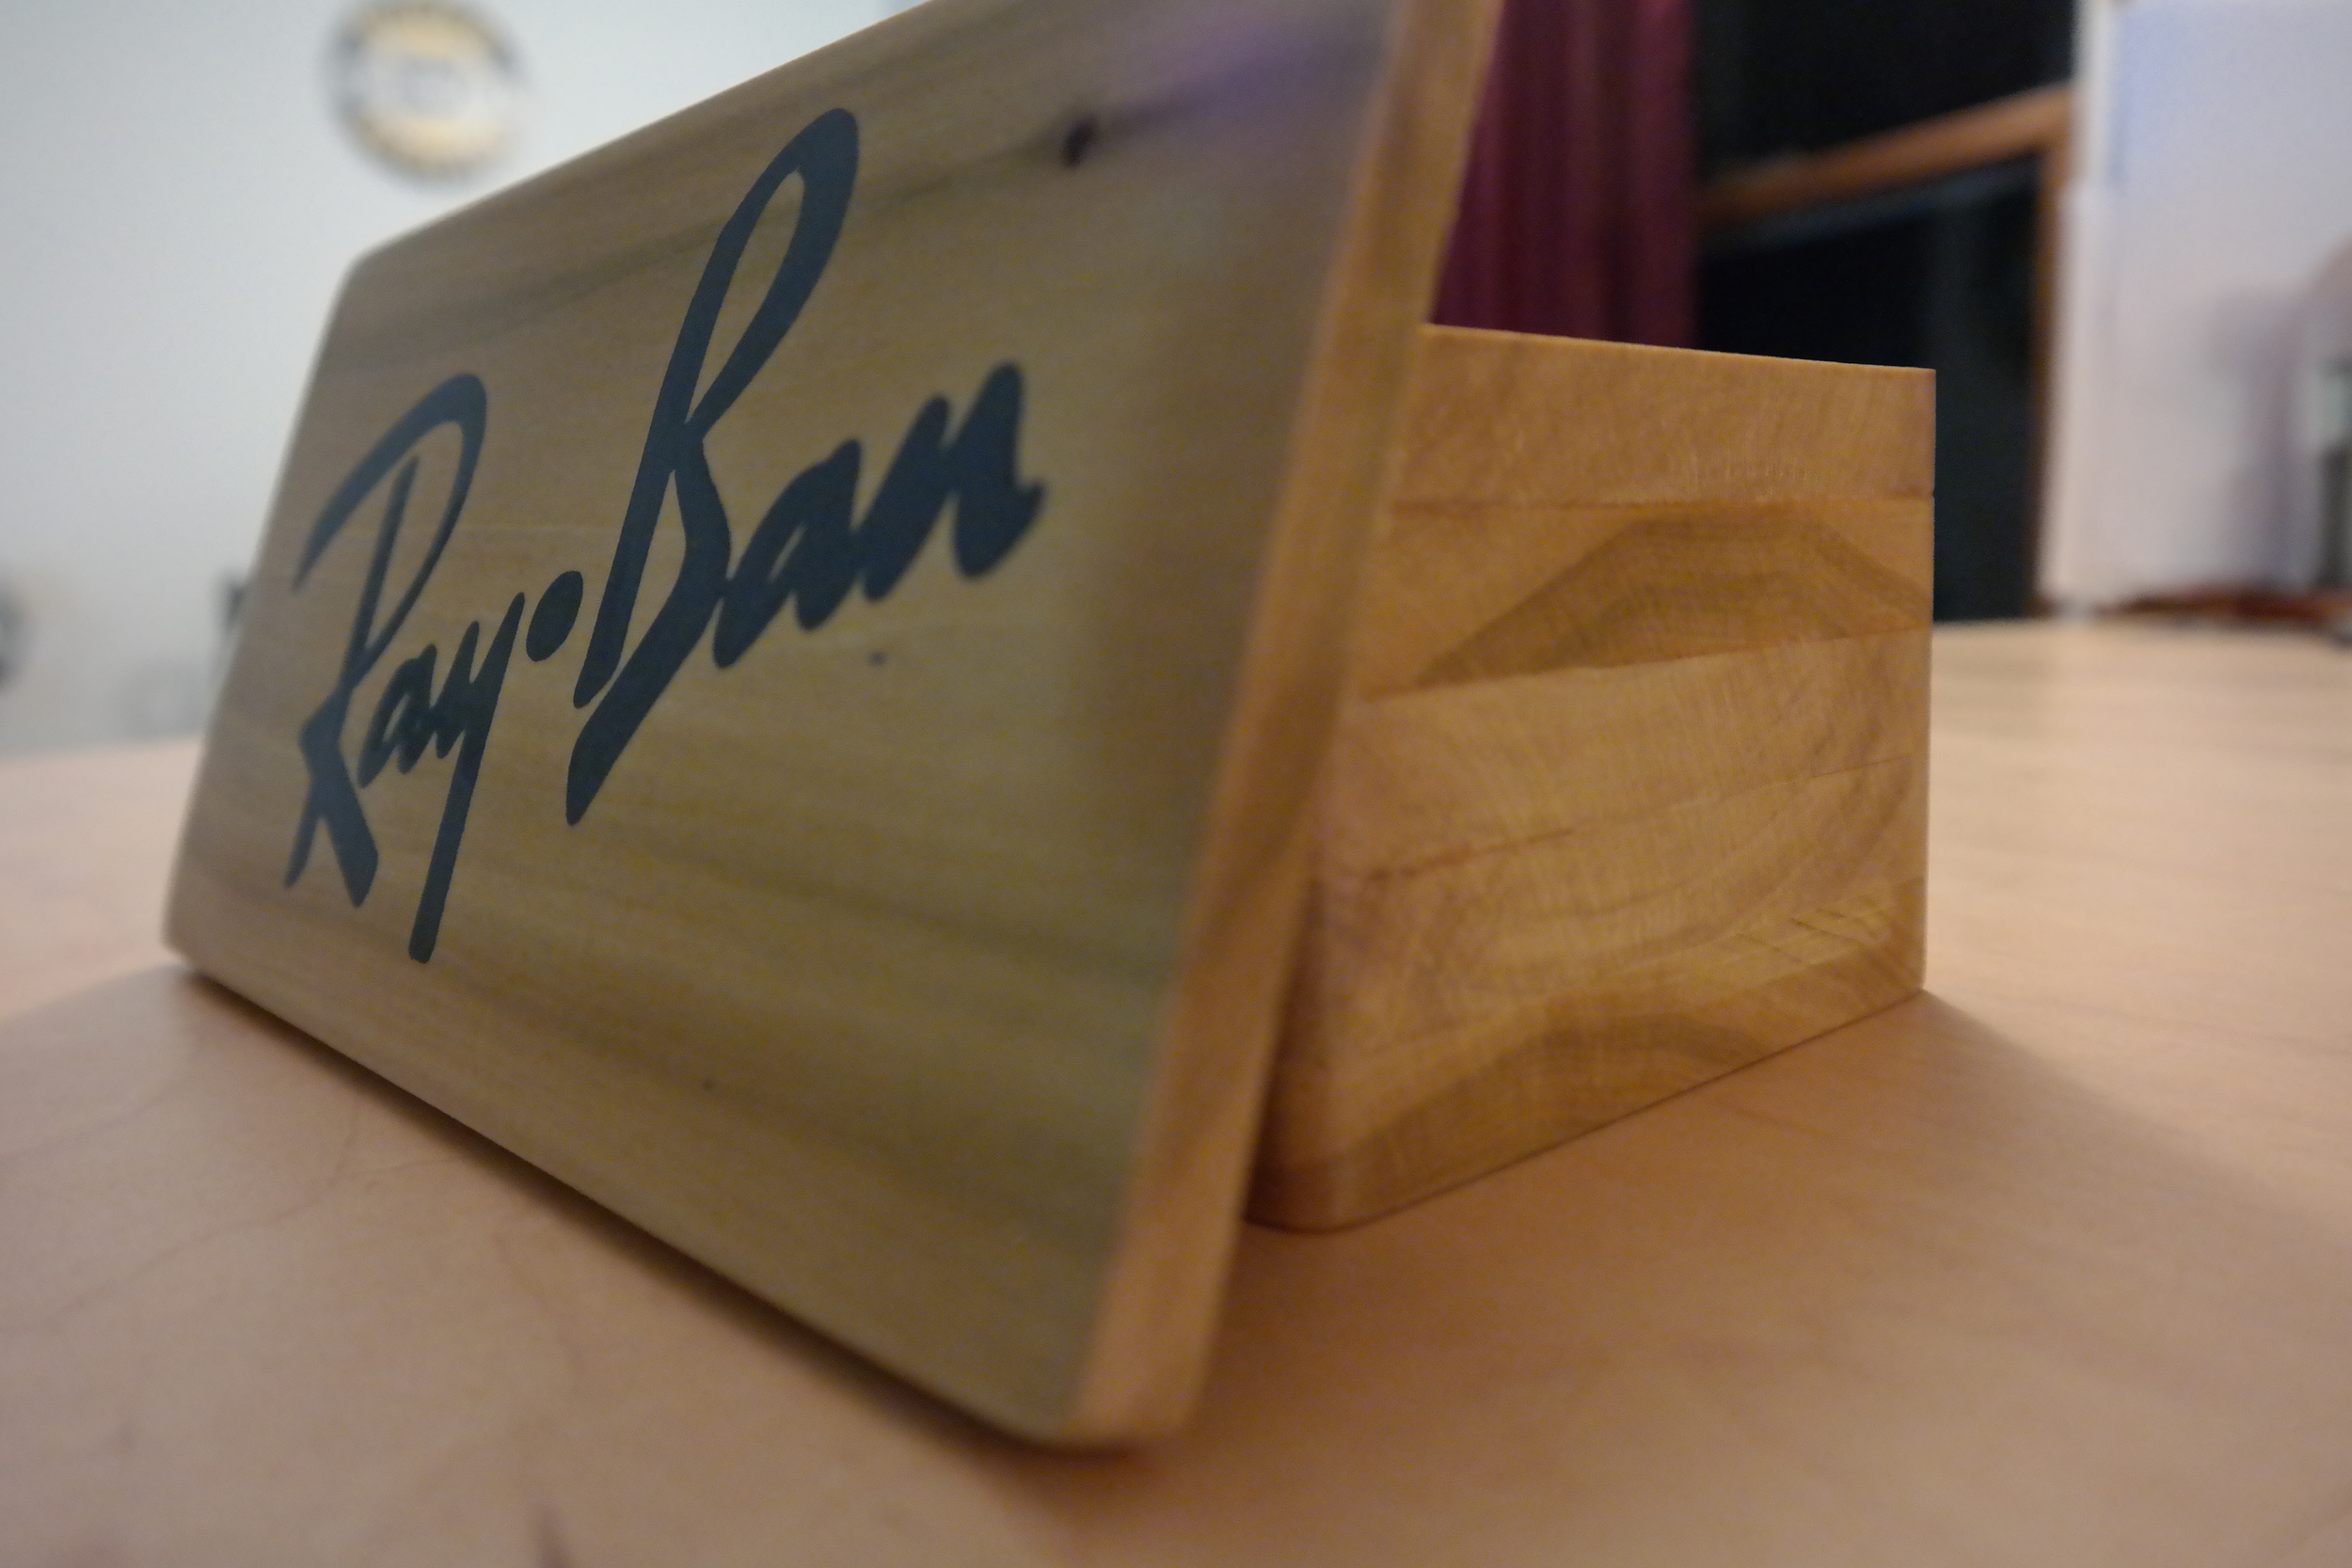
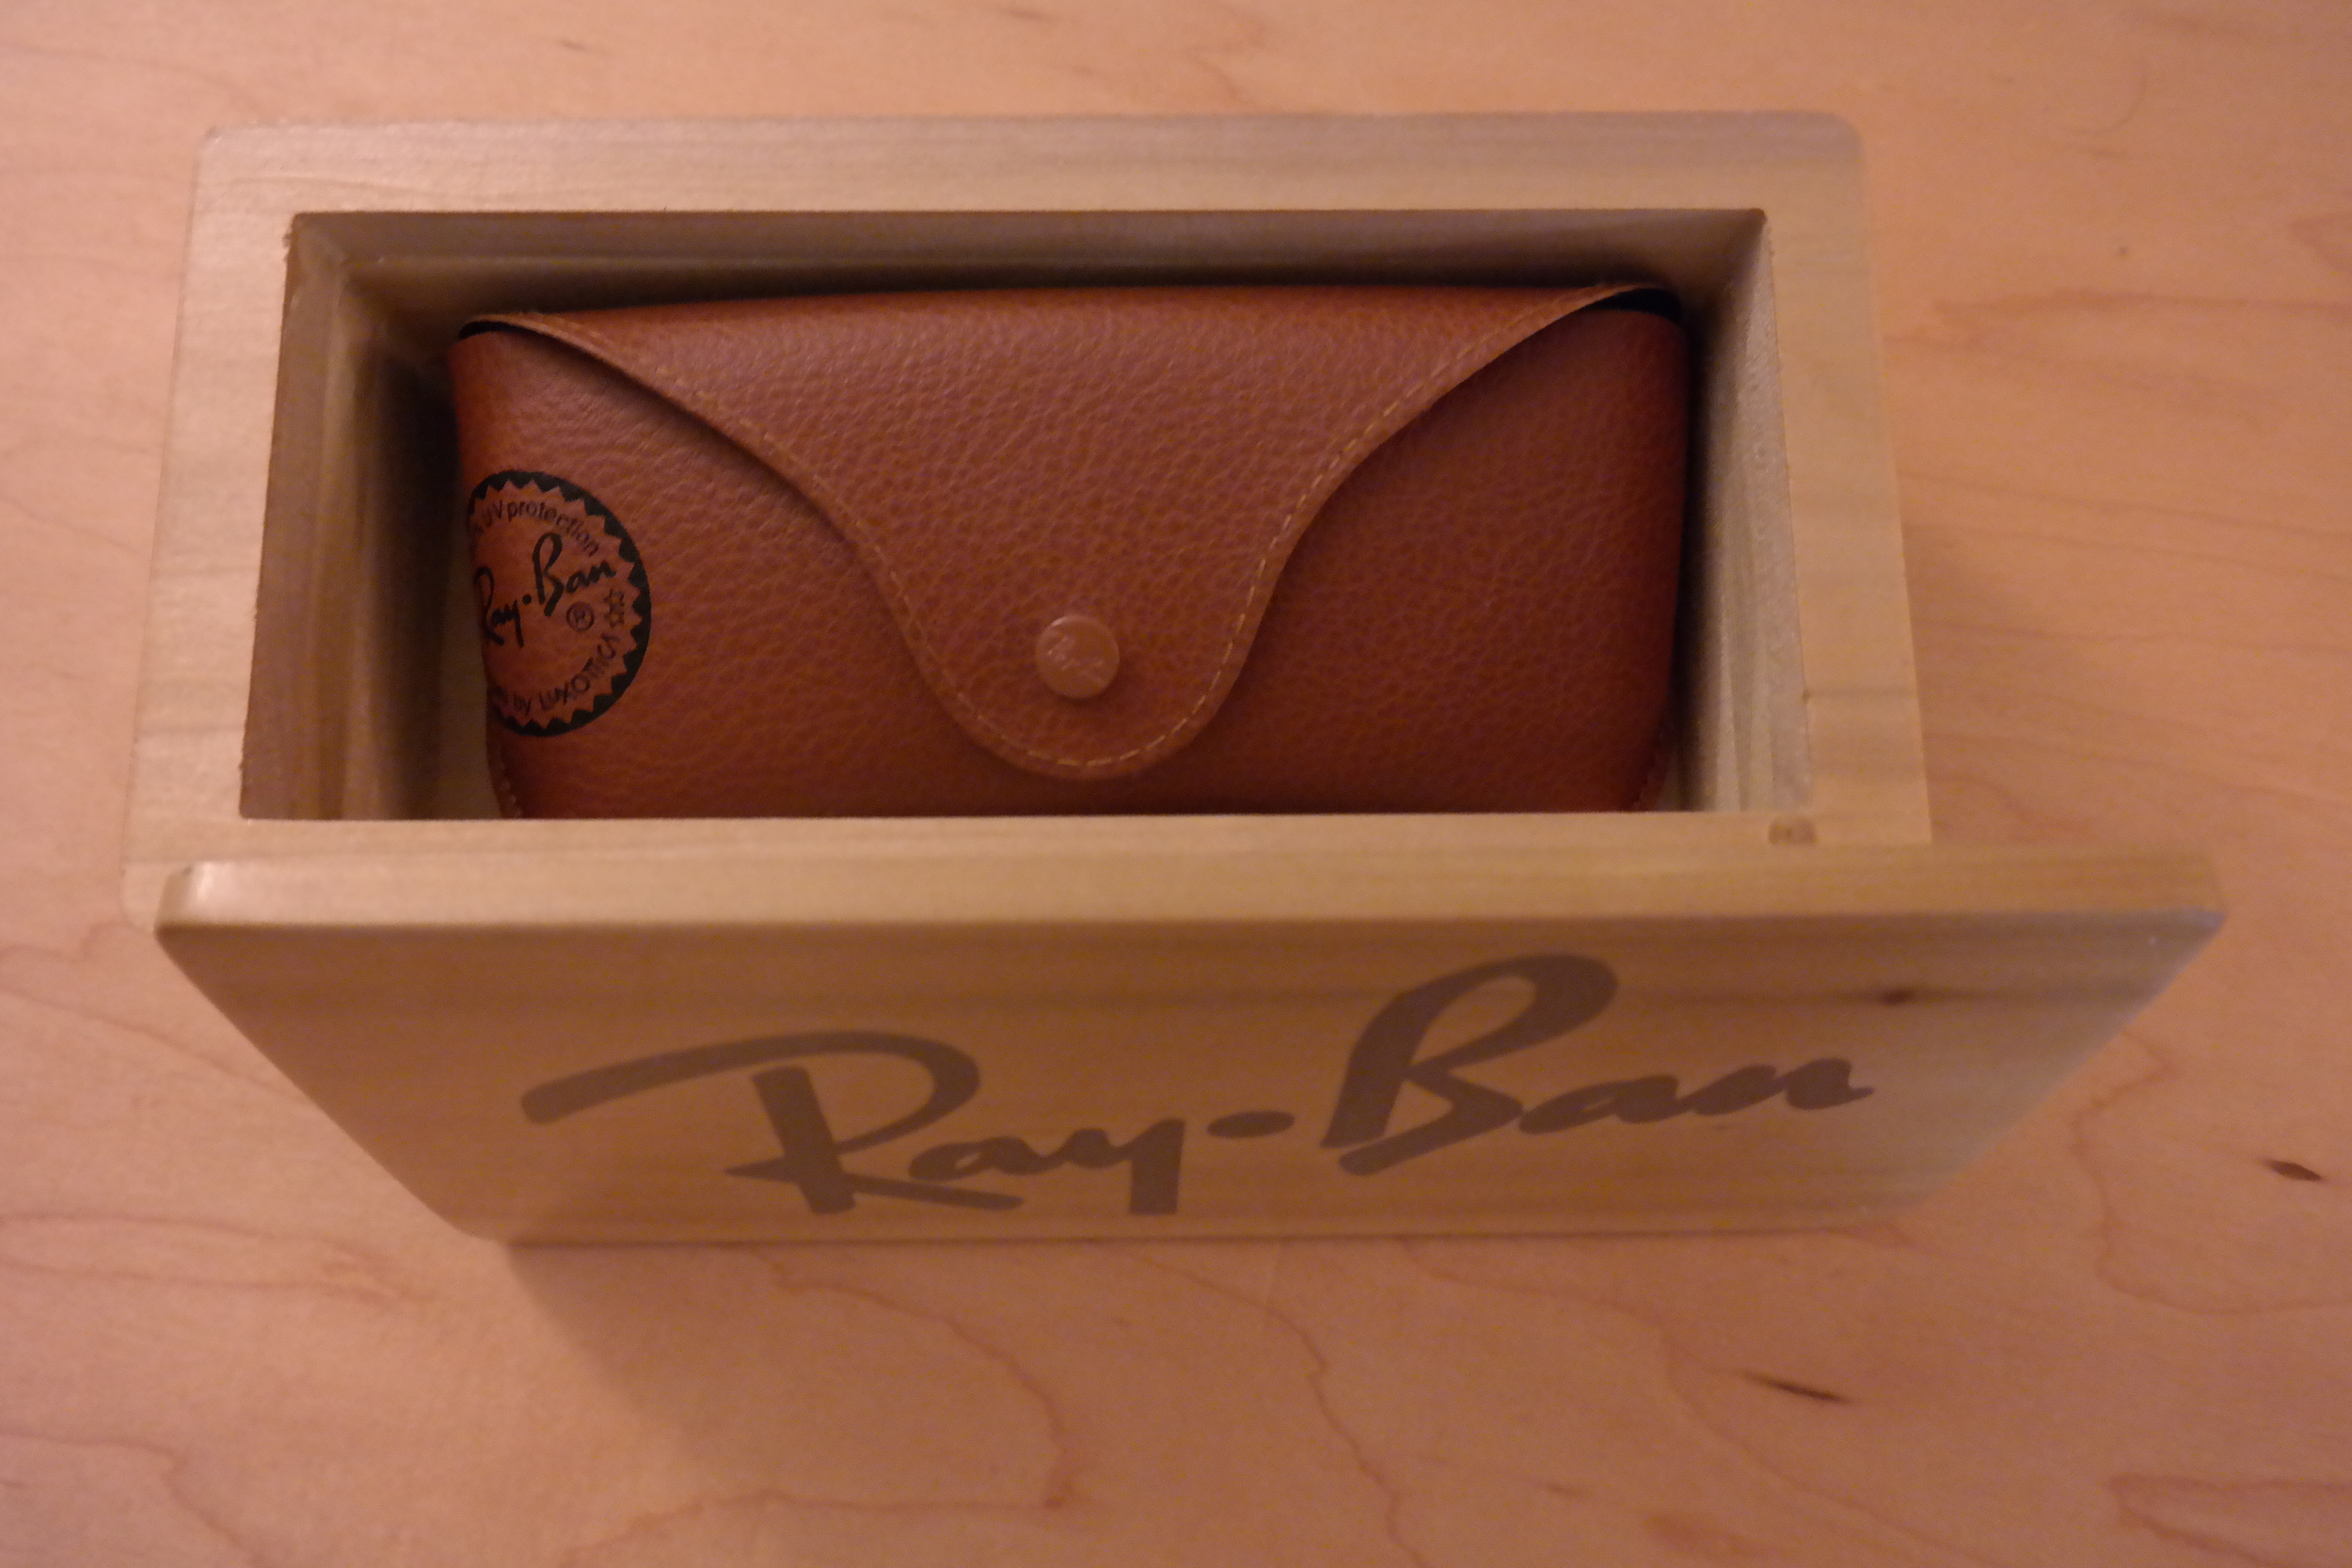
Here are the results! After a little Shellac this box came out really nicely! If you want to cut your own, feel free to download this project using the button below. The Sketchup model, VCarve file, and images are all included.

Ray Ban Case

So the other day I got a nice pair of Ray Ban glasses for a very special person in my life. Since they were a gift, I decided to wrap them up. At first I thought that I should use regular wrapping paper, but then I realized I wanted to do something more interesting... I decided to use my Handibot to make a case for them. I started off drawing the box I had in mind using Sketchup:

After I got the design down, I sent it over to VCarve to make the toolpaths. VCarve now supports Sketchup import, so it's really easy to take a design like this from Sketchup and bring it into VCarve to make your toolpaths.

Once the toolpaths were made I set about clamping the pieces to the bench so I could set the Handibot on top of them for milling.

Once I had the clamping done I set about milling. The spacers and the bottom were easy. I used a typical end mill bit to cut those, and V bit for the Ray Ban logo.

You'll notice here that the logo came out "hairy". Since I was going to Shellac this case when I was done, I needed to hand sand out the letters. I didn't have the patience to do that, so I had an idea about filling the letters and sanding them smooth. Since I used to work in autobody, I decided to use some automotive body filler. I took that and mixed it with some old black paint I had laying around. After mixing it together I smeared the filler on the letters and sanded it smooth. The result is this:

After that proved to be a success I Shellace'd the whole thing. The results were excellent.


I have included the cutting files below. It should be noted that the Sketchup model shows everything at 0 tolerance. If you cut this way, your top will fit so tight into the rest of the case. You can either hand sand it, or you can add some tolerance in the cutting file. I did the latter, but I did it in VCarve. Depending on the wood, humidity, bit type, etc the amount of tolerance can vary. I find that .02" works pretty well. Test on some scrap to be sure before you commit to using finished wood.

The download here includes images, Sketchup files, and VCarve cutting files. Go mill it and let me know how you did!

Makerbot cuteness overload

The other day I needed to print out some baby dragons for a school teacher to use as a teaching tool in class. I wanted to find something that was cute, and easy to print with no overhangs. This way I could make a few trays full of them very easily. I found this:

I printed them out in multiple colors for the activity. They cam out looking like this:

Pretty darn cute right? Want to make your own? Download the files here!

Making Brio Train Tracks on the Handibot

Do you remember playing with those wooden Brio train tracks as a kid? I certainly did. Well, after getting my Handibot I decided that it would be really cool to try and make those. This would be a perfect project for a handheld CNC machine like this.

To make these you first need a drawing of the tracks. After that, you need to bring them into a CAM program, in my case VCarve because it came with my Handibot. Lucky for me my mother still had my old tracks. I grabbed a few and started measuring them. In addition to that, VCarve allows Sketchup import. If you're reading this blog, you probably realized how obsessed with Sketchup we are. So in a little while, I had a Sketchup model built:

I wanted to start out with just the straight tracks to test things out. I used an 1/8" single flute bit. I had tried a 1/4" bit, but it was much of a brute for these little tracks. I used 1/2" thick poplar.

After setting my toolpaths up in VCarve I placed the Handibot on my wood and started milling. 

They came out great! Now I am going to start making the adapters and the curved tracks. By using Sketchup and the Handibot I can customize these all I want. Do you want to customize and make your own? Download them below:

"Close Enough" Meme on the Handibot

close enough.jpg

Have you seen the meme "Close Enough"? It cracks me up every time I see it. The other day I decided to mill it on my Handibot.

I decided that this had to be a fast project. Dedicating any amount of serious brain power seemed like a waste of resources. Naturally I looked for the fastest route. 


Luckily I have a copy of Aspire. In this program you can take an image and with just a few clicks have it turned into usable vectors for milling.

Now that I had my toolpaths setup, I could get to milling.

That is how you mill a meme. I went from idea to sawdust in just a few minutes! If you want these cutting files for yourself download below!