Blog

Kitchen Design Plugin for Sketchup, Sketchup training.

Ray Ban Case

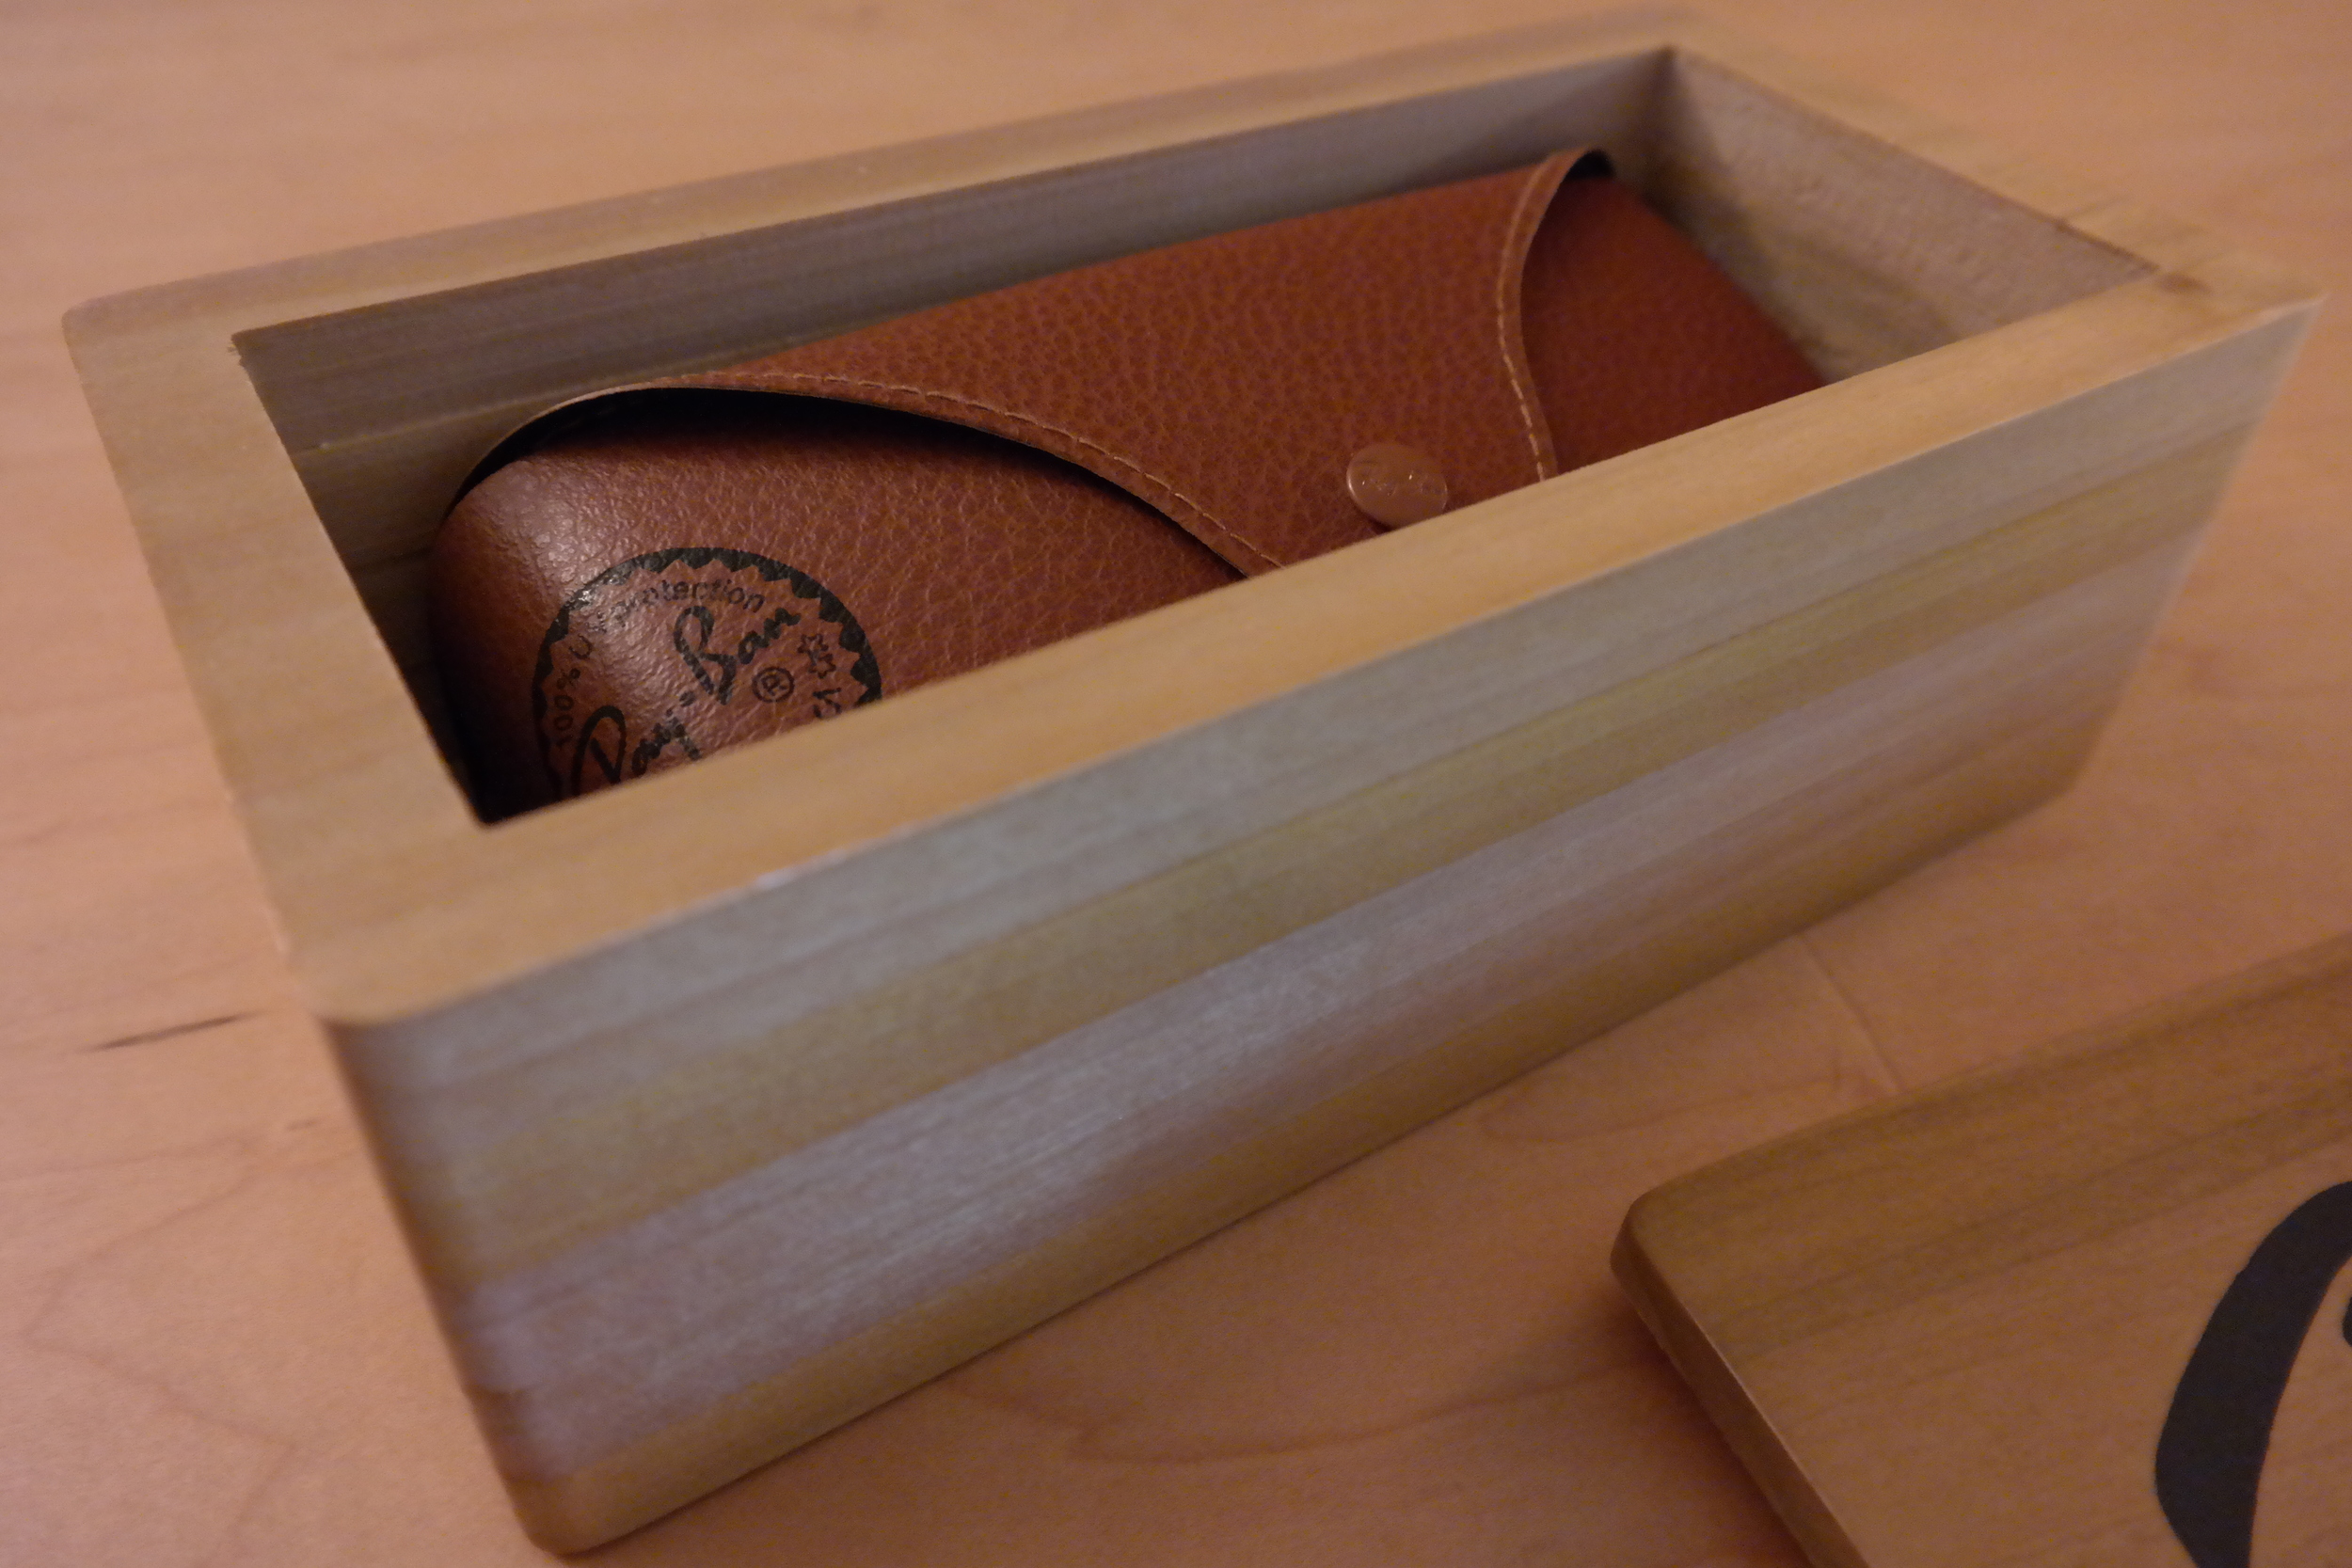
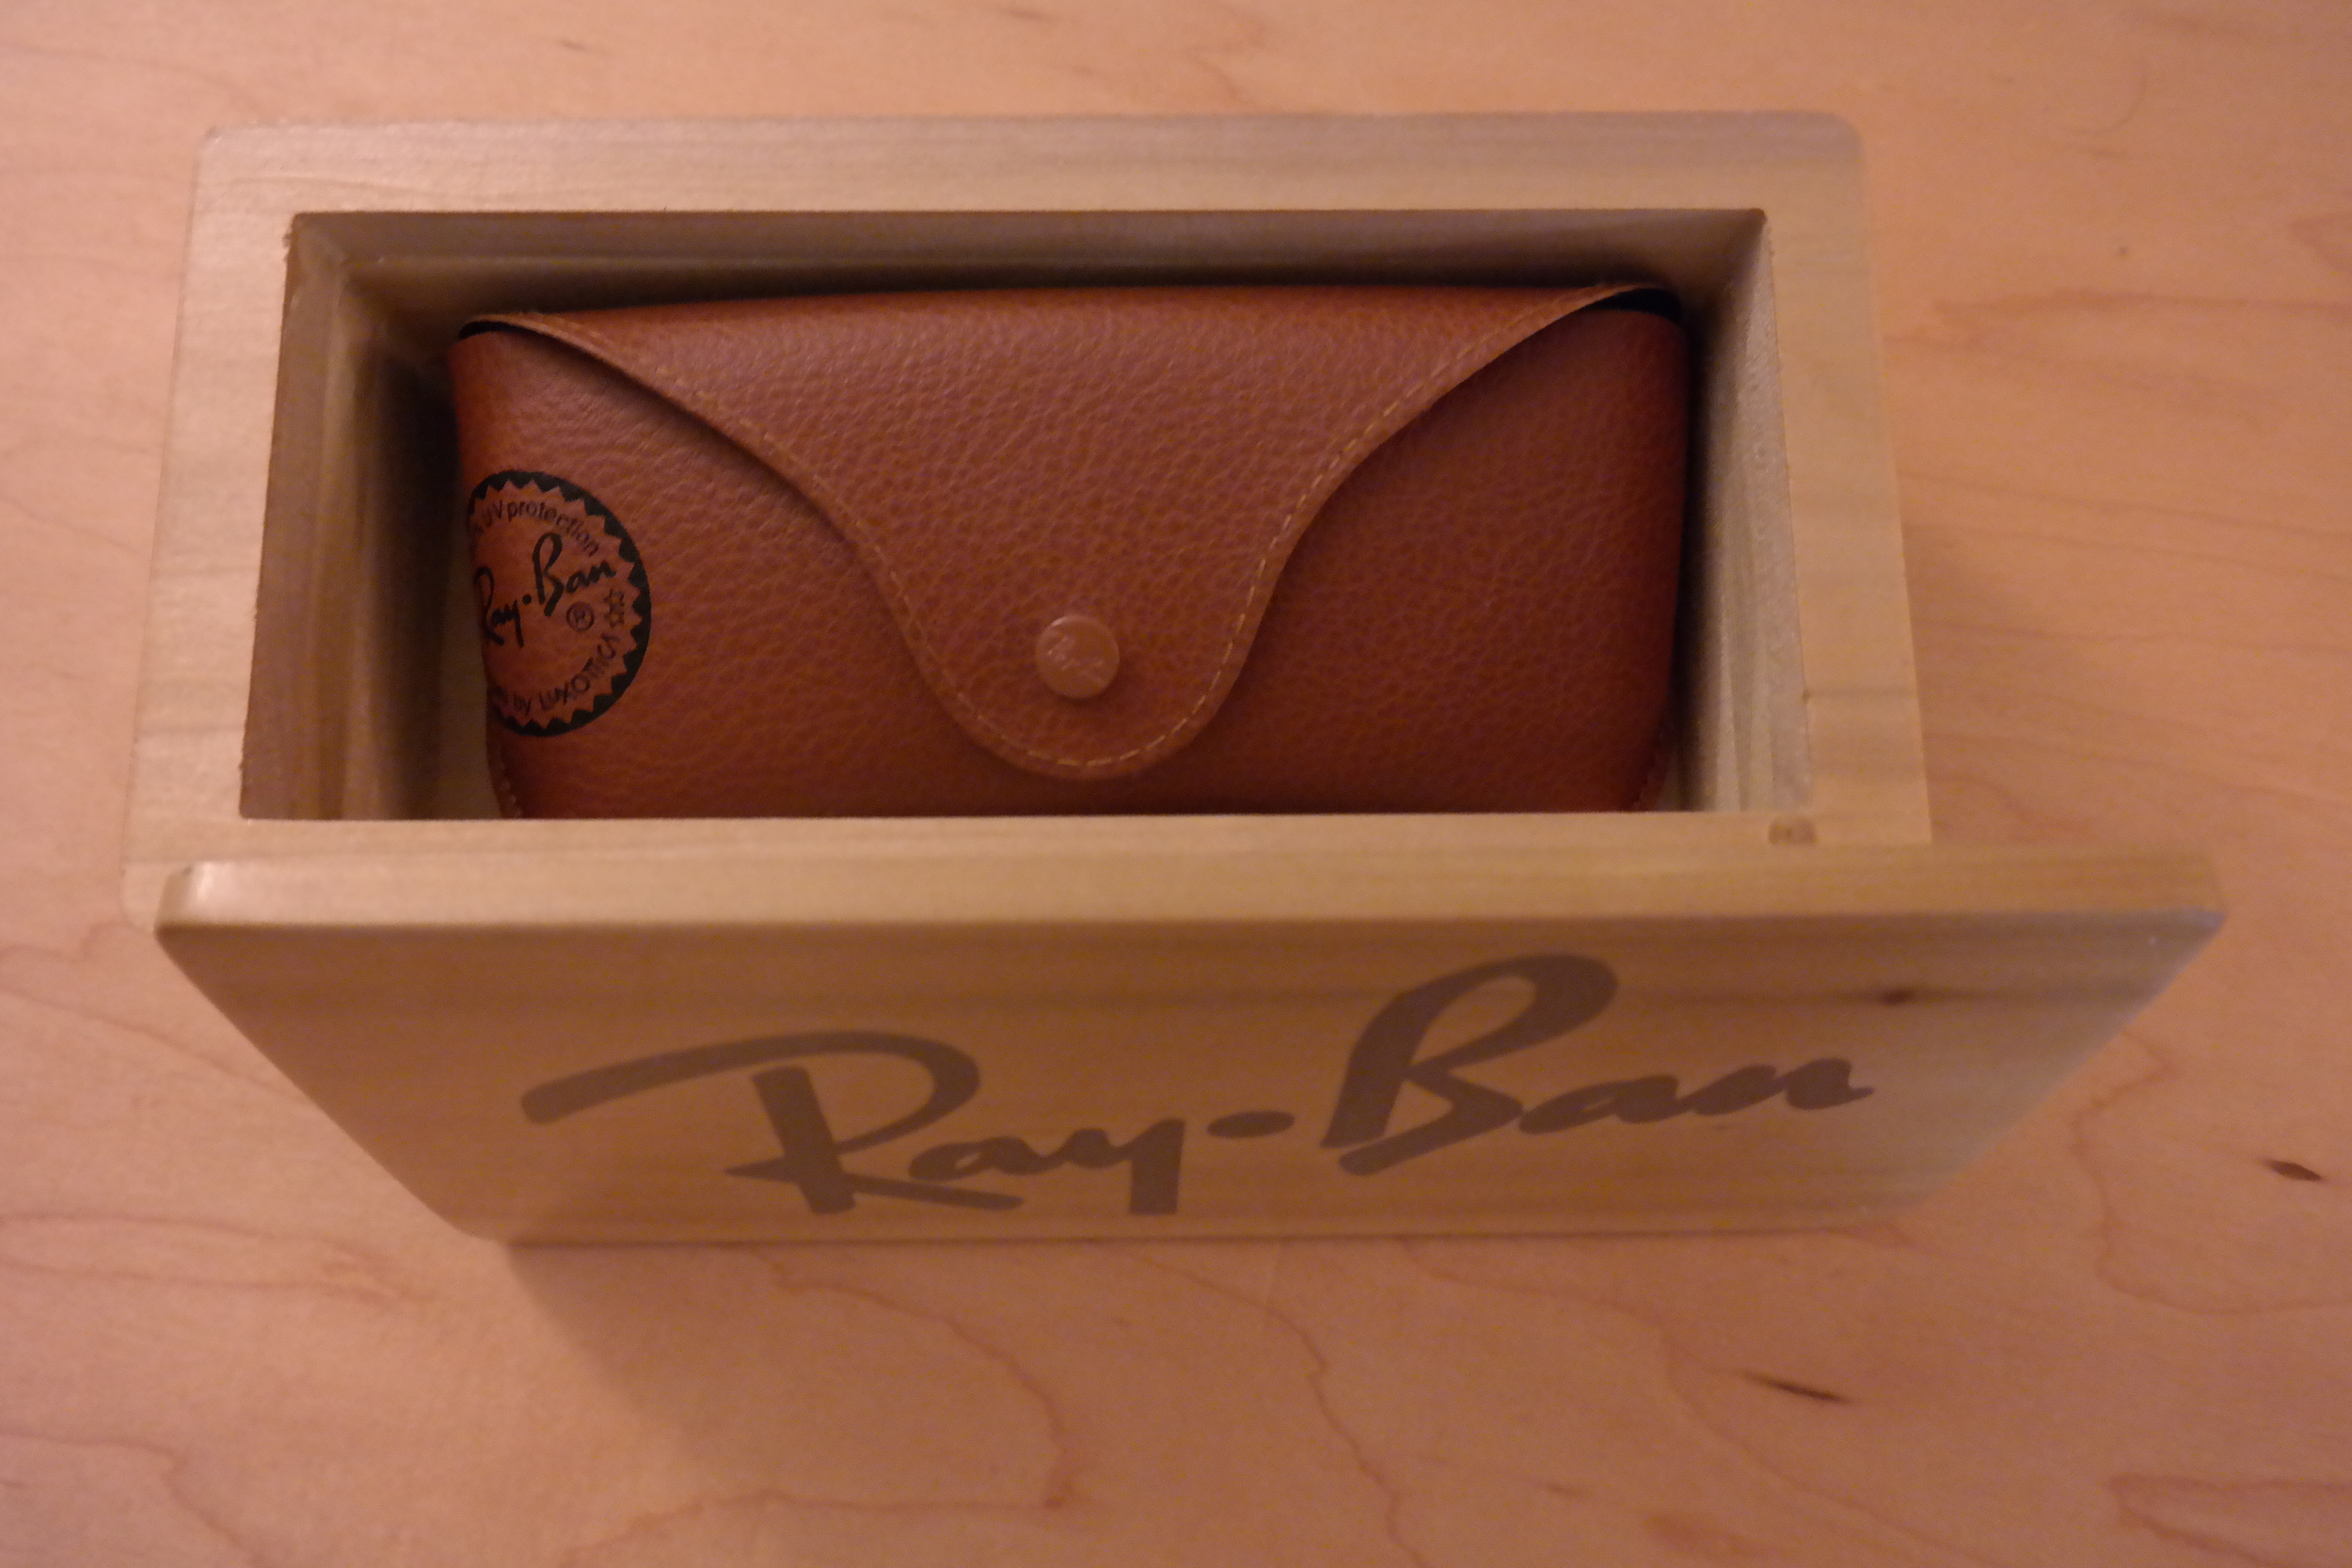
So the other day I got a nice pair of Ray Ban glasses for a very special person in my life. Since they were a gift, I decided to wrap them up. At first I thought that I should use regular wrapping paper, but then I realized I wanted to do something more interesting... I decided to use my Handibot to make a case for them. I started off drawing the box I had in mind using Sketchup:

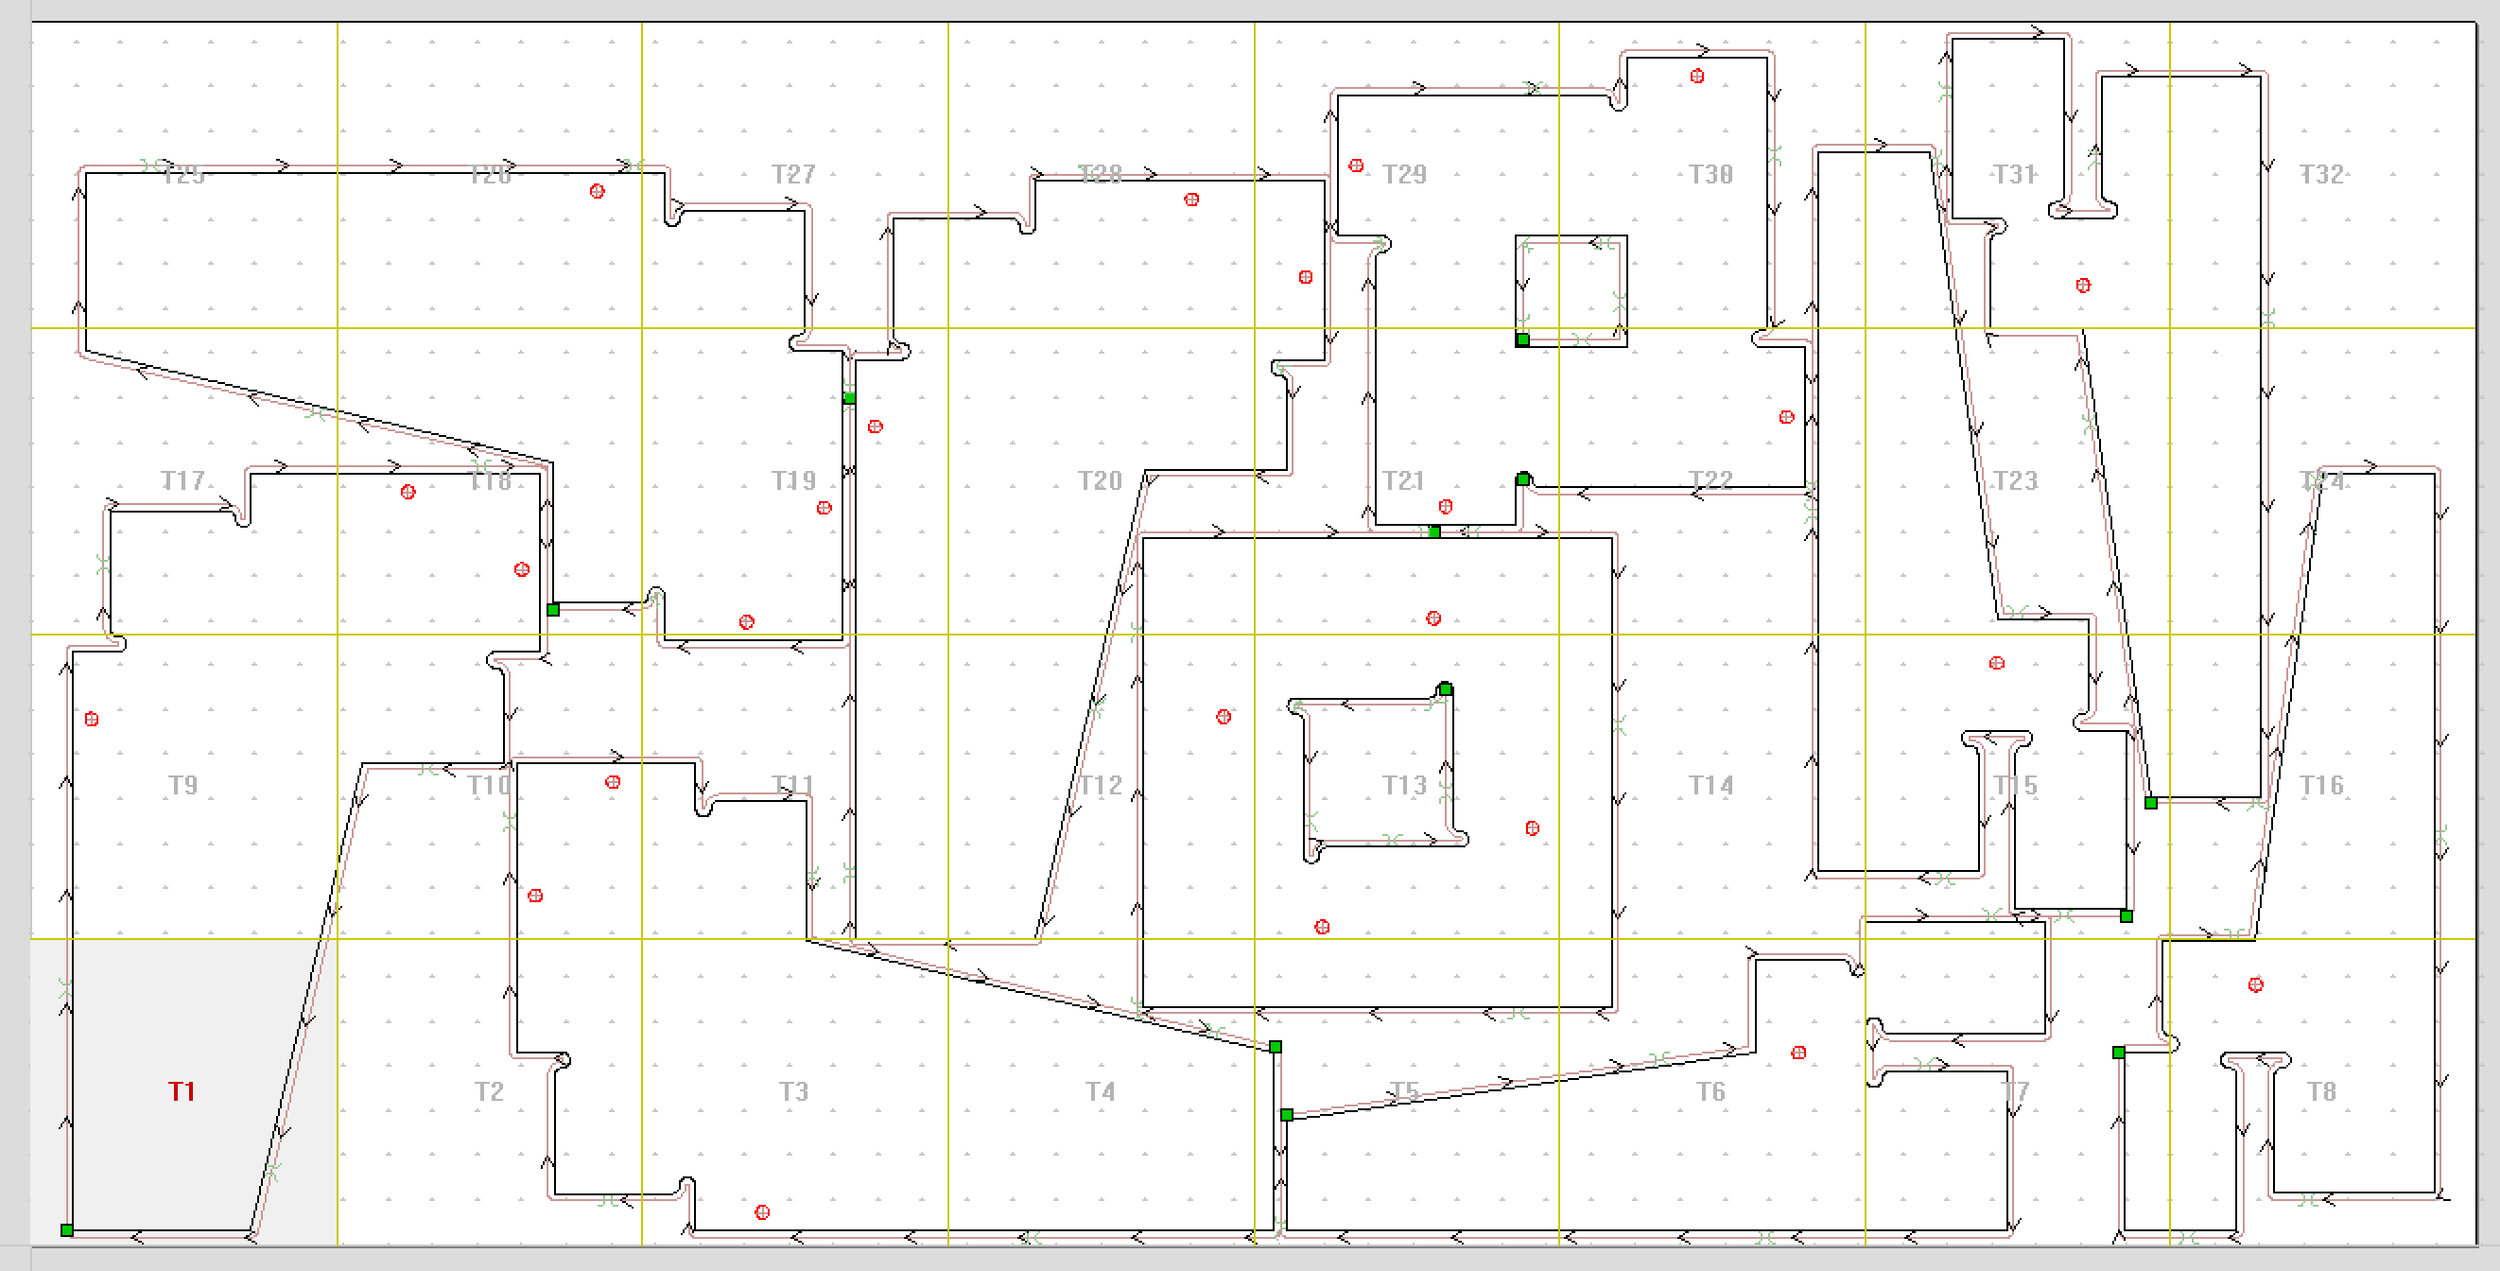
After I got the design down, I sent it over to VCarve to make the toolpaths. VCarve now supports Sketchup import, so it's really easy to take a design like this from Sketchup and bring it into VCarve to make your toolpaths.

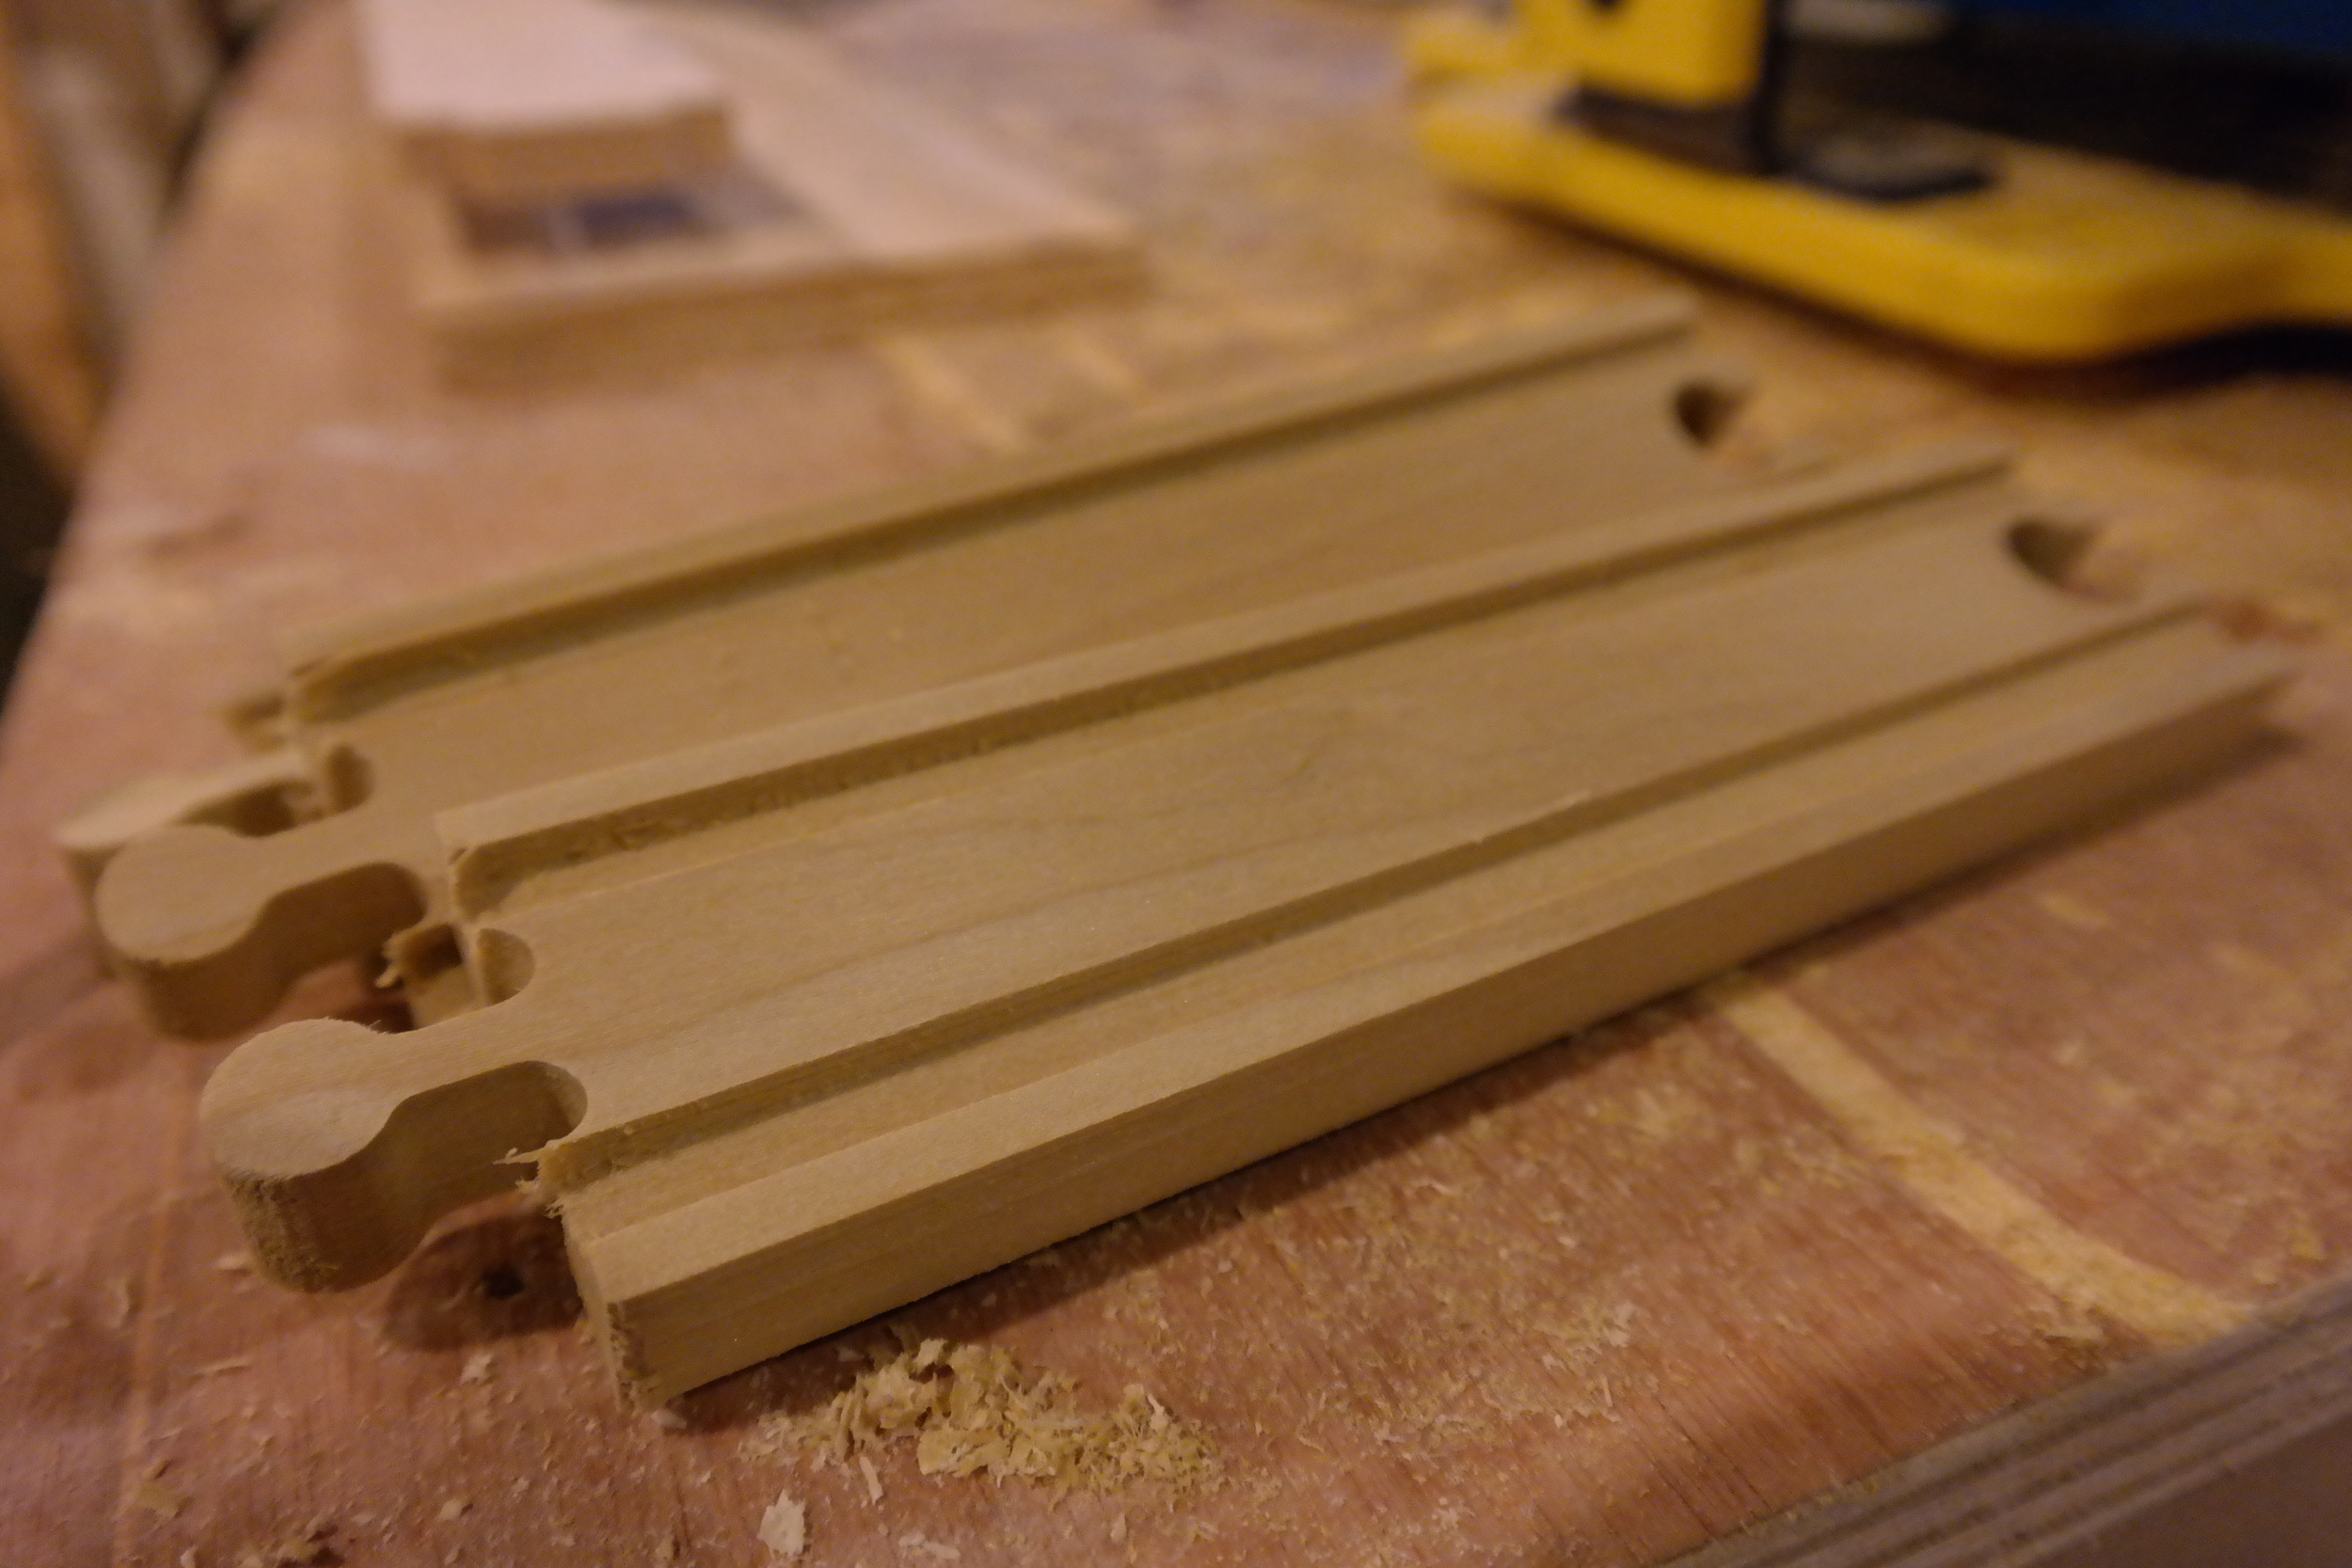
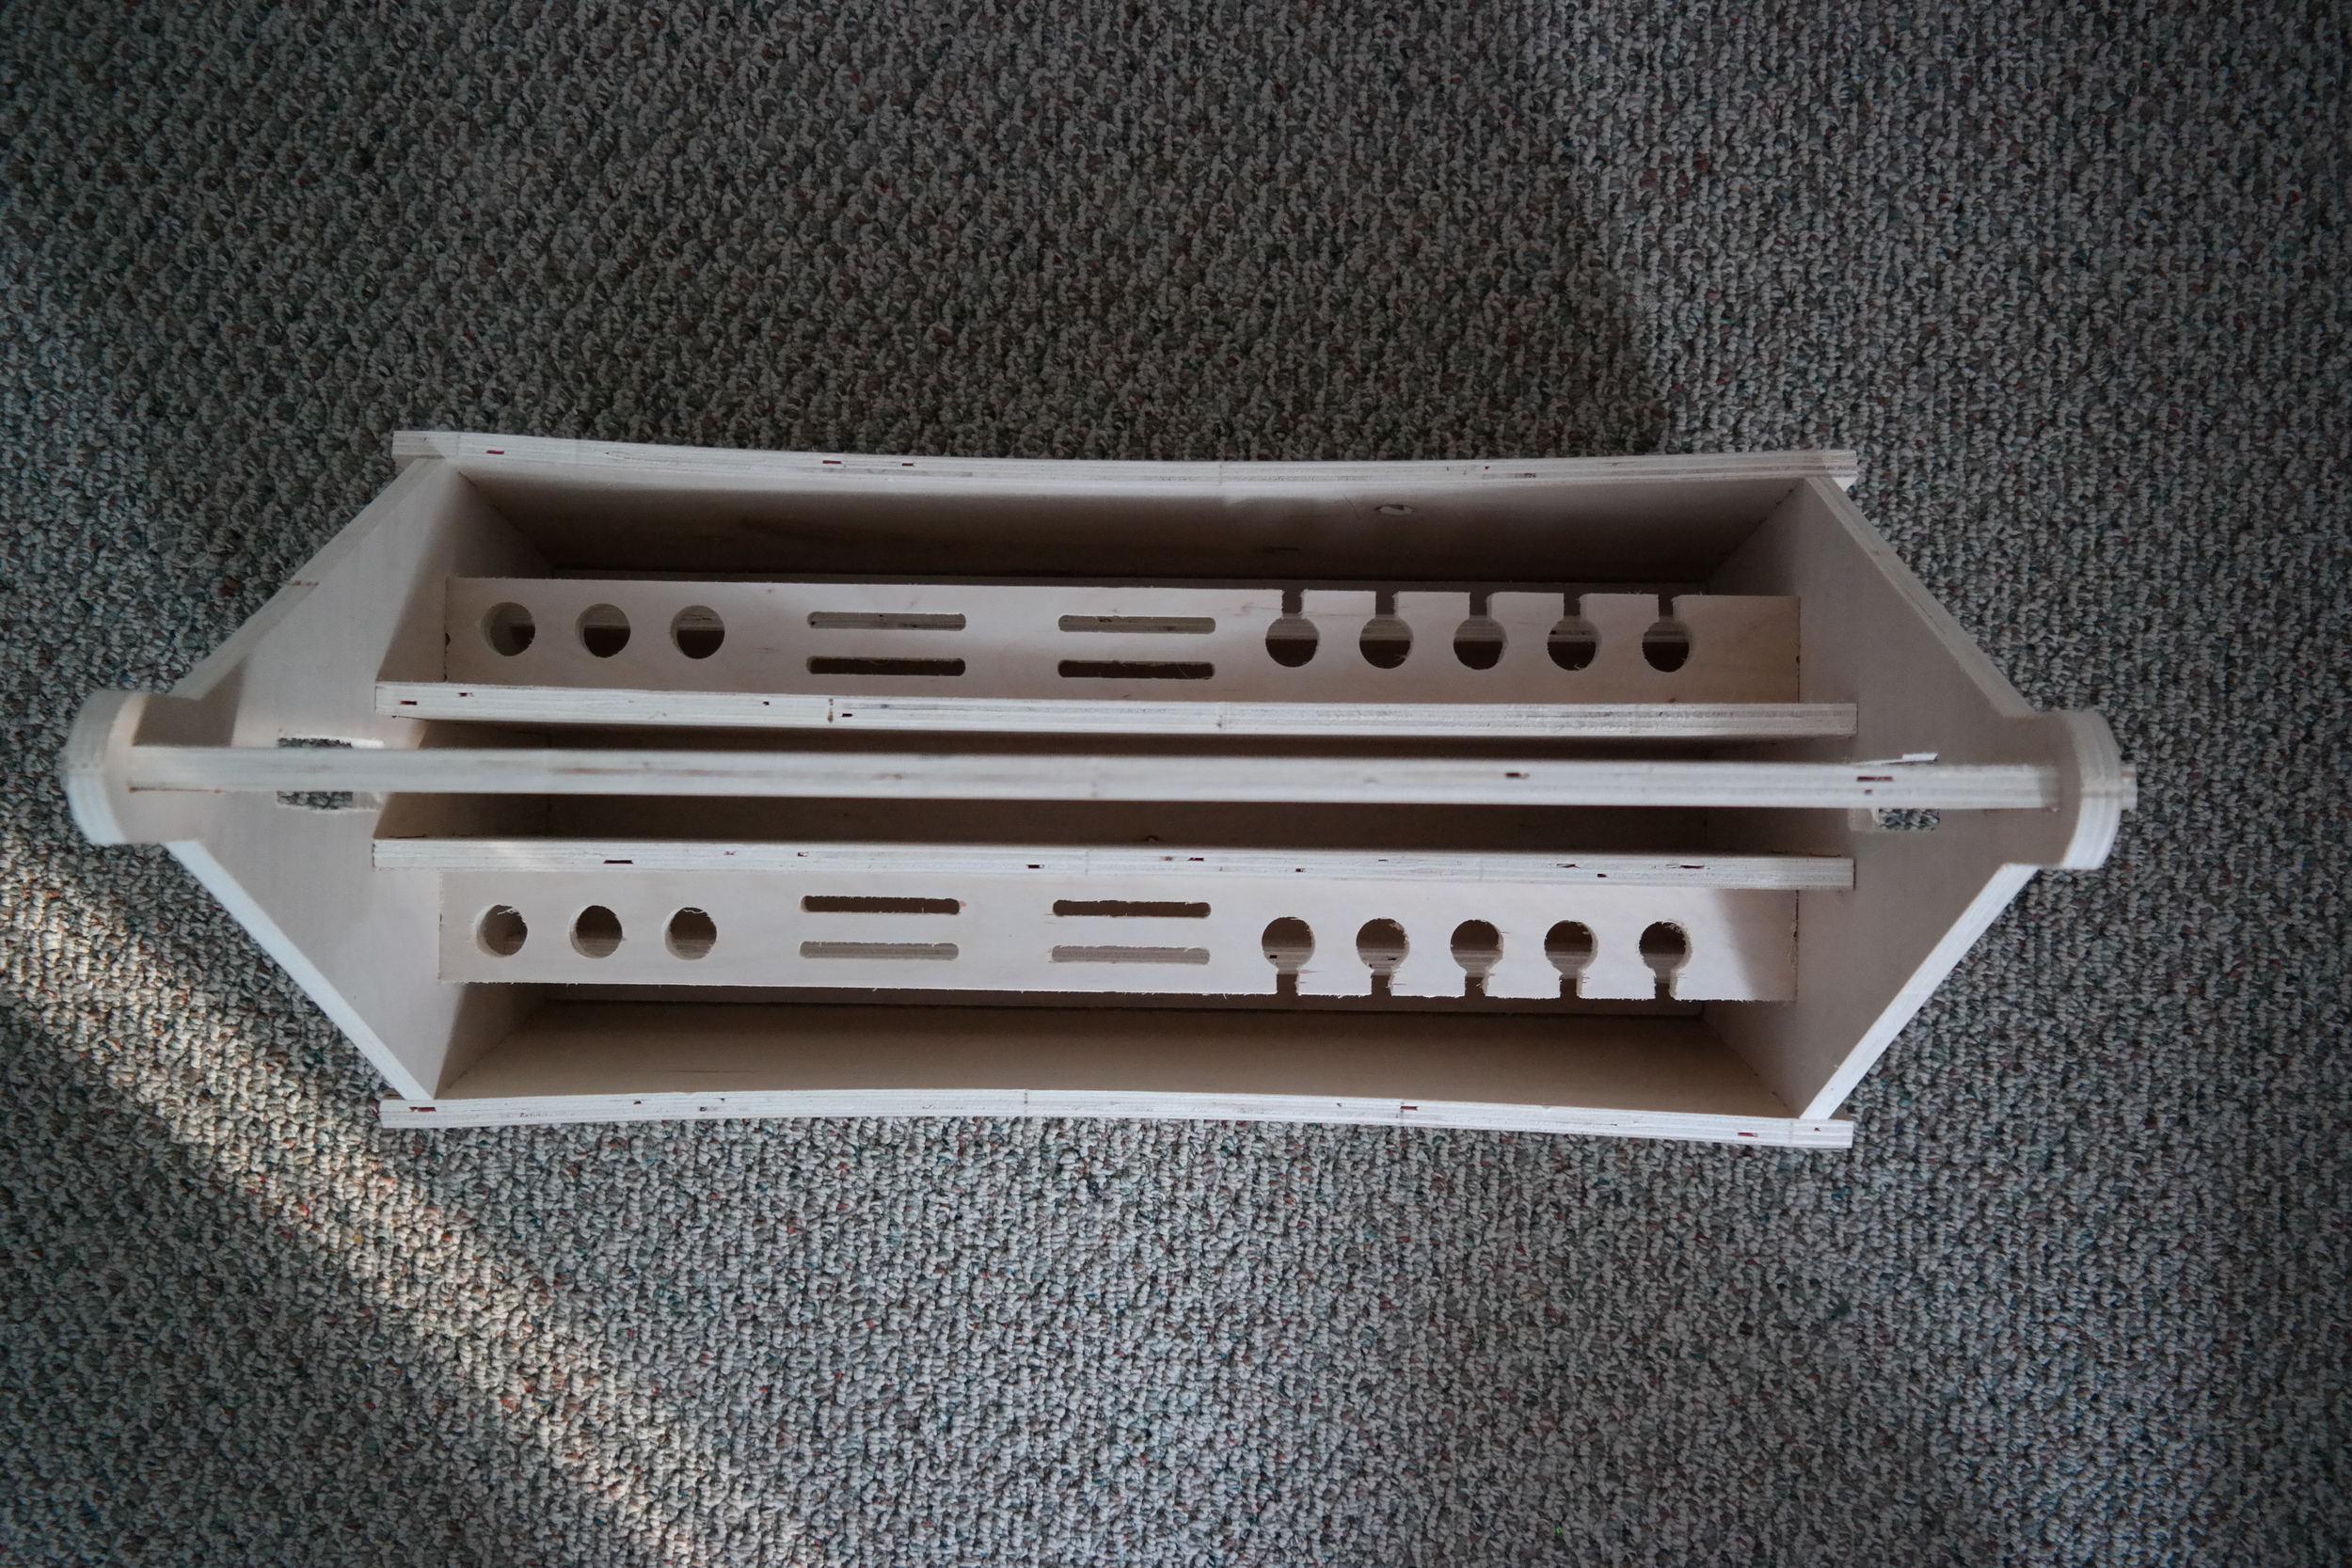
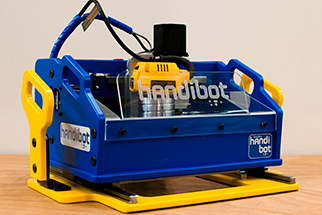
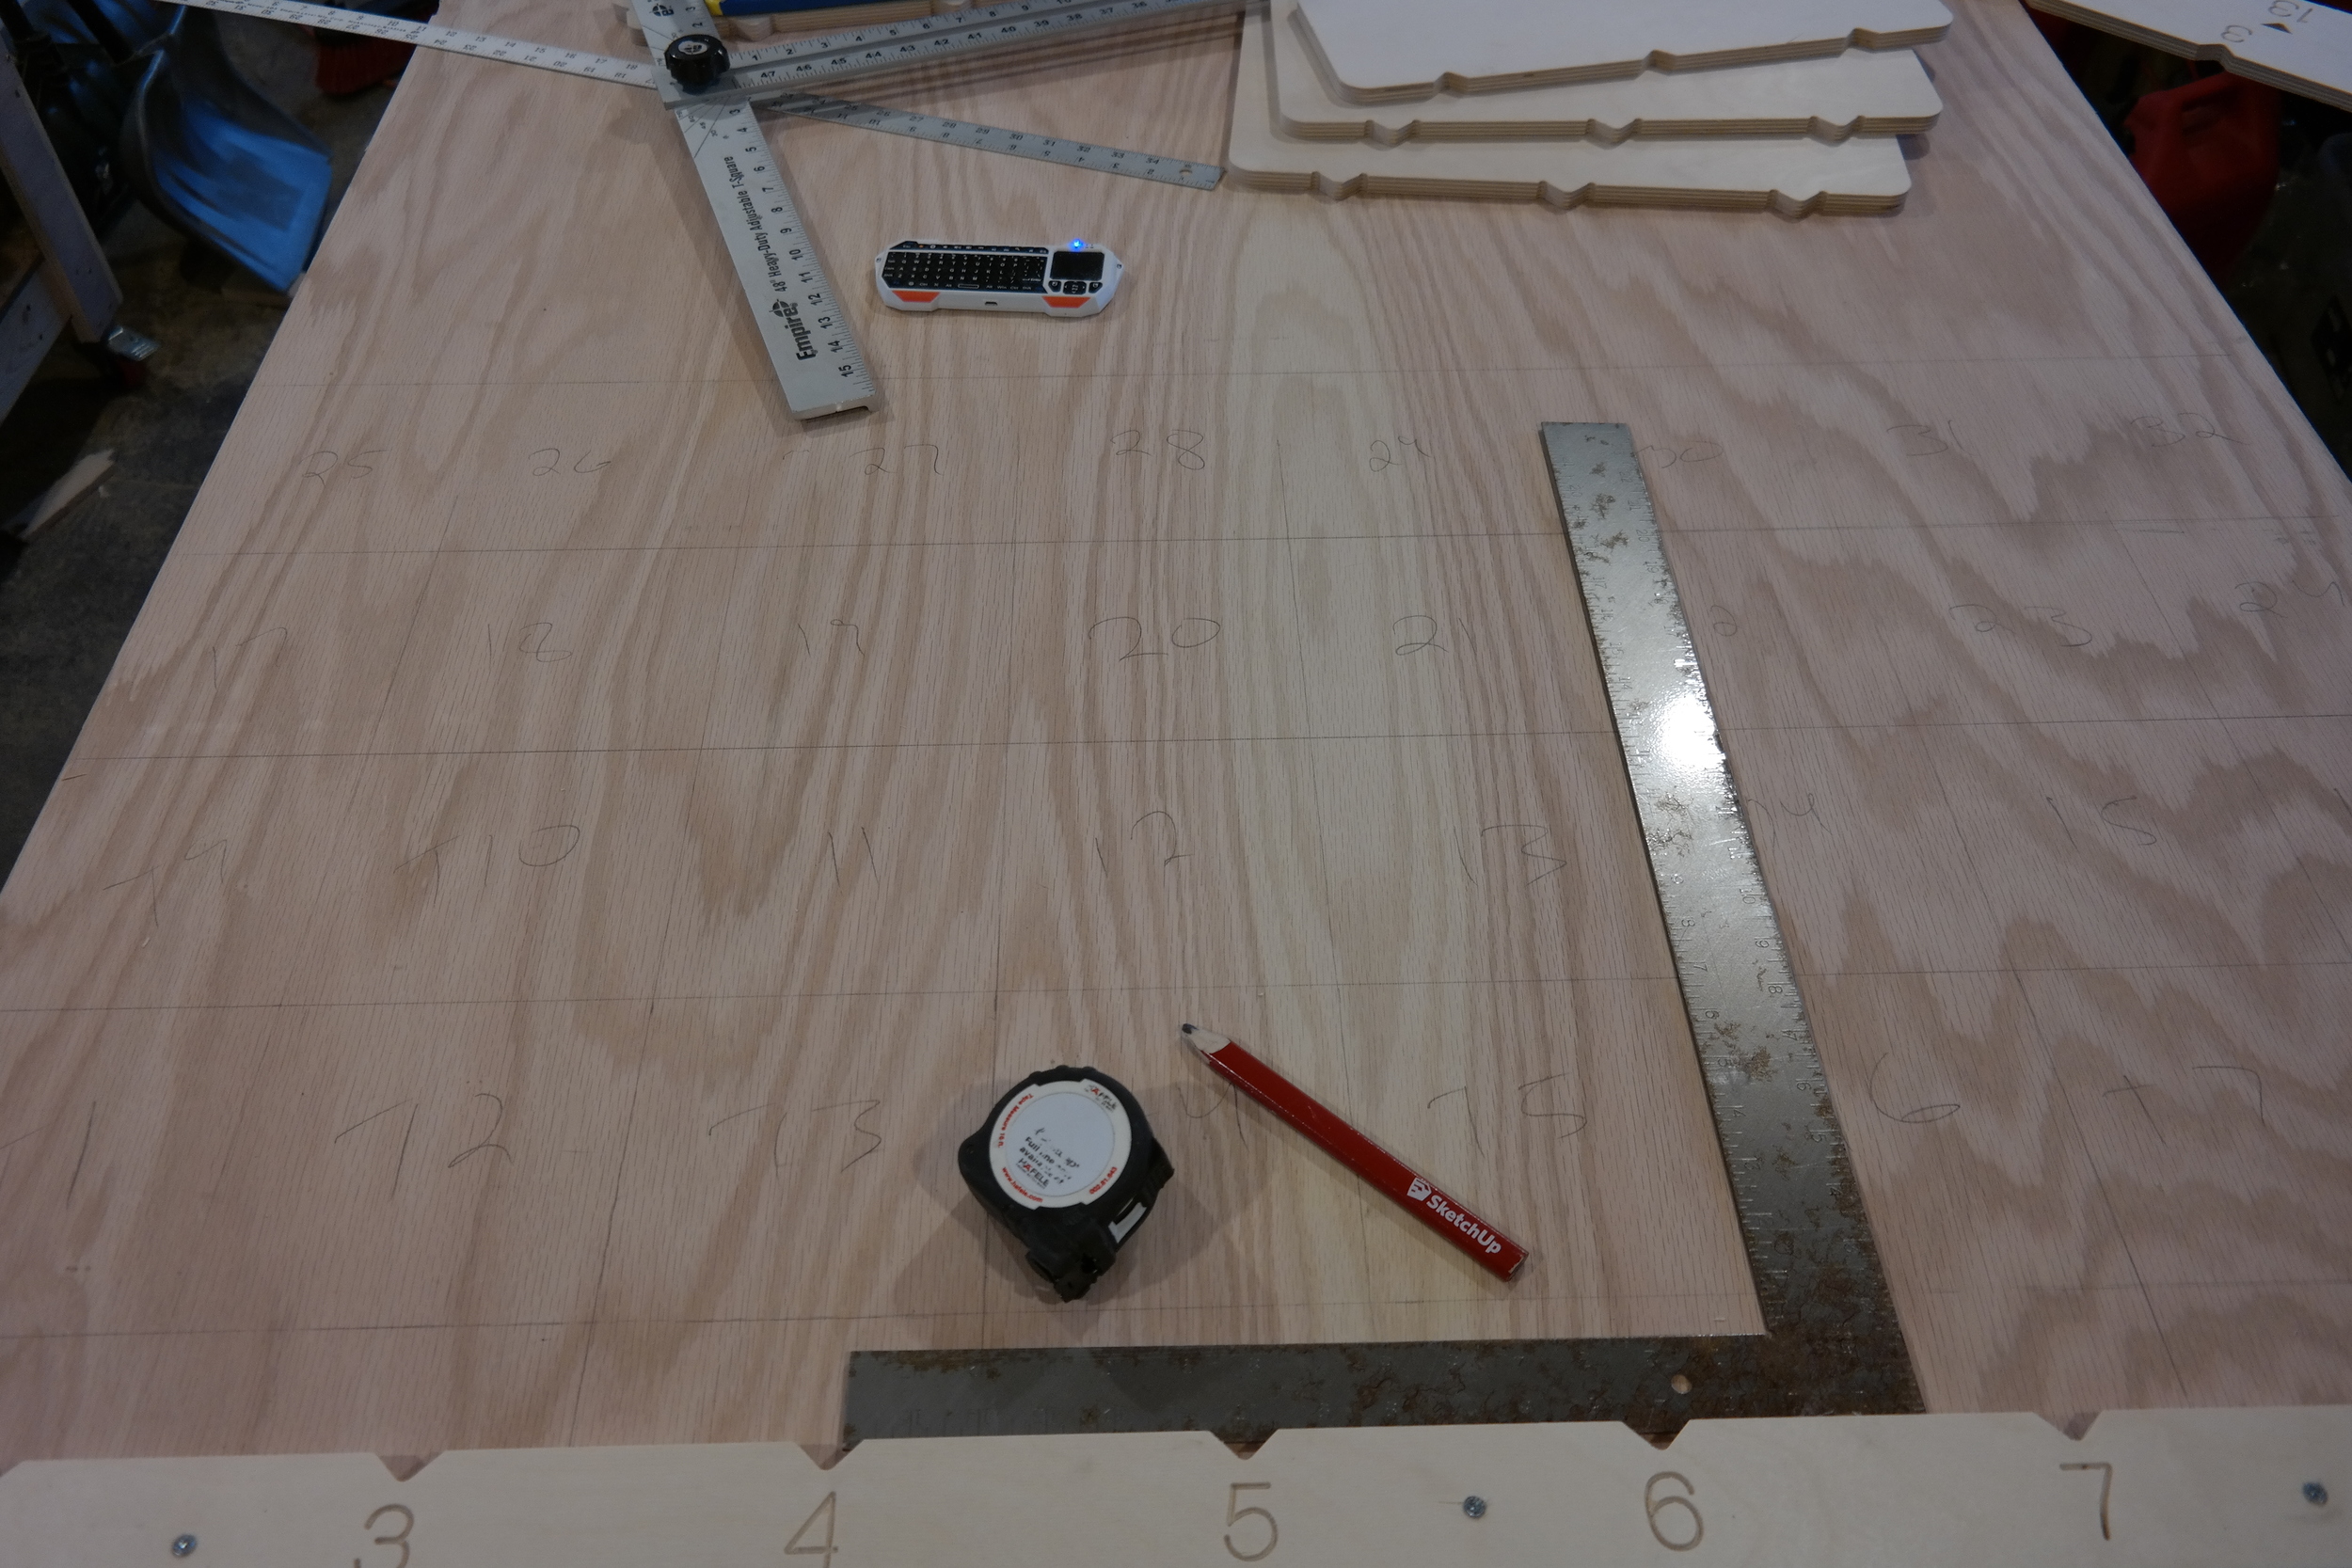
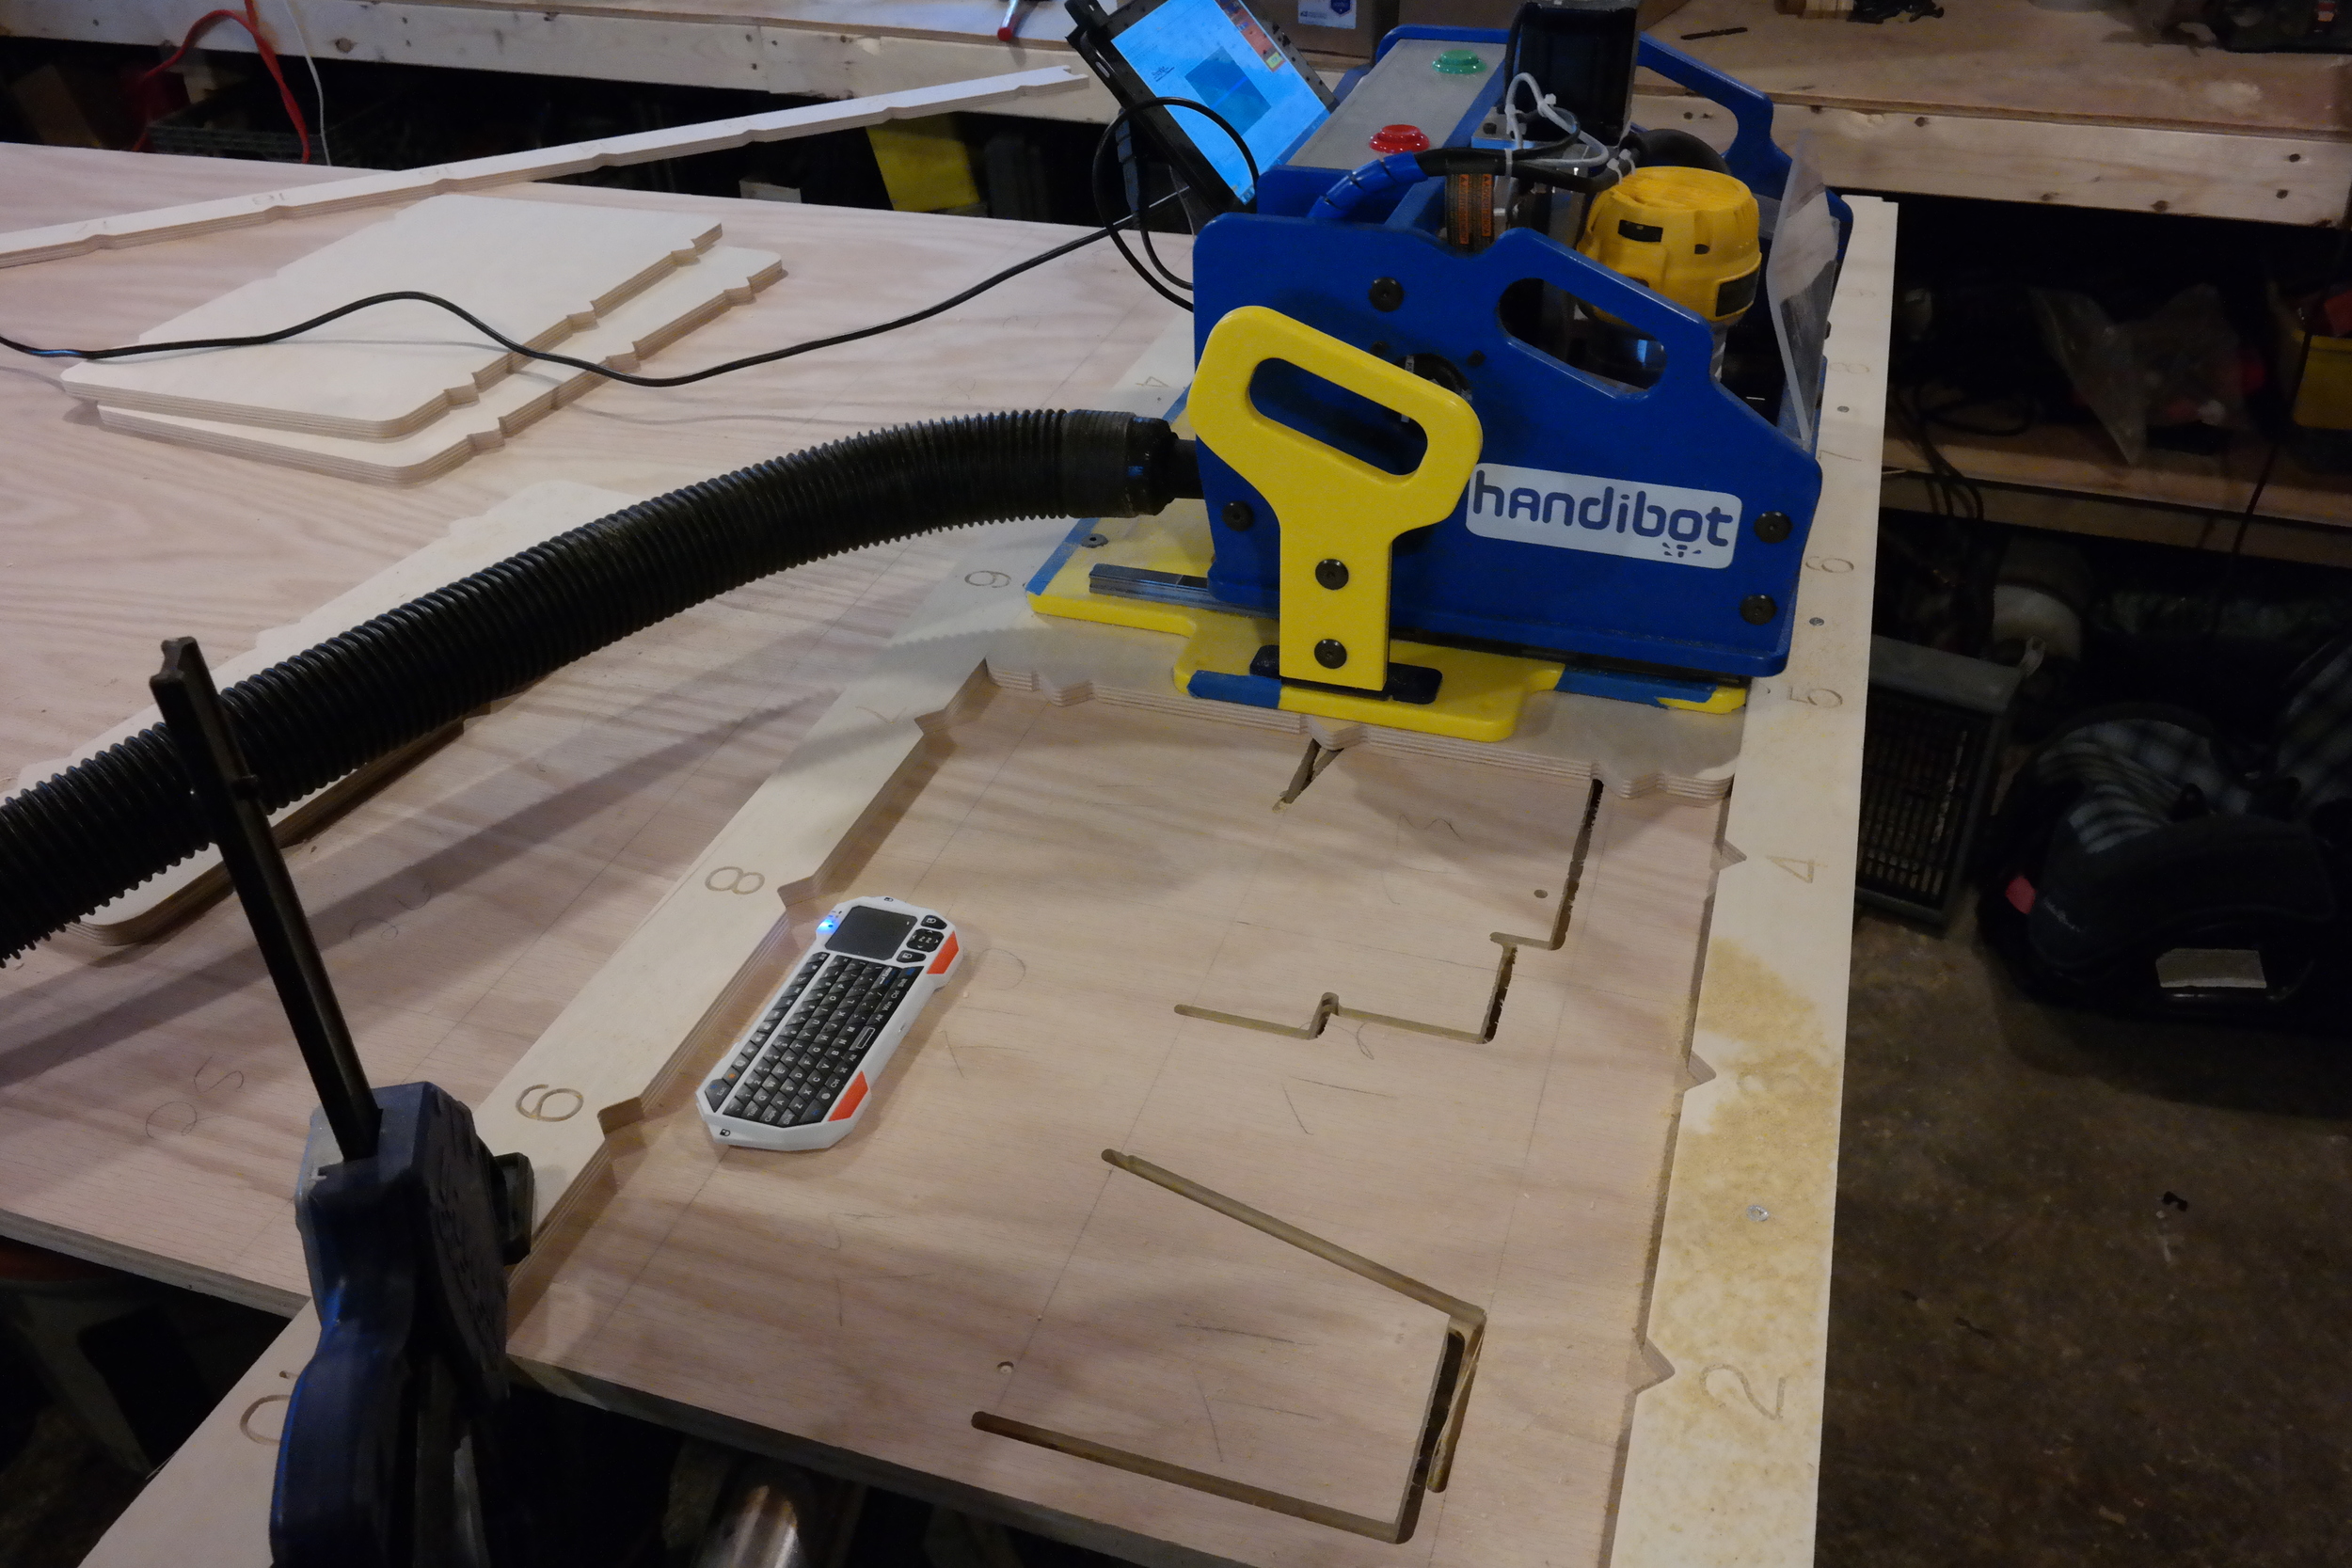
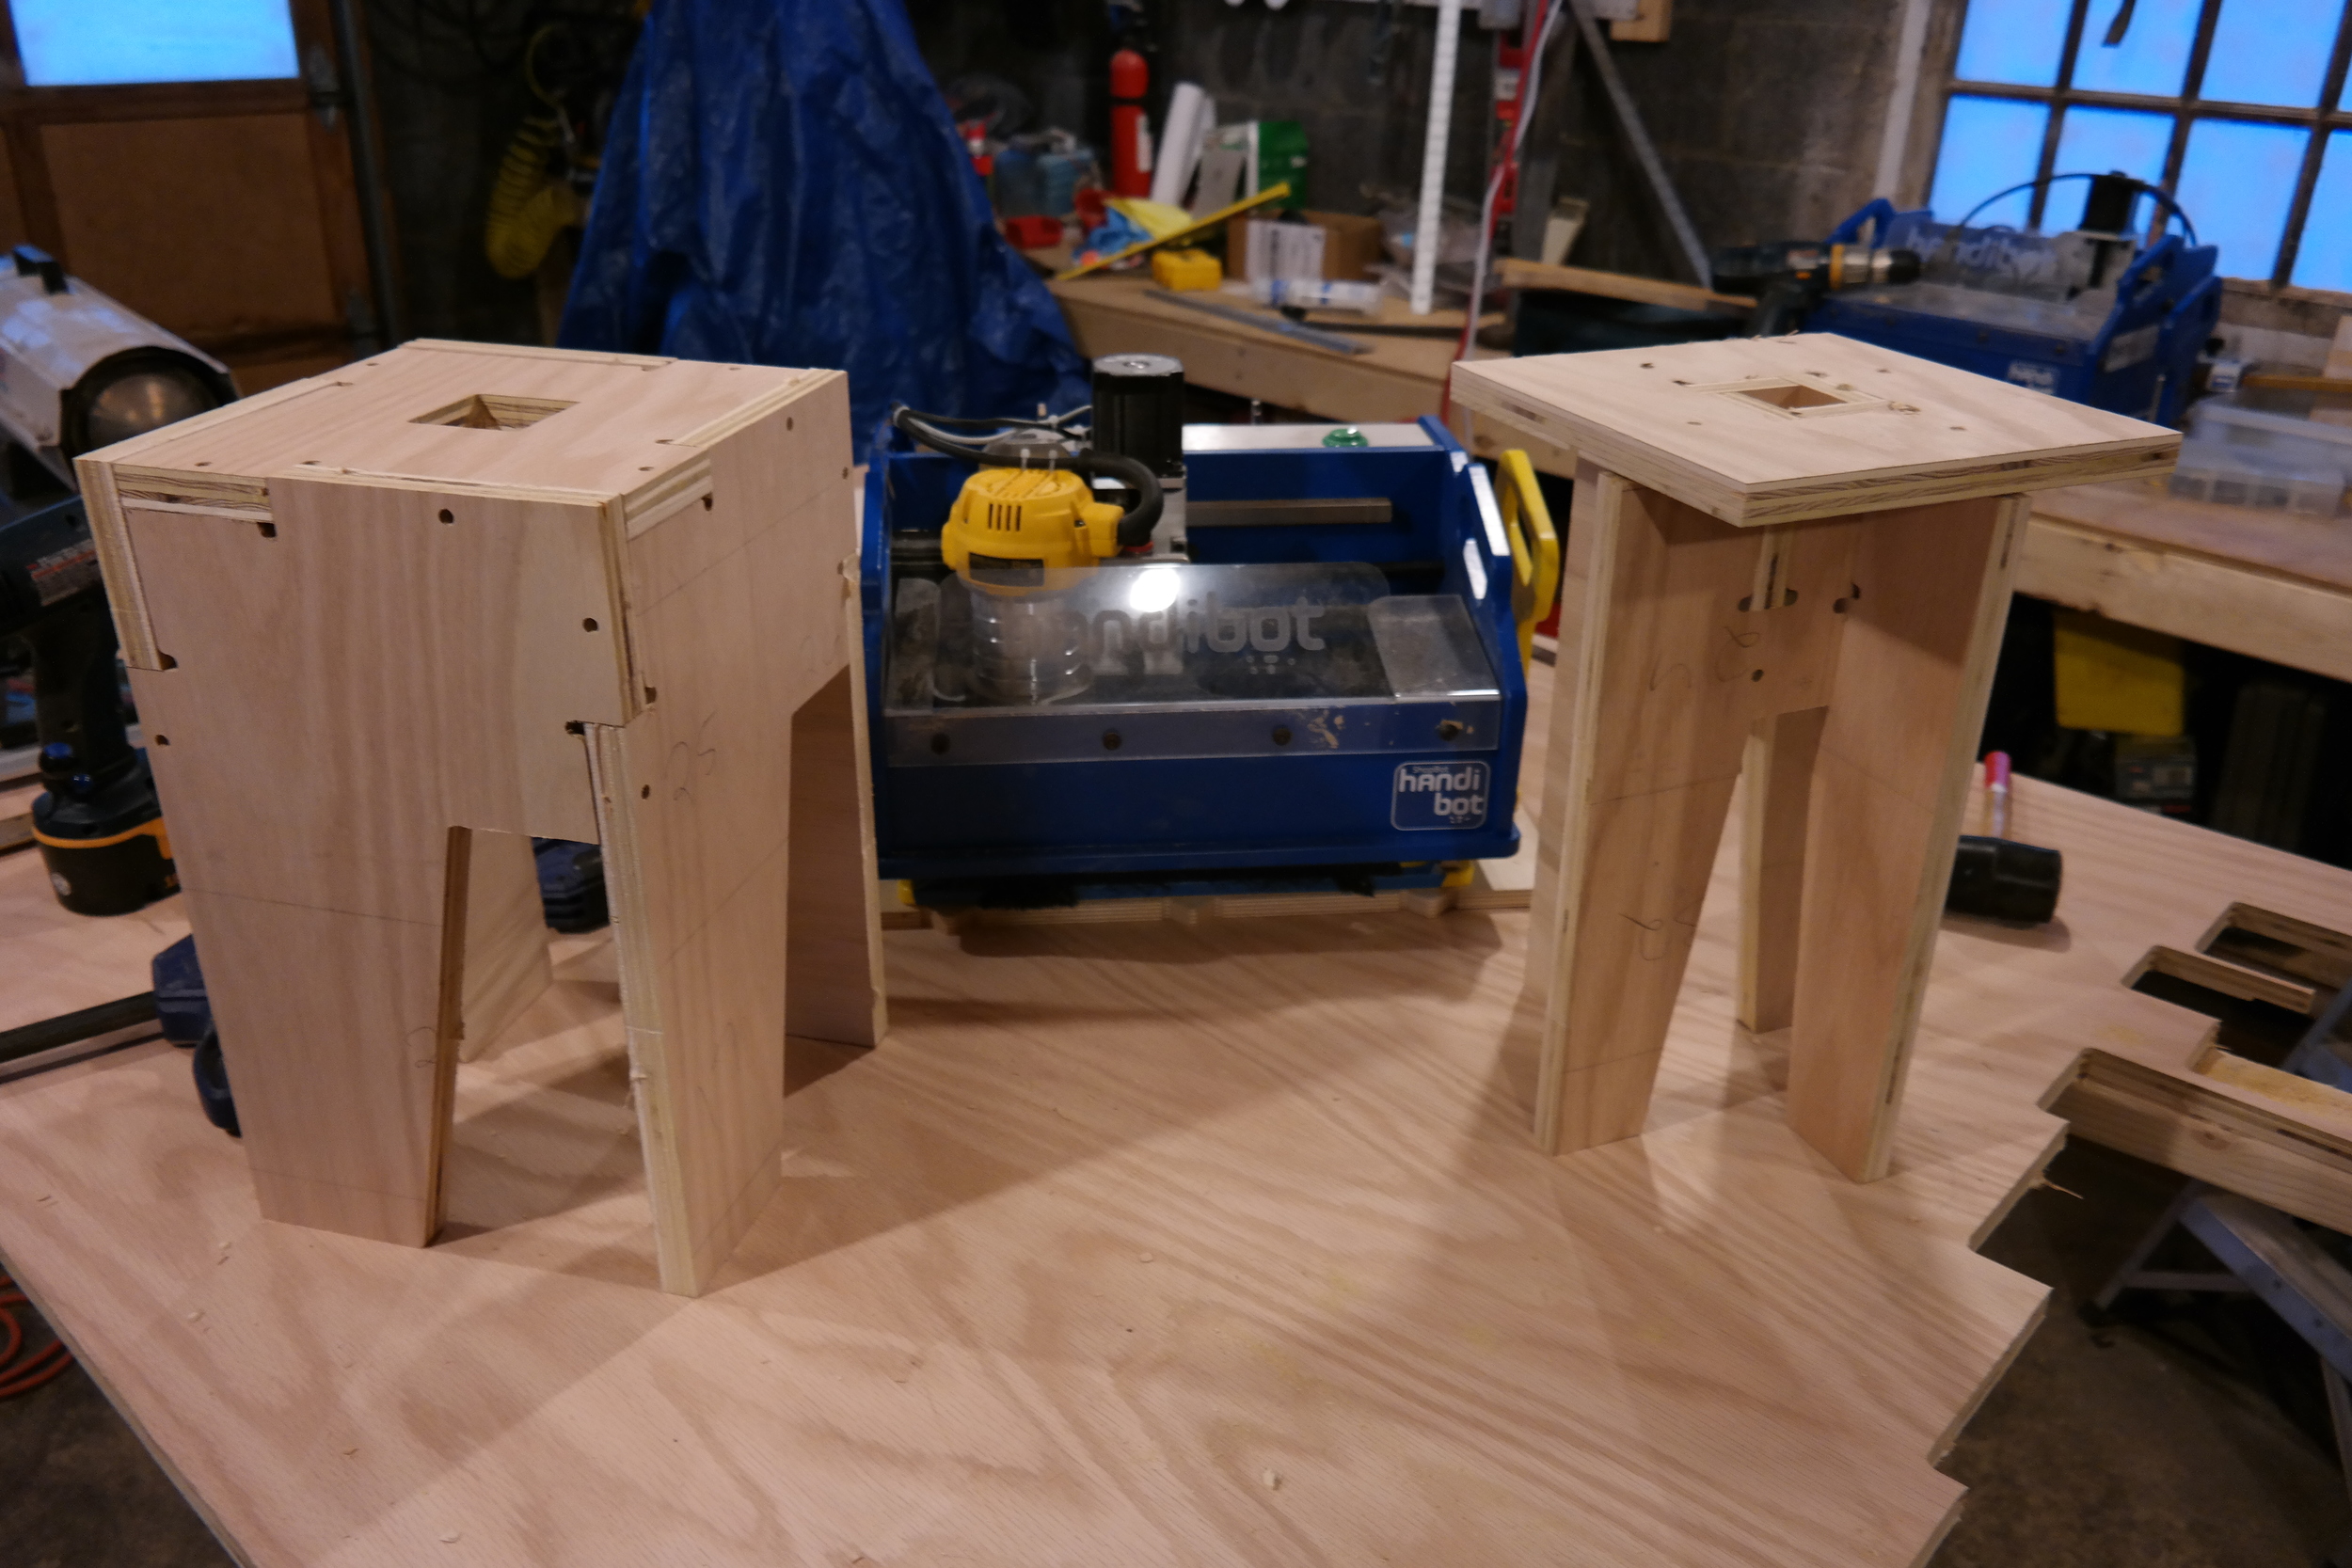
Once the toolpaths were made I set about clamping the pieces to the bench so I could set the Handibot on top of them for milling.

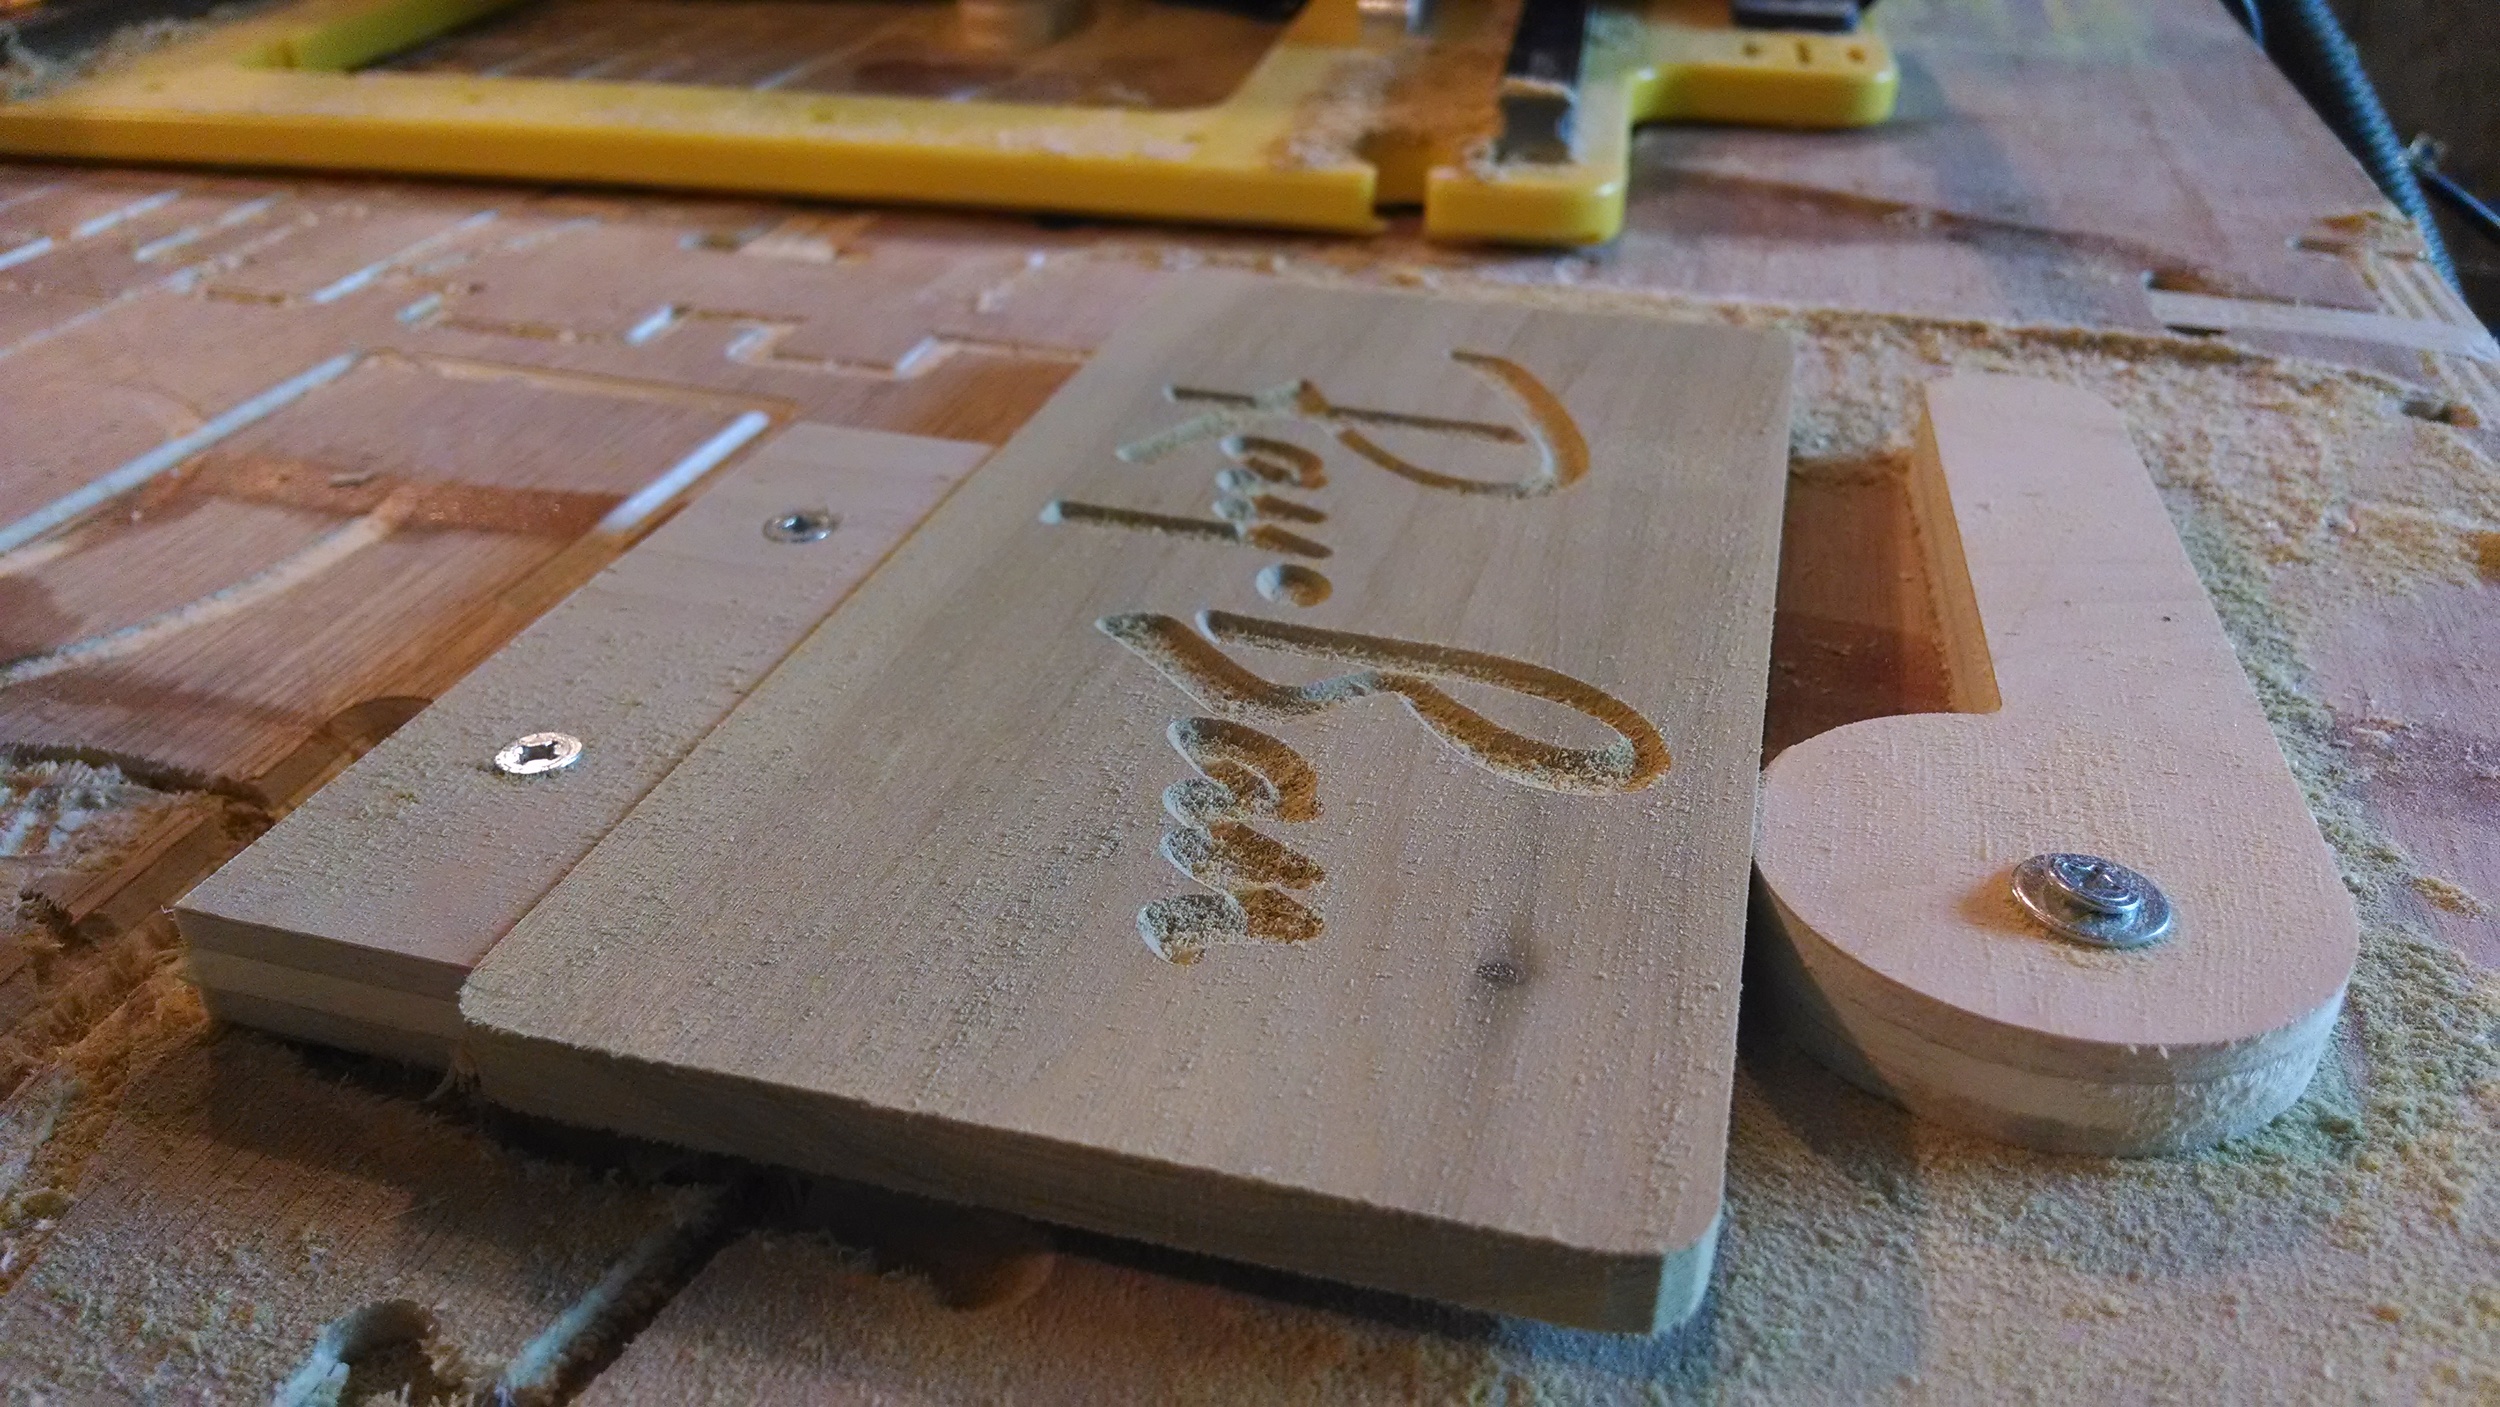
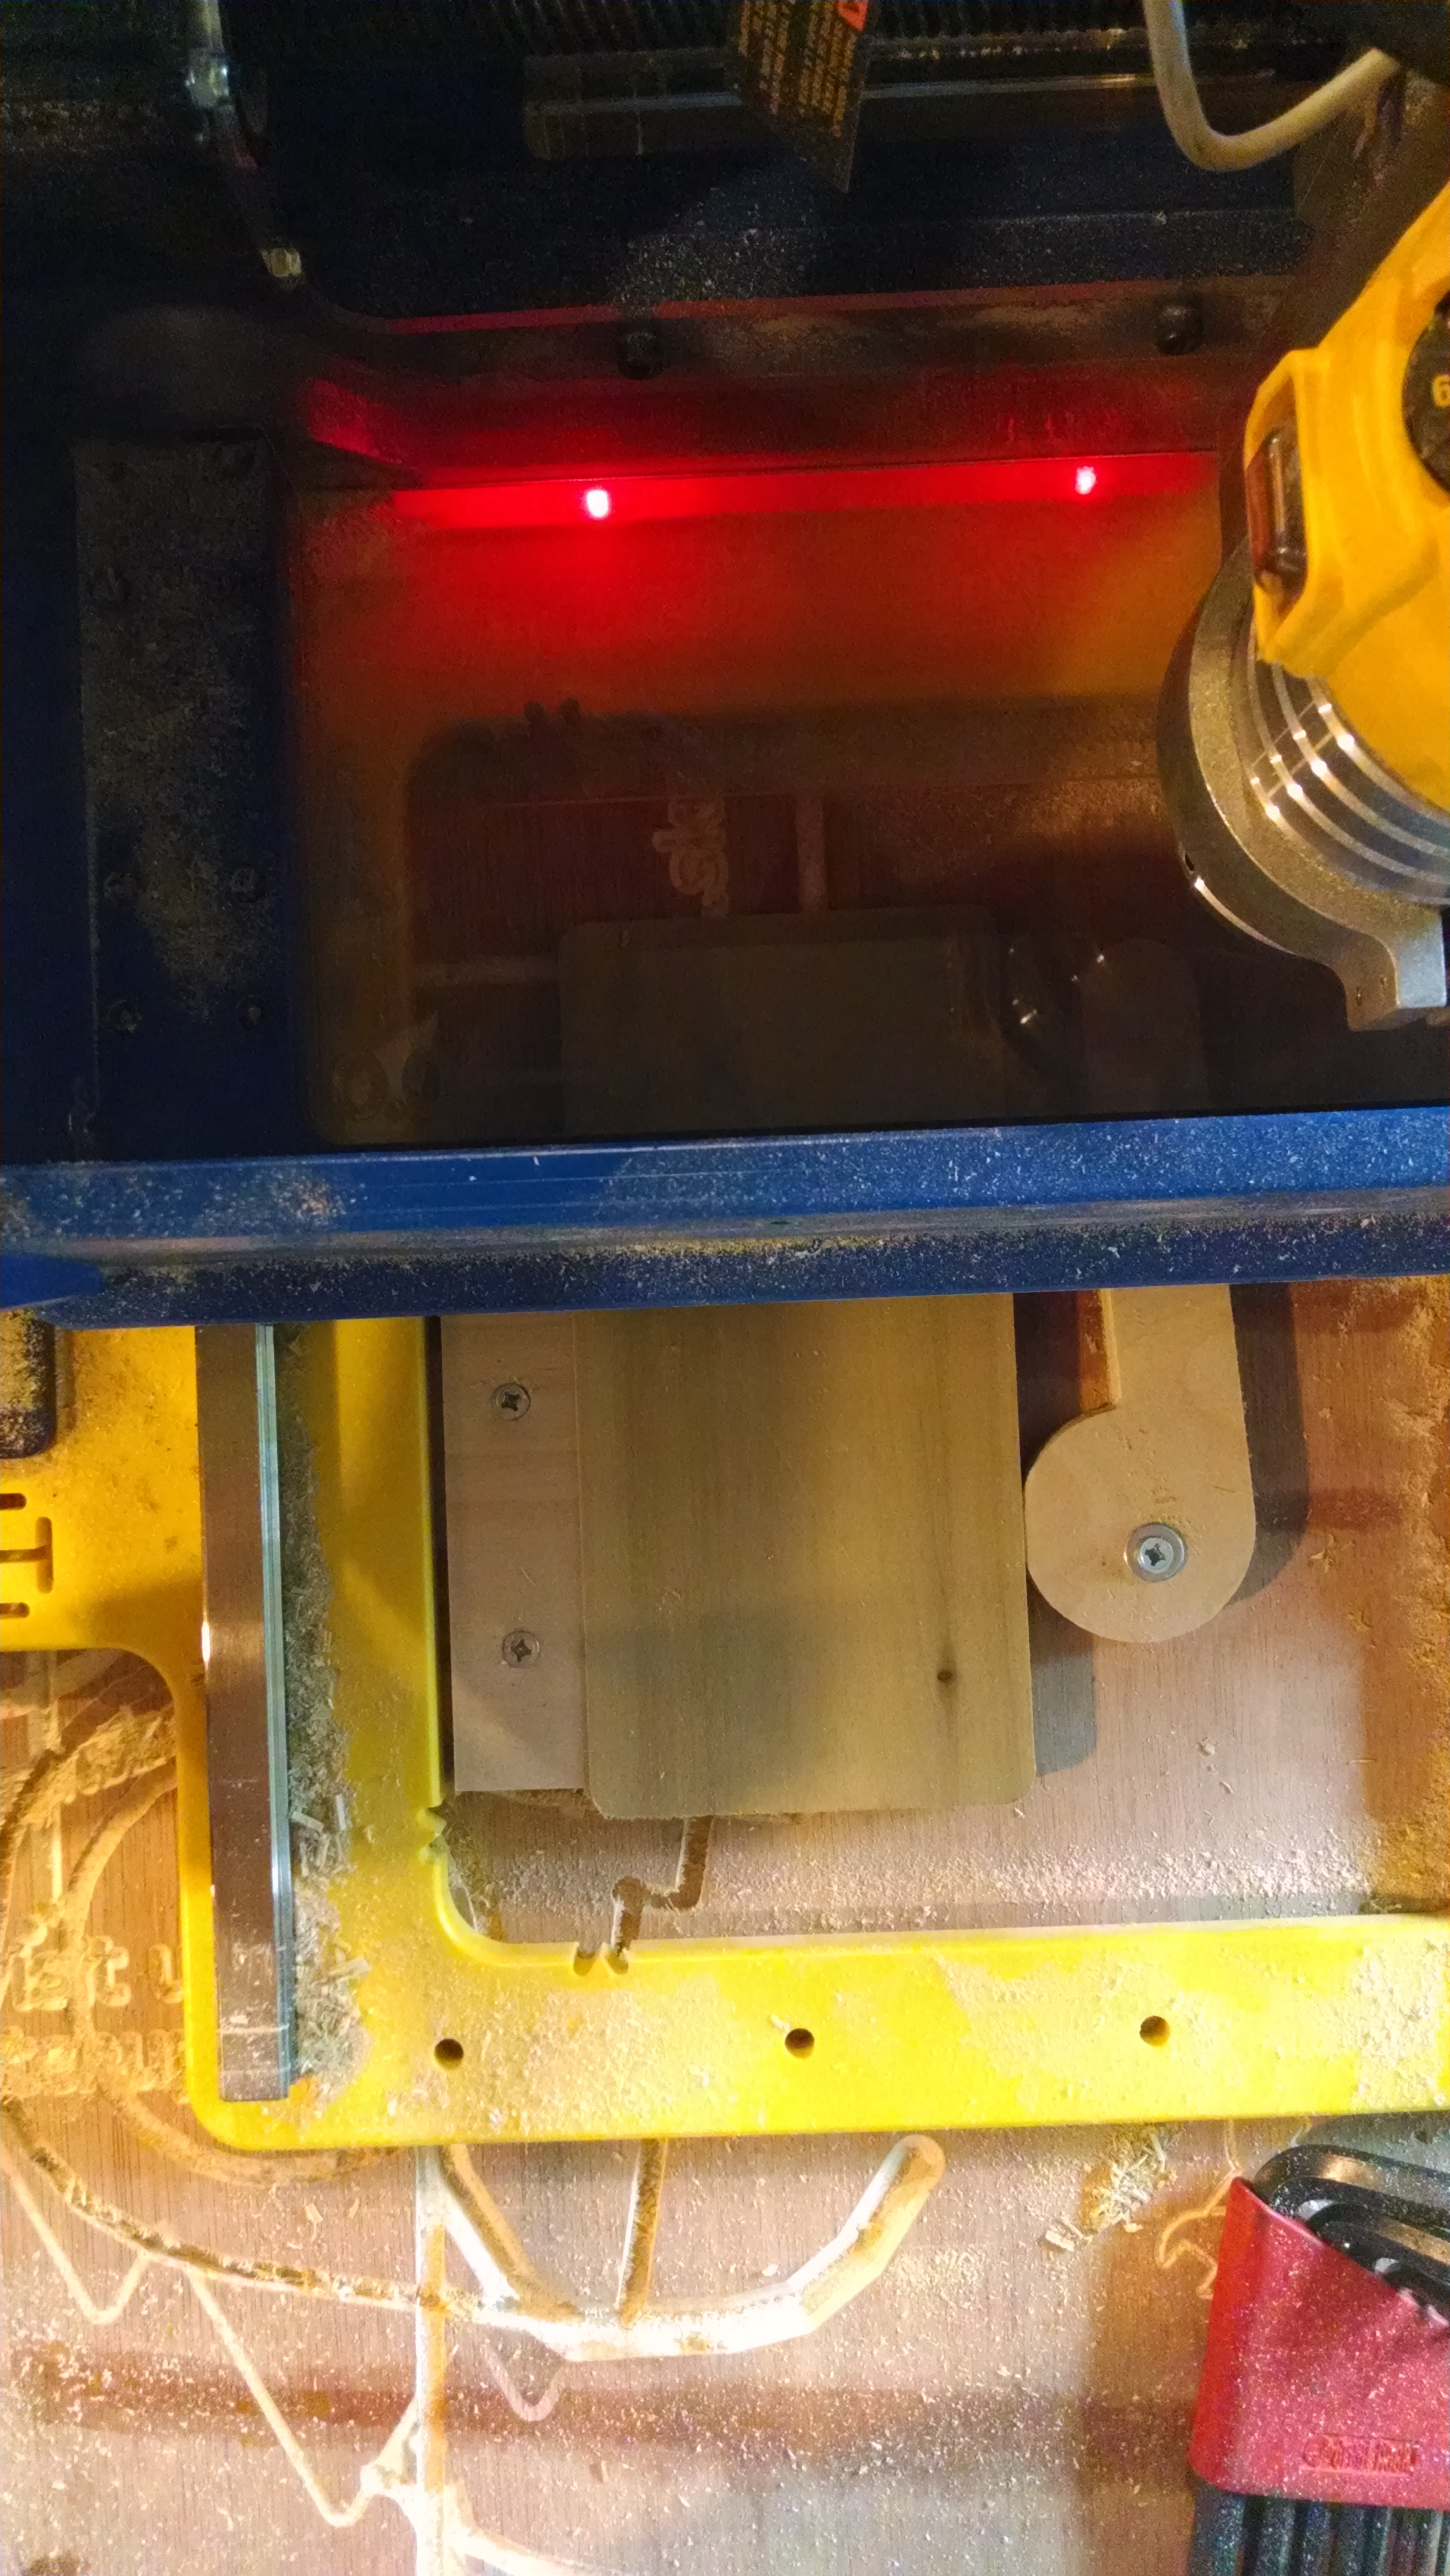
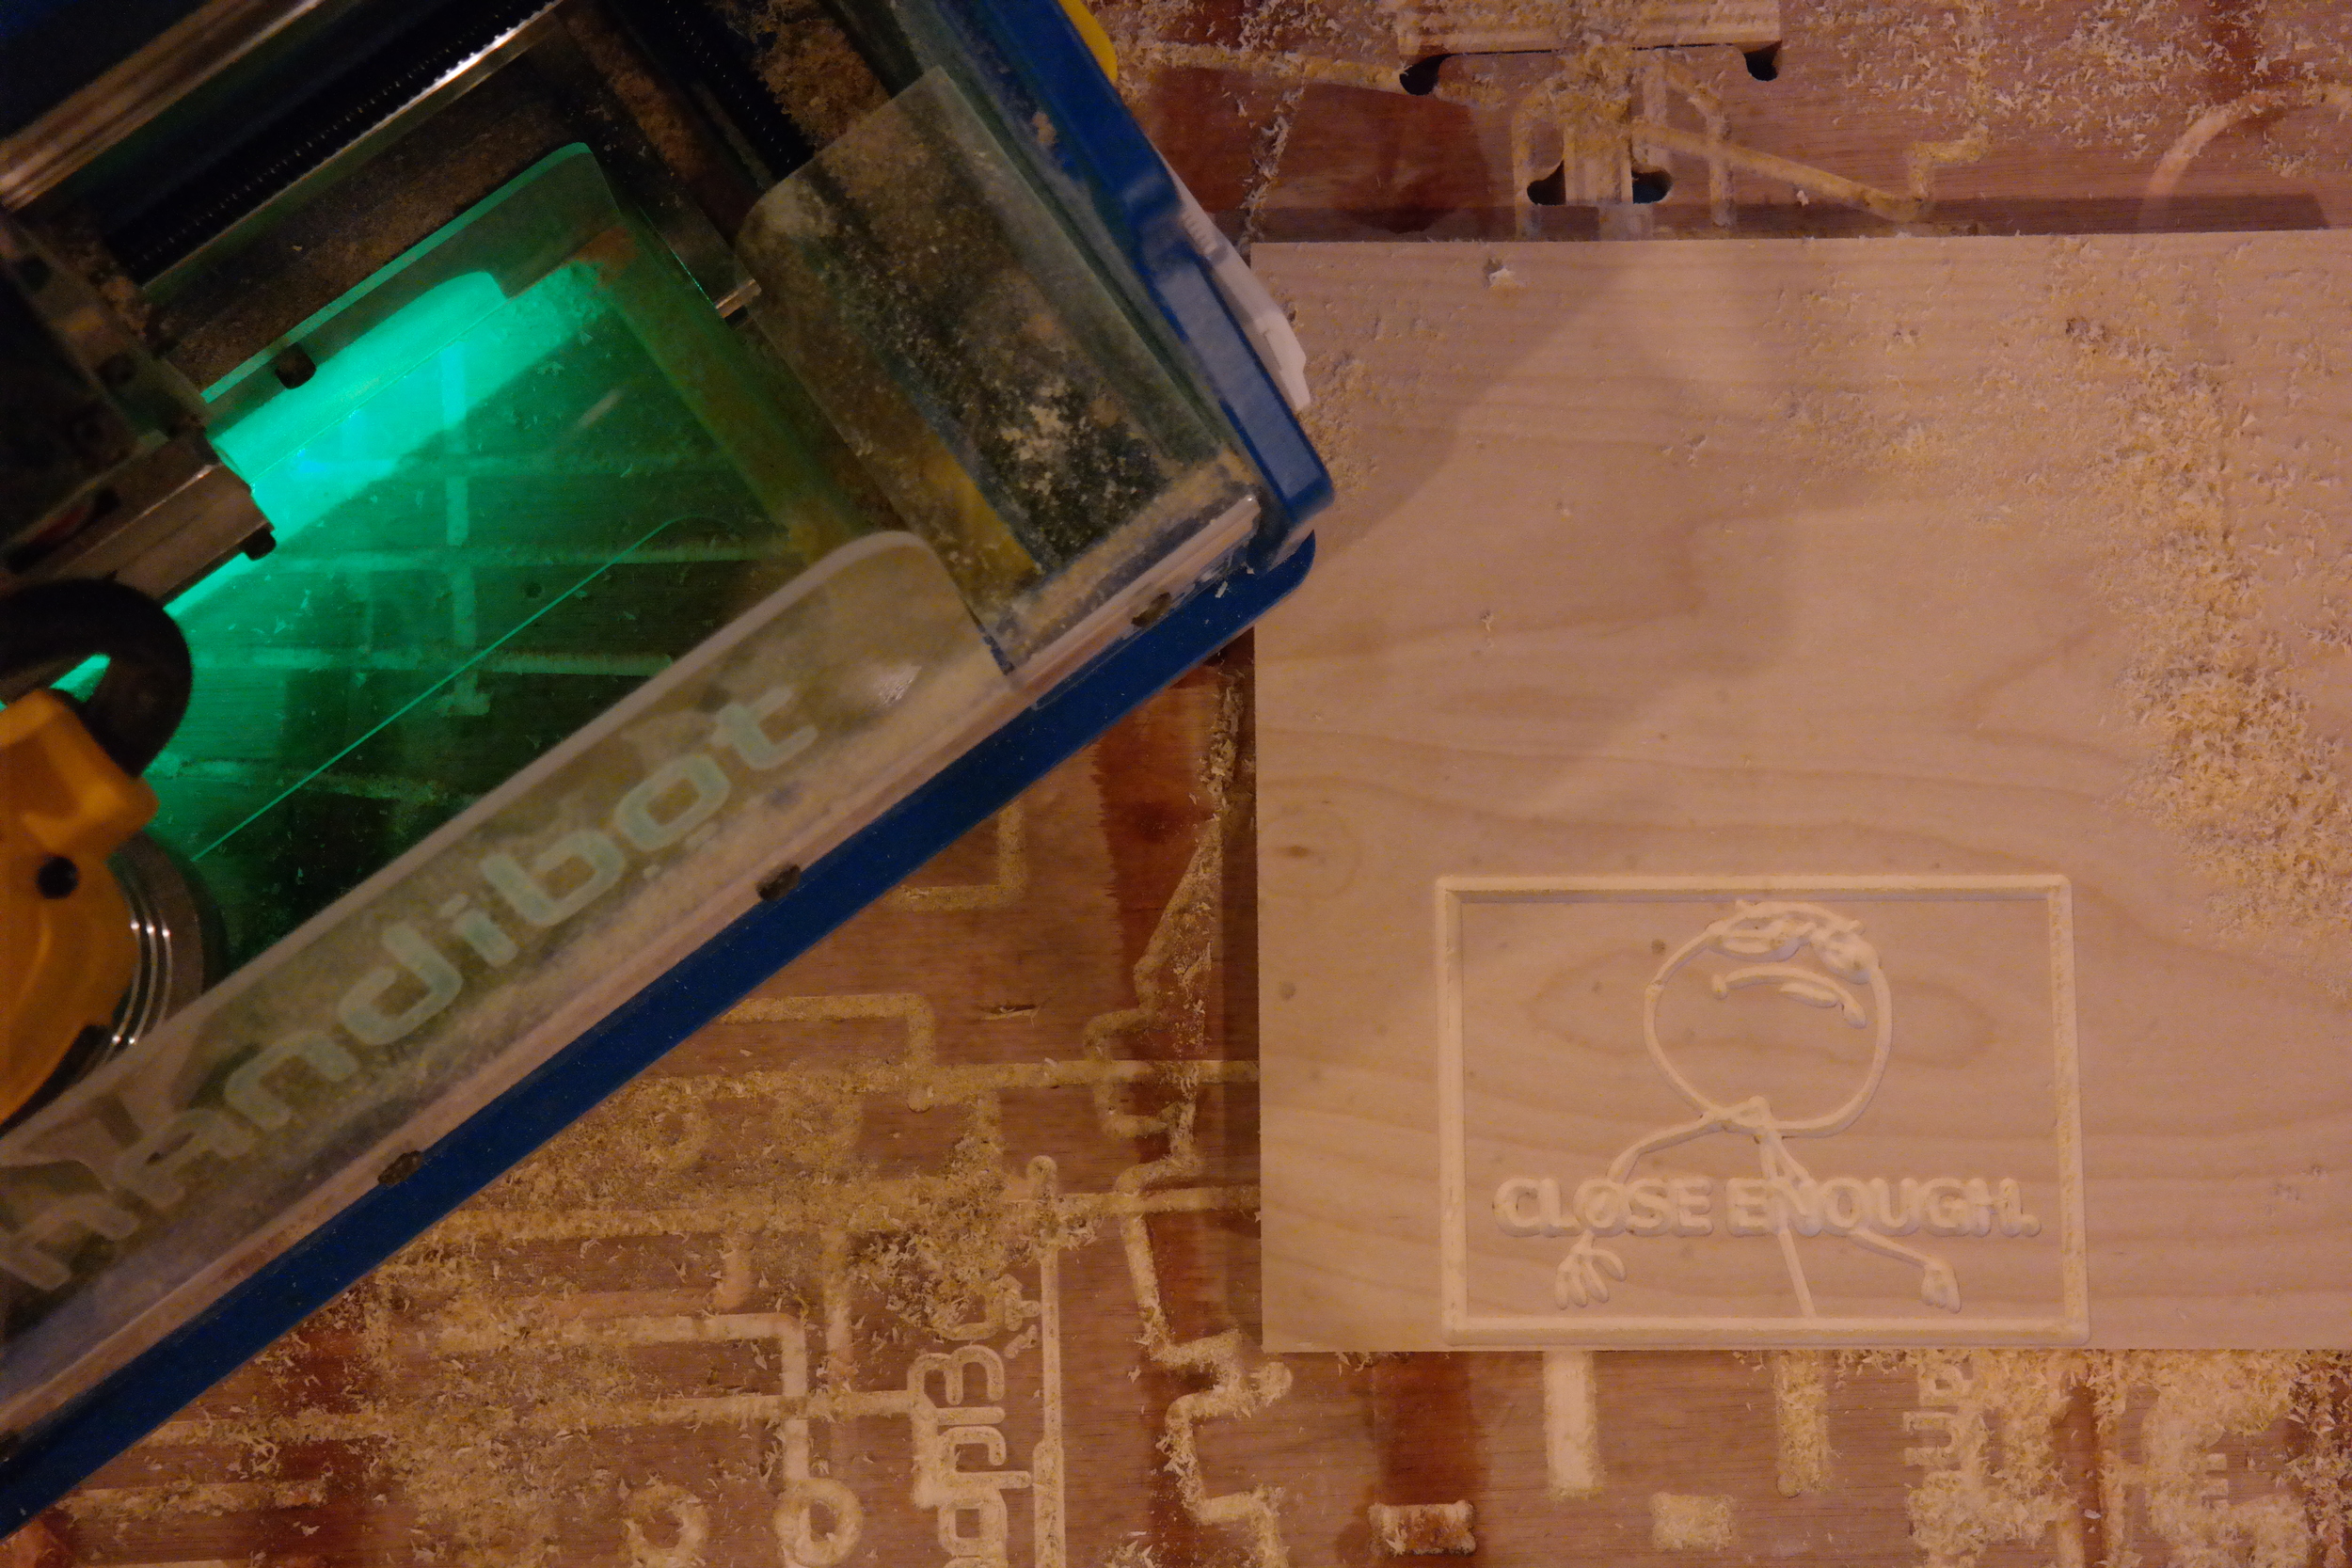
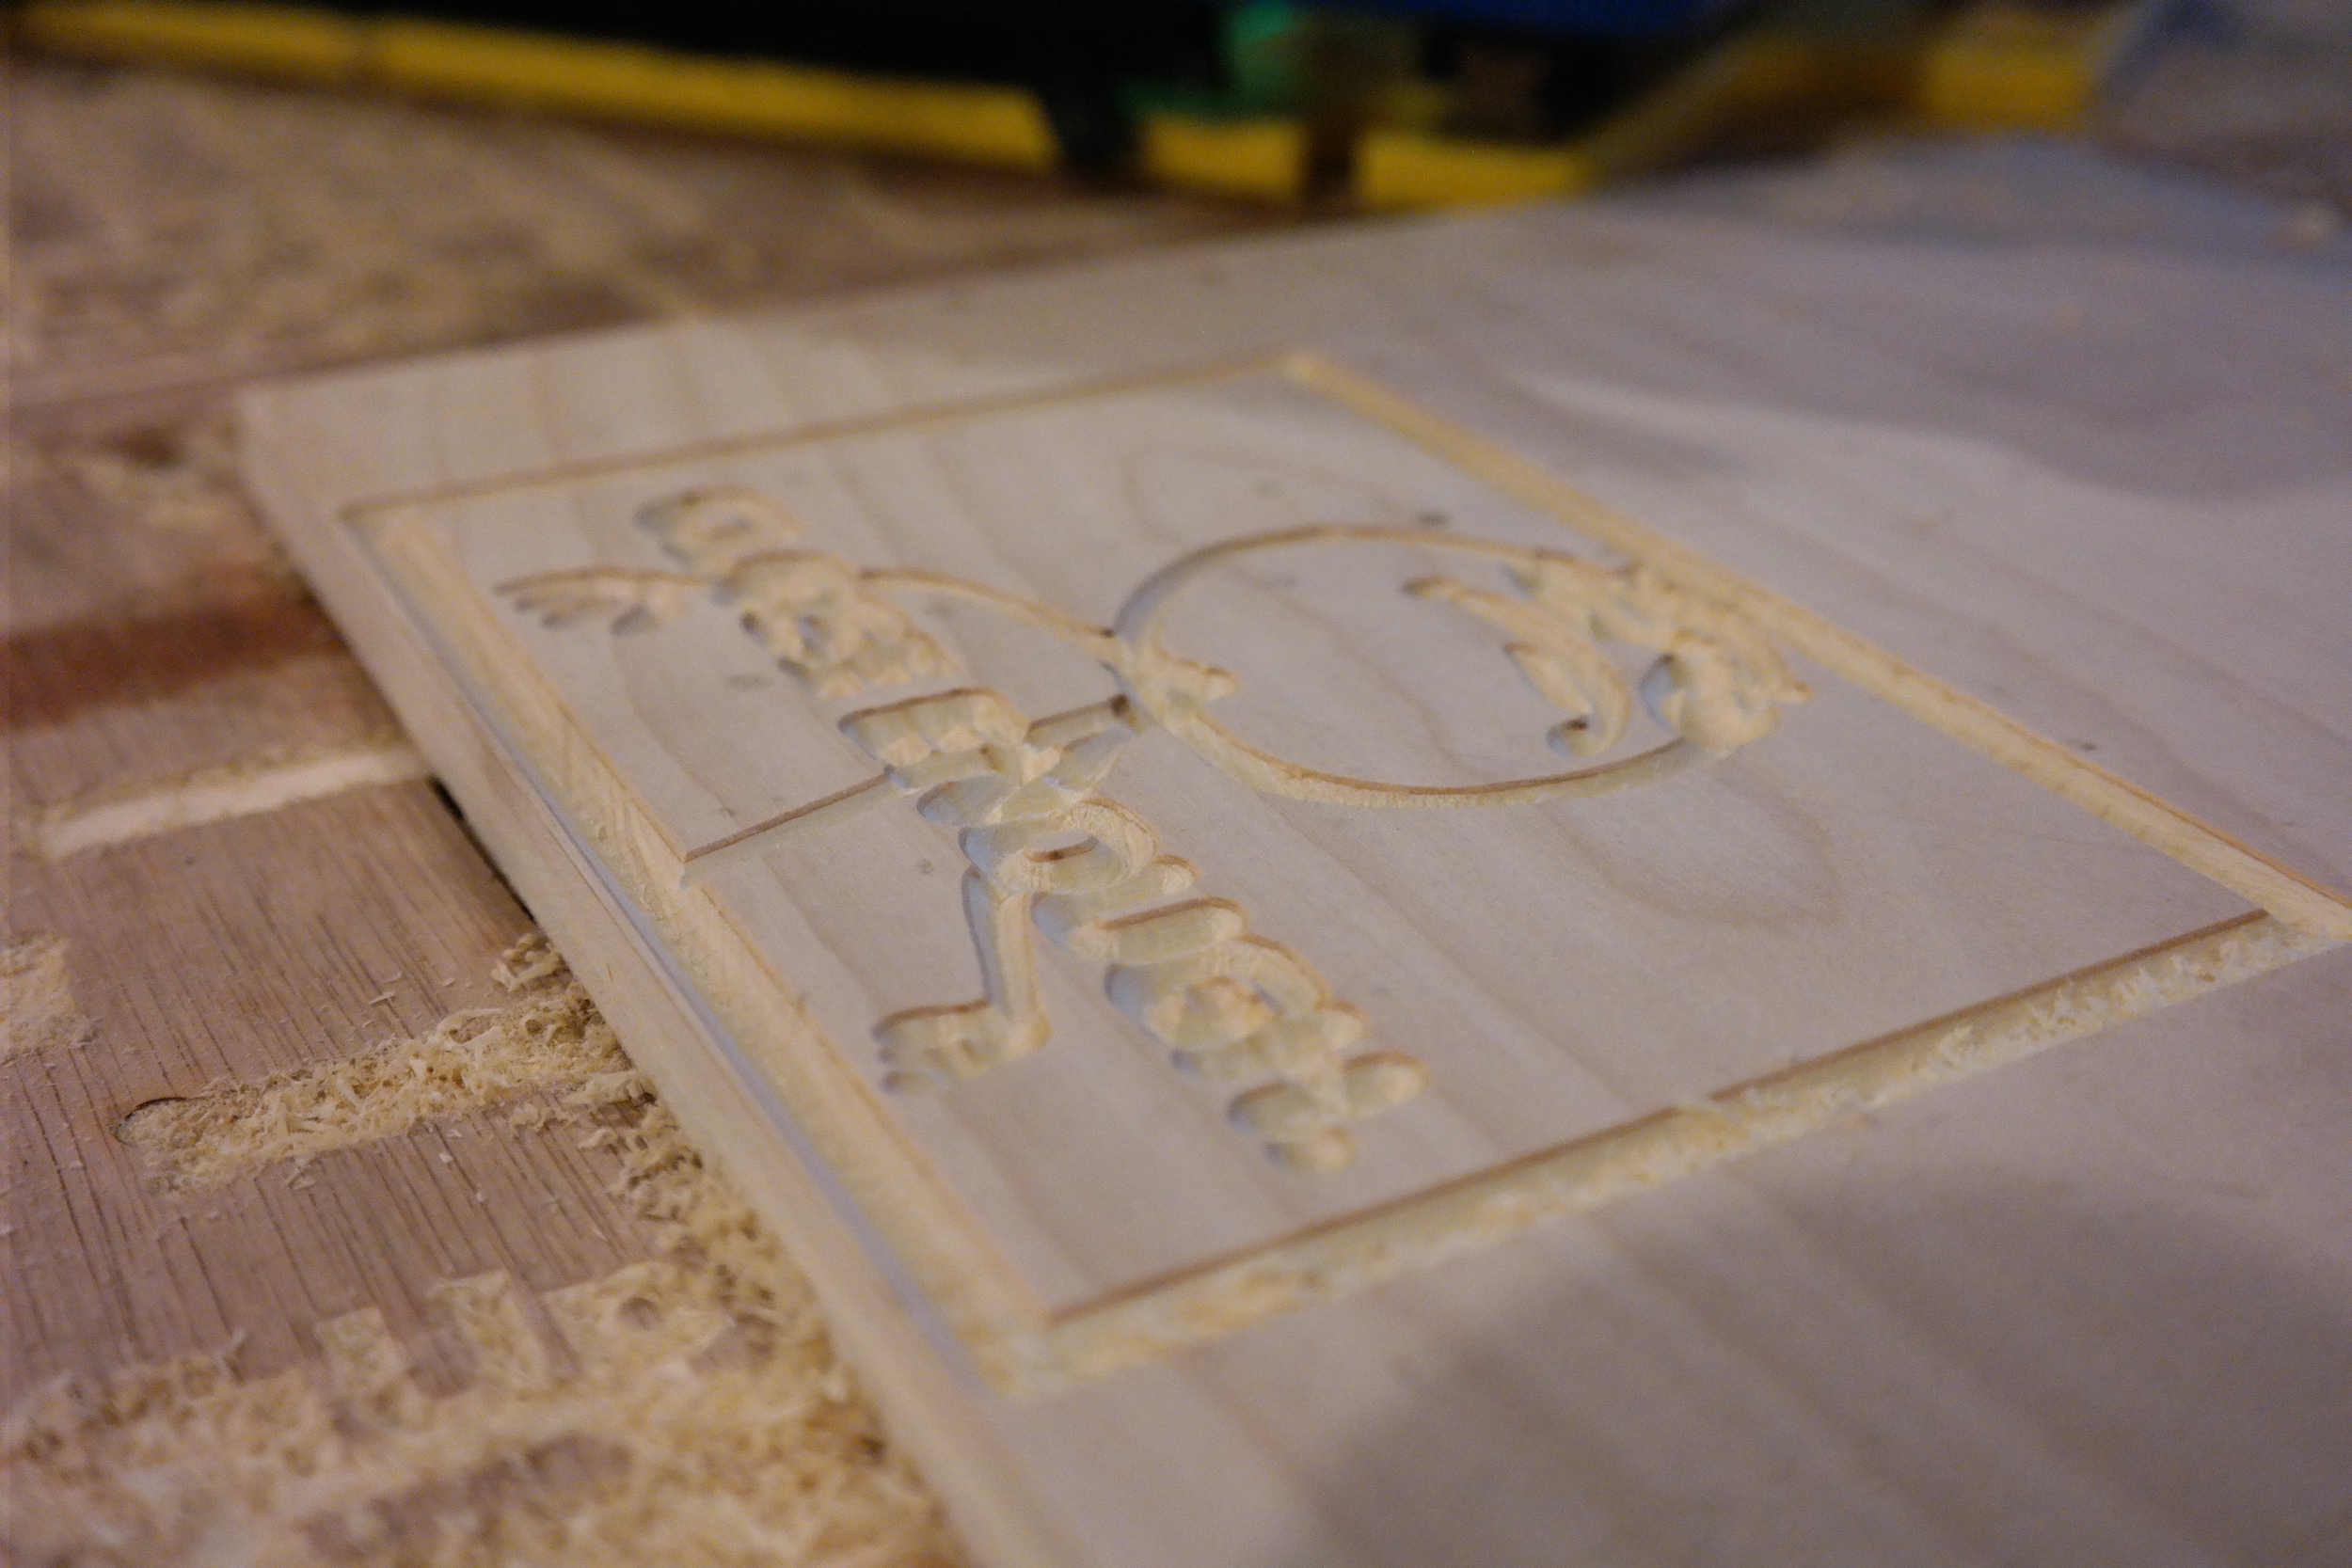
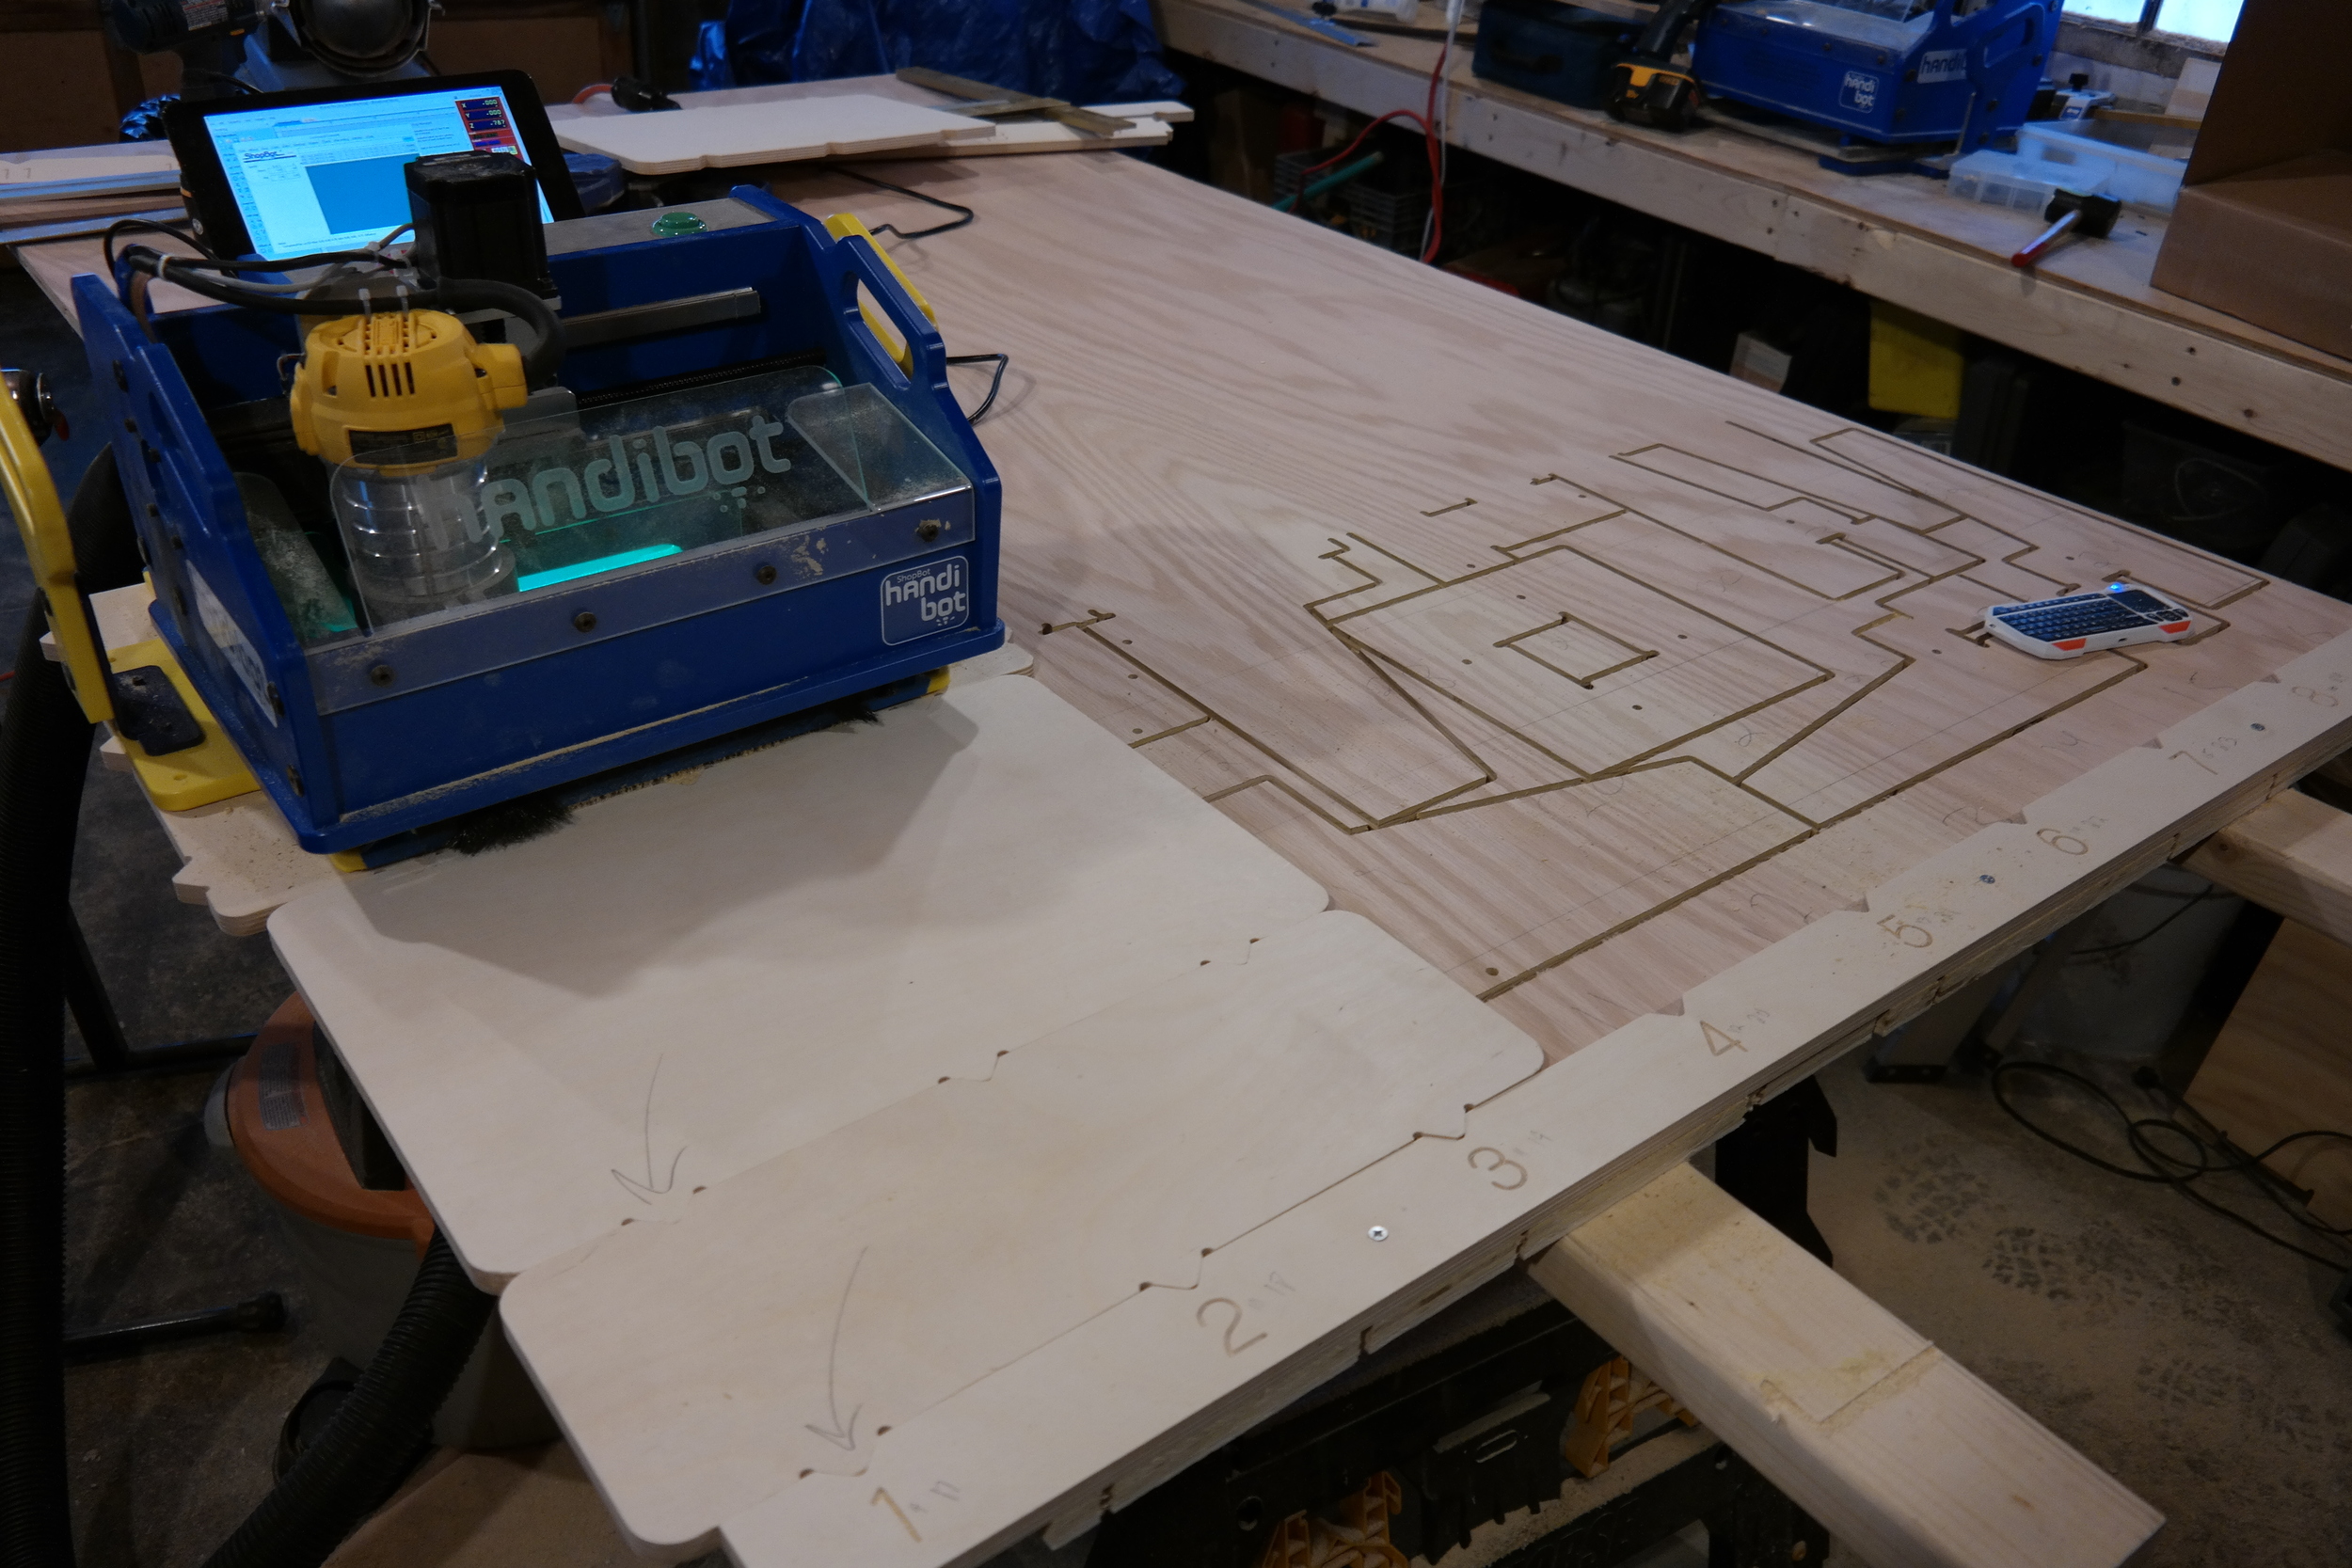
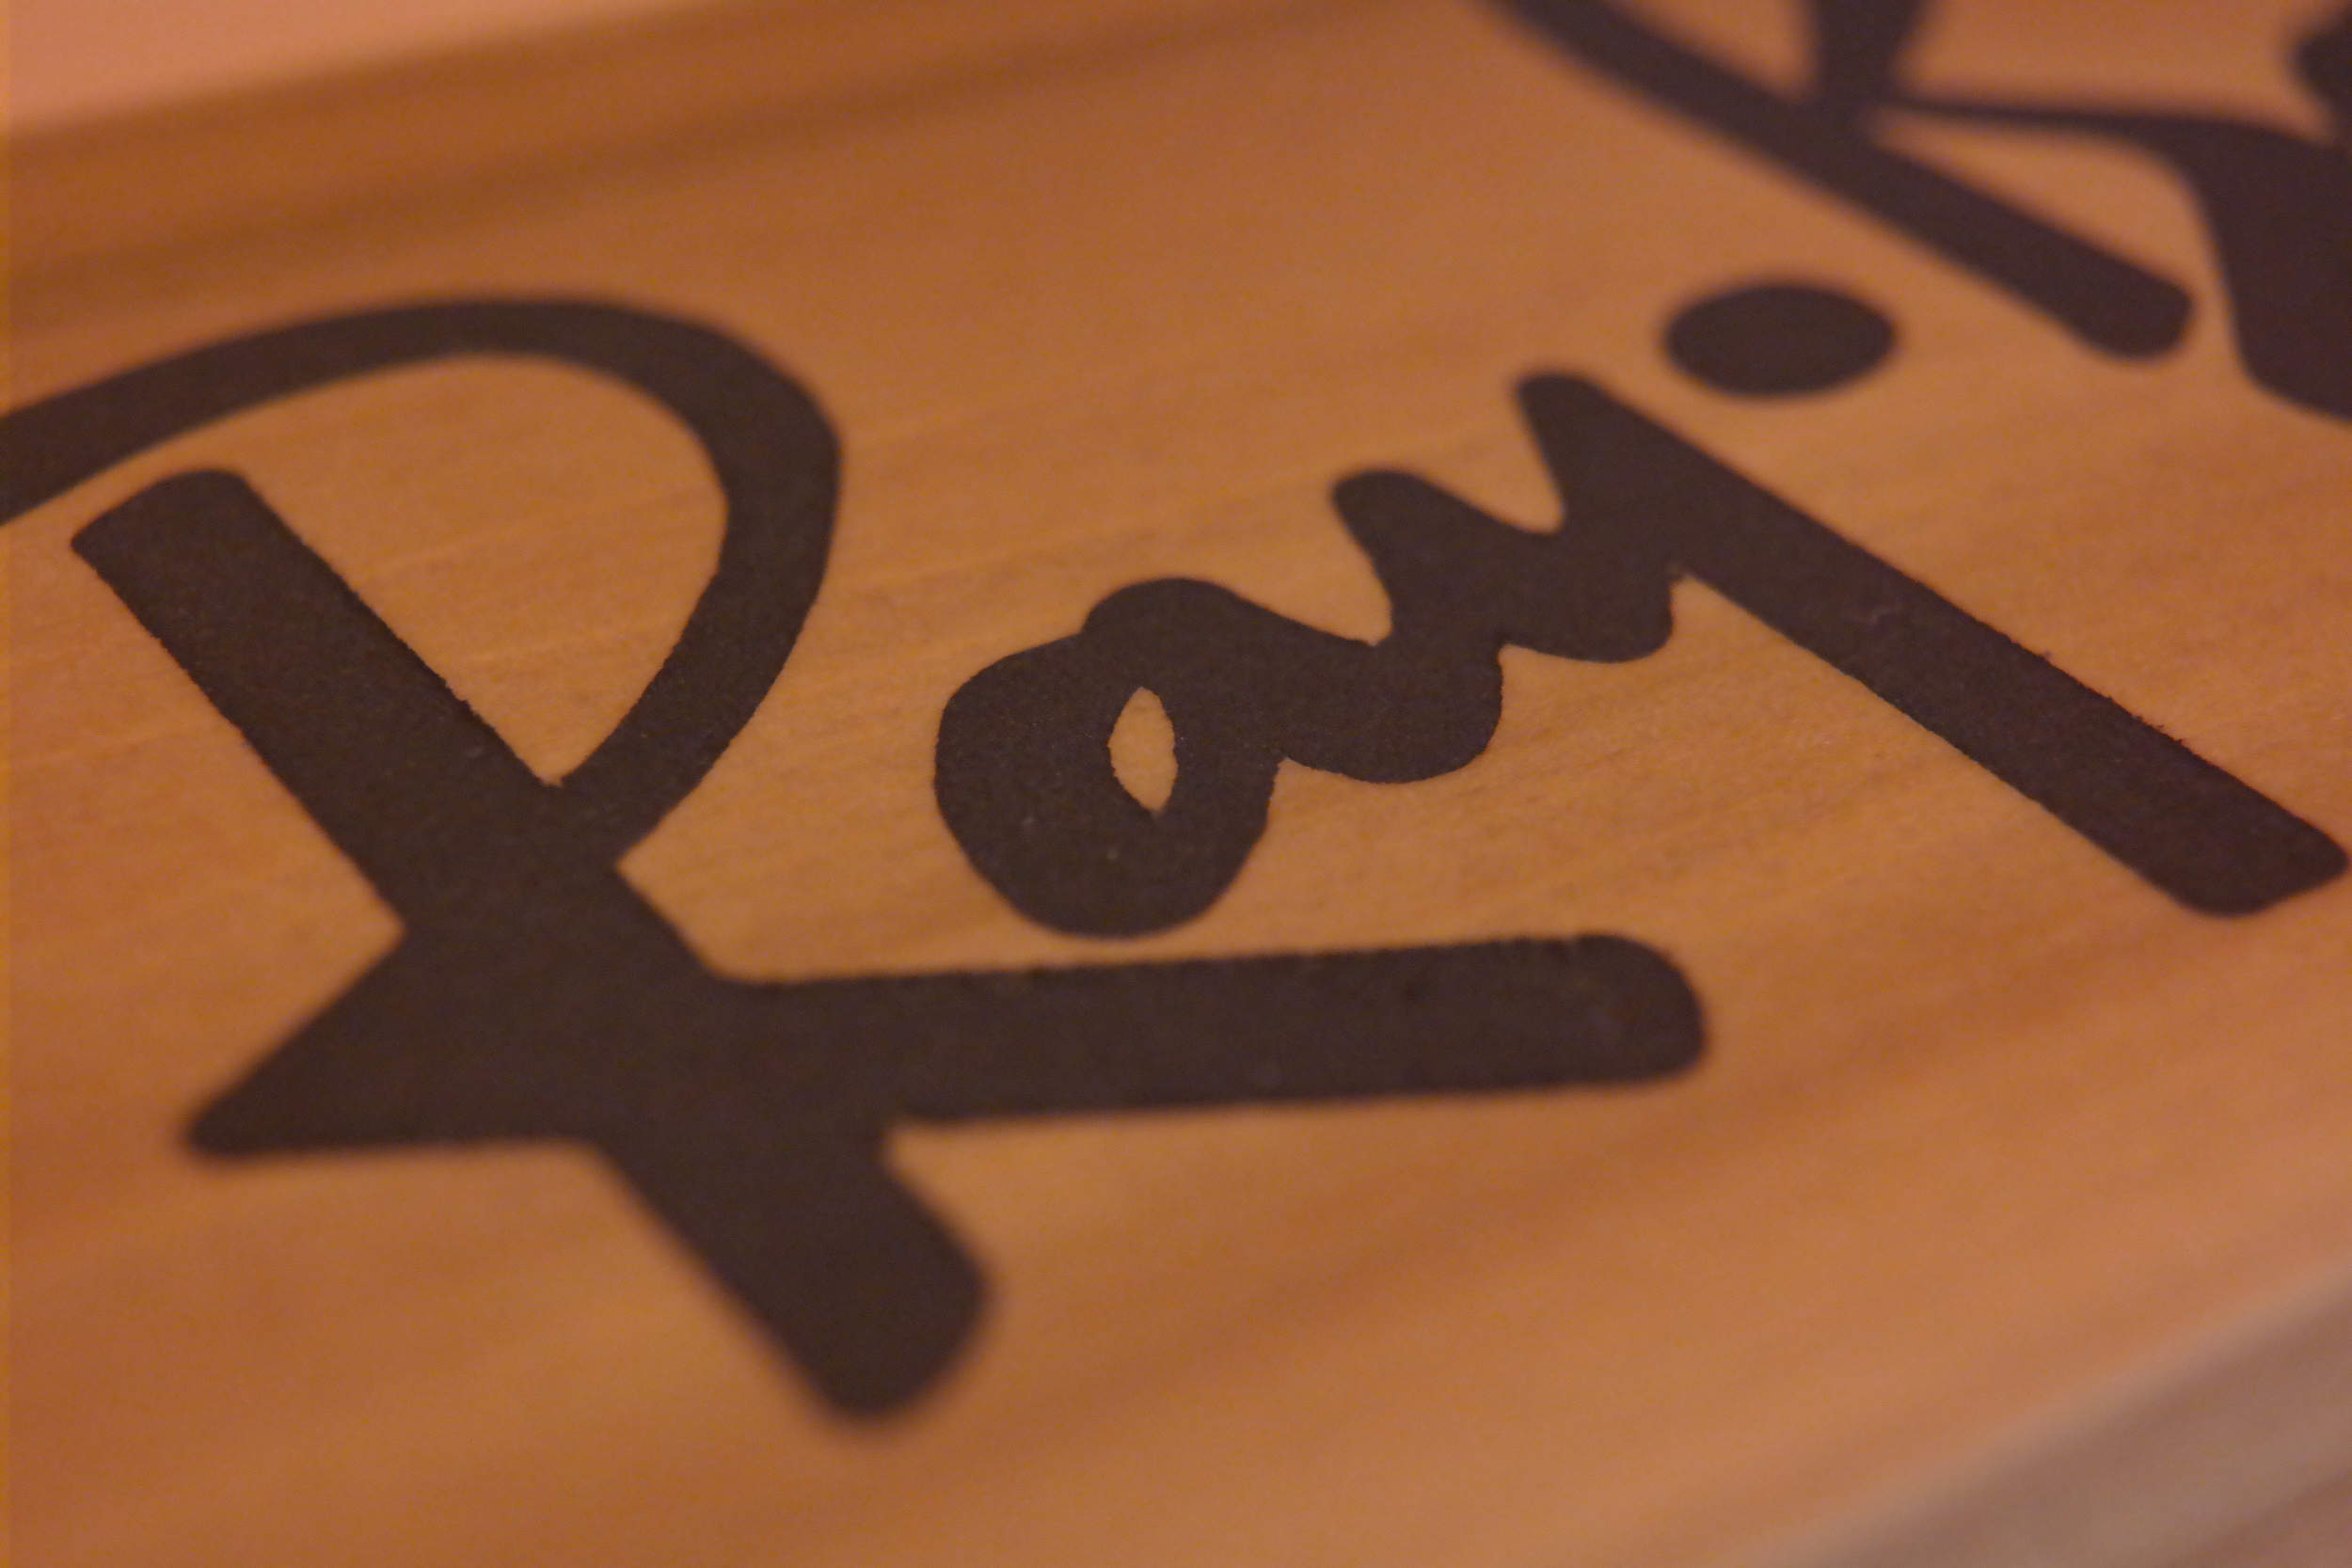
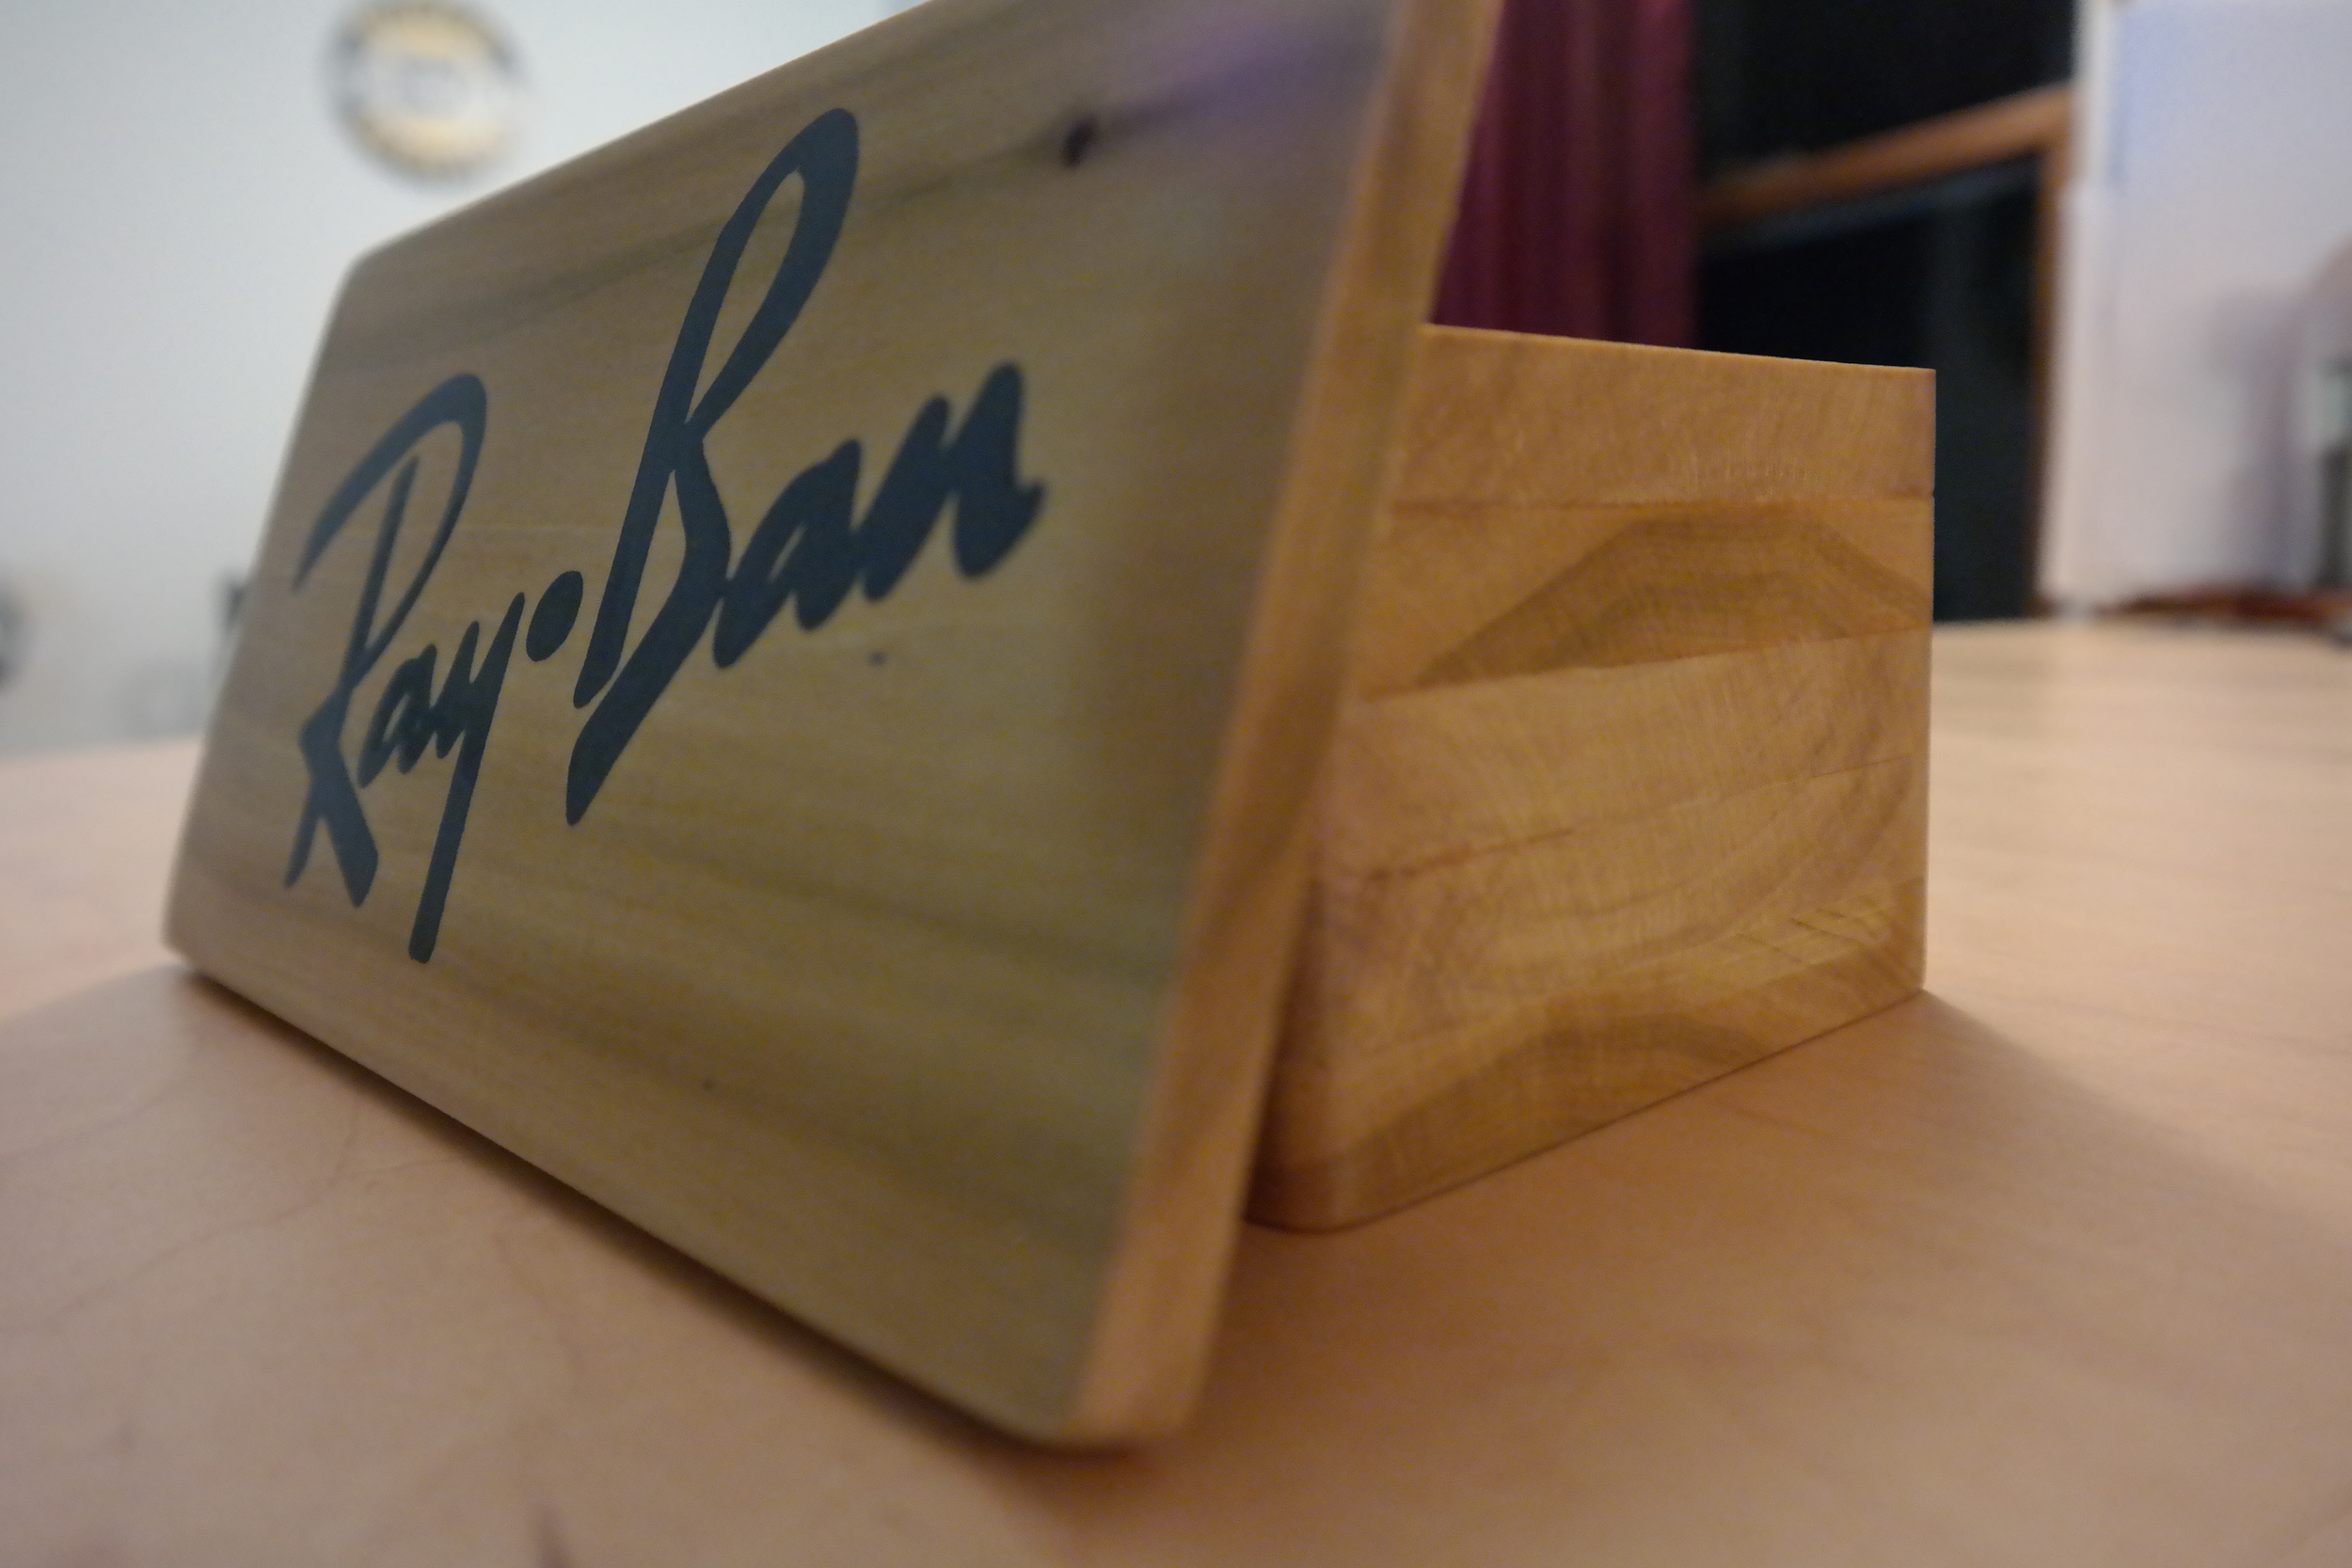
Once I had the clamping done I set about milling. The spacers and the bottom were easy. I used a typical end mill bit to cut those, and V bit for the Ray Ban logo.

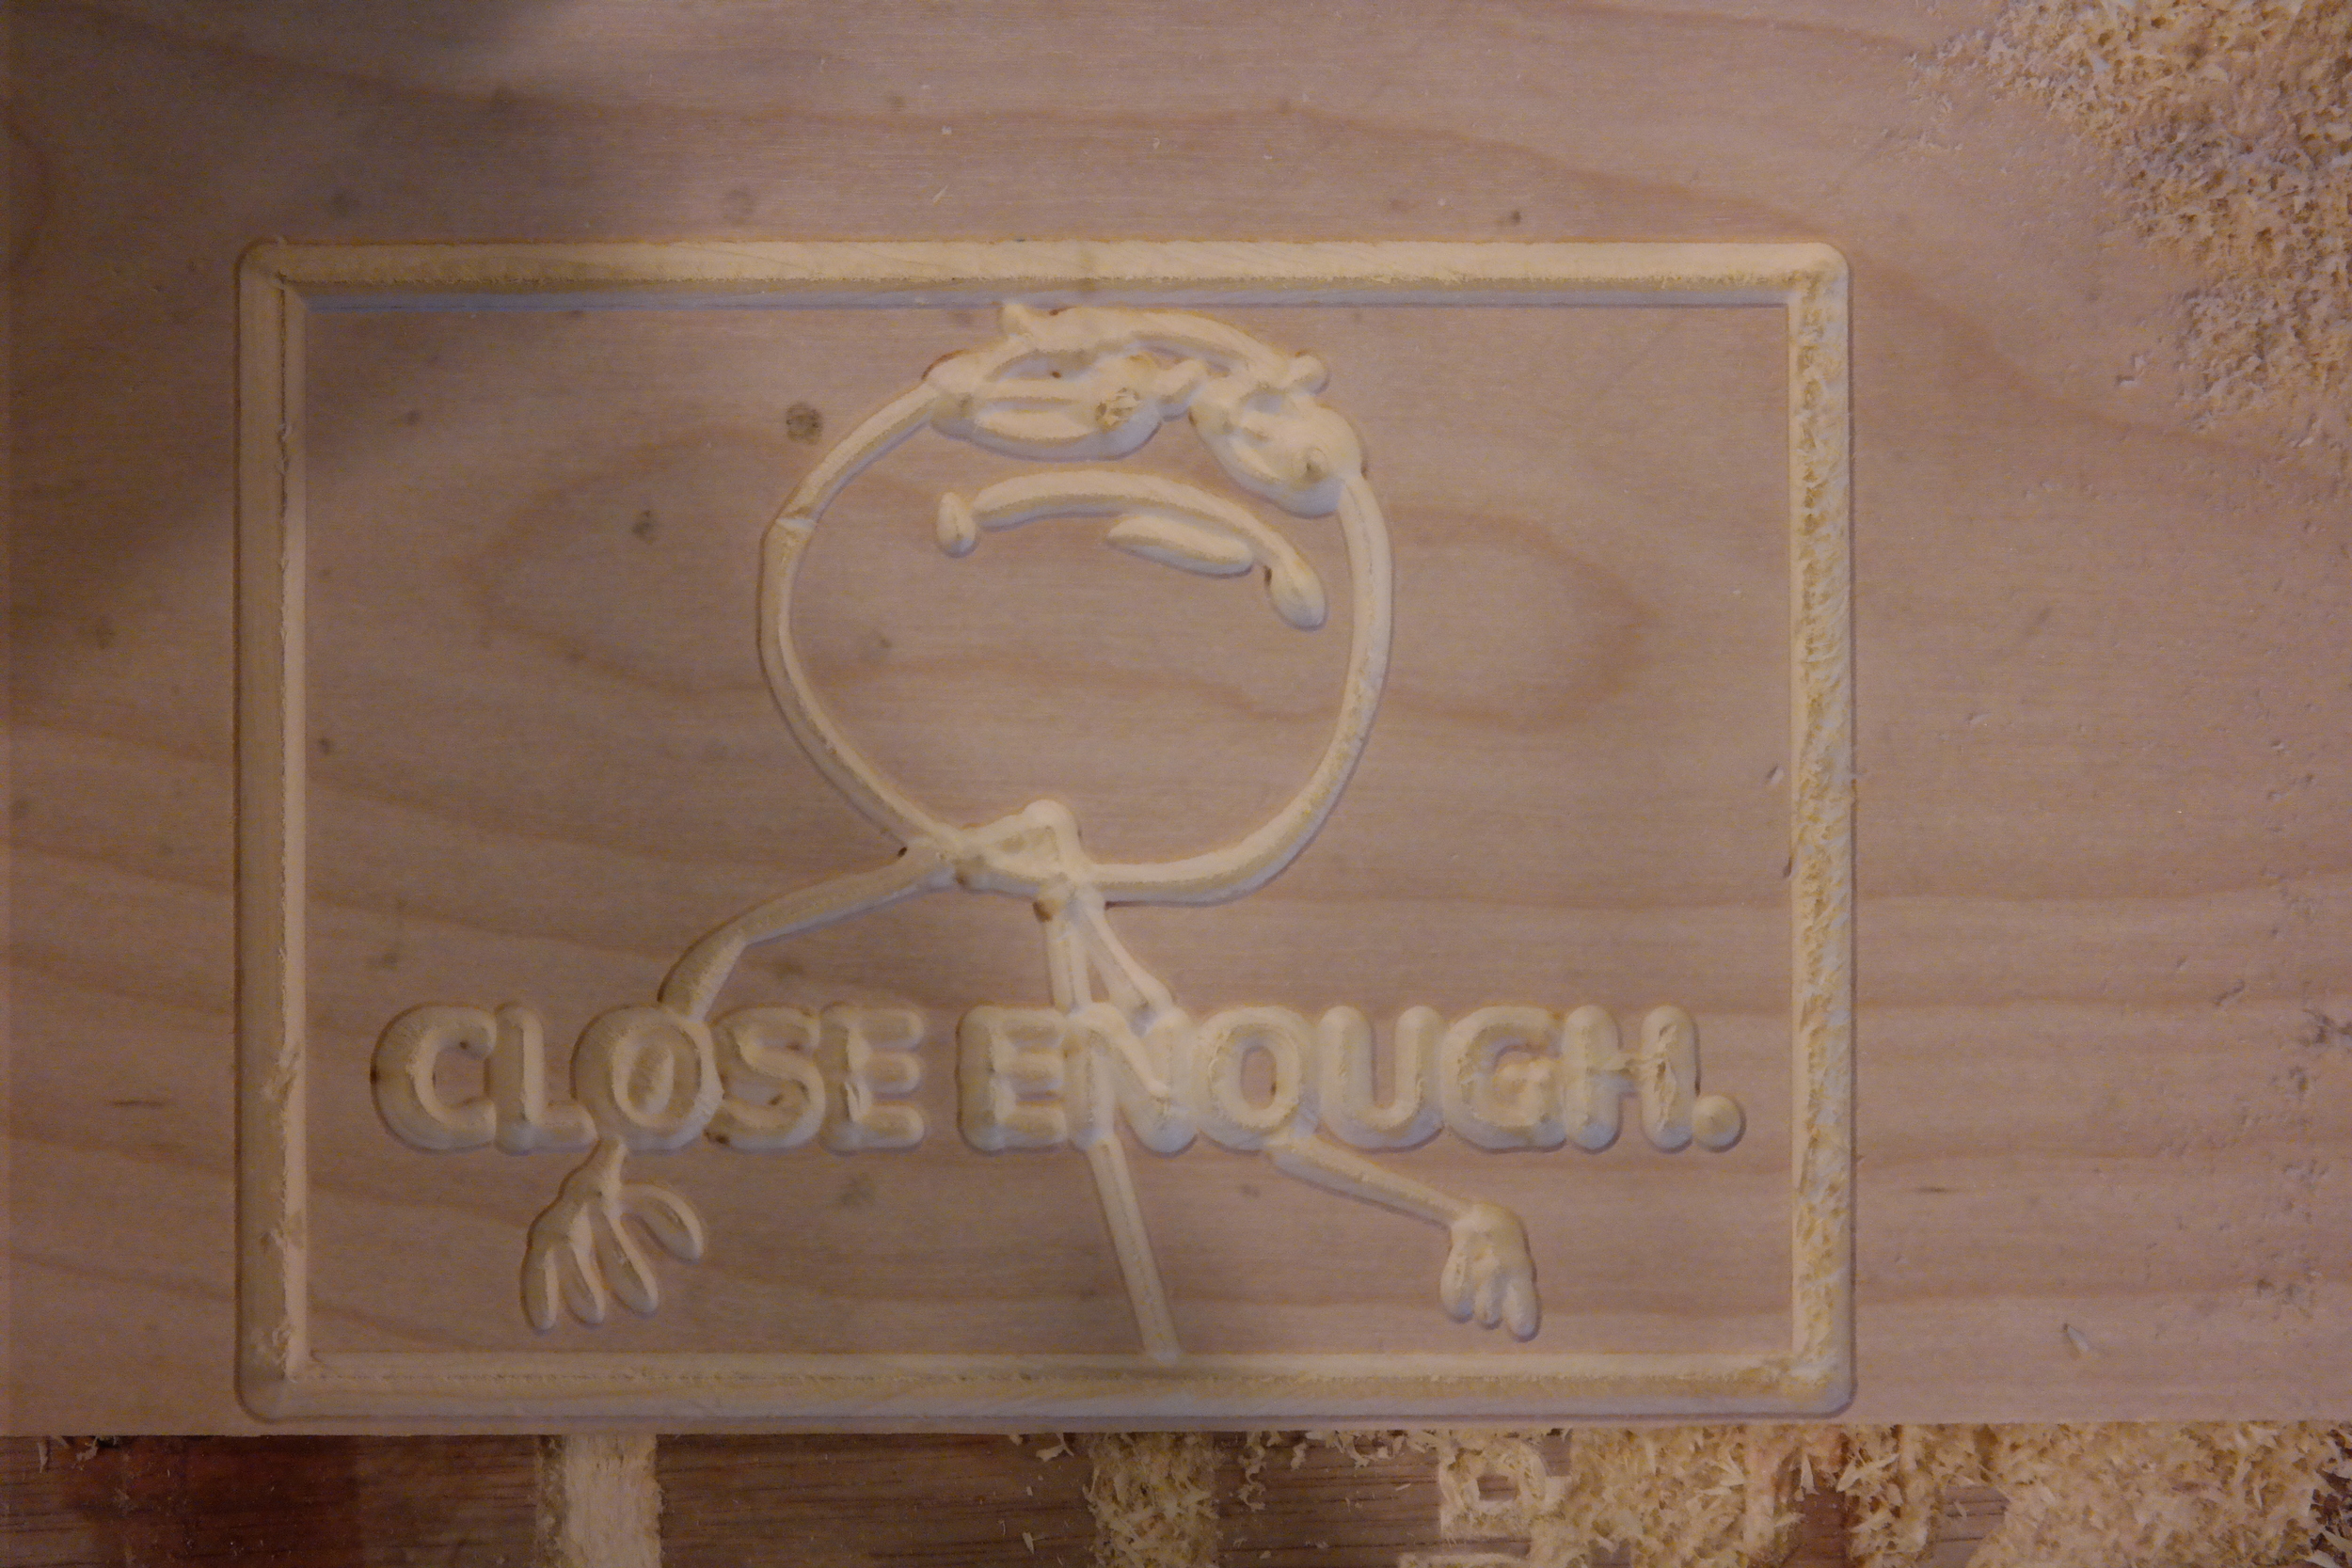
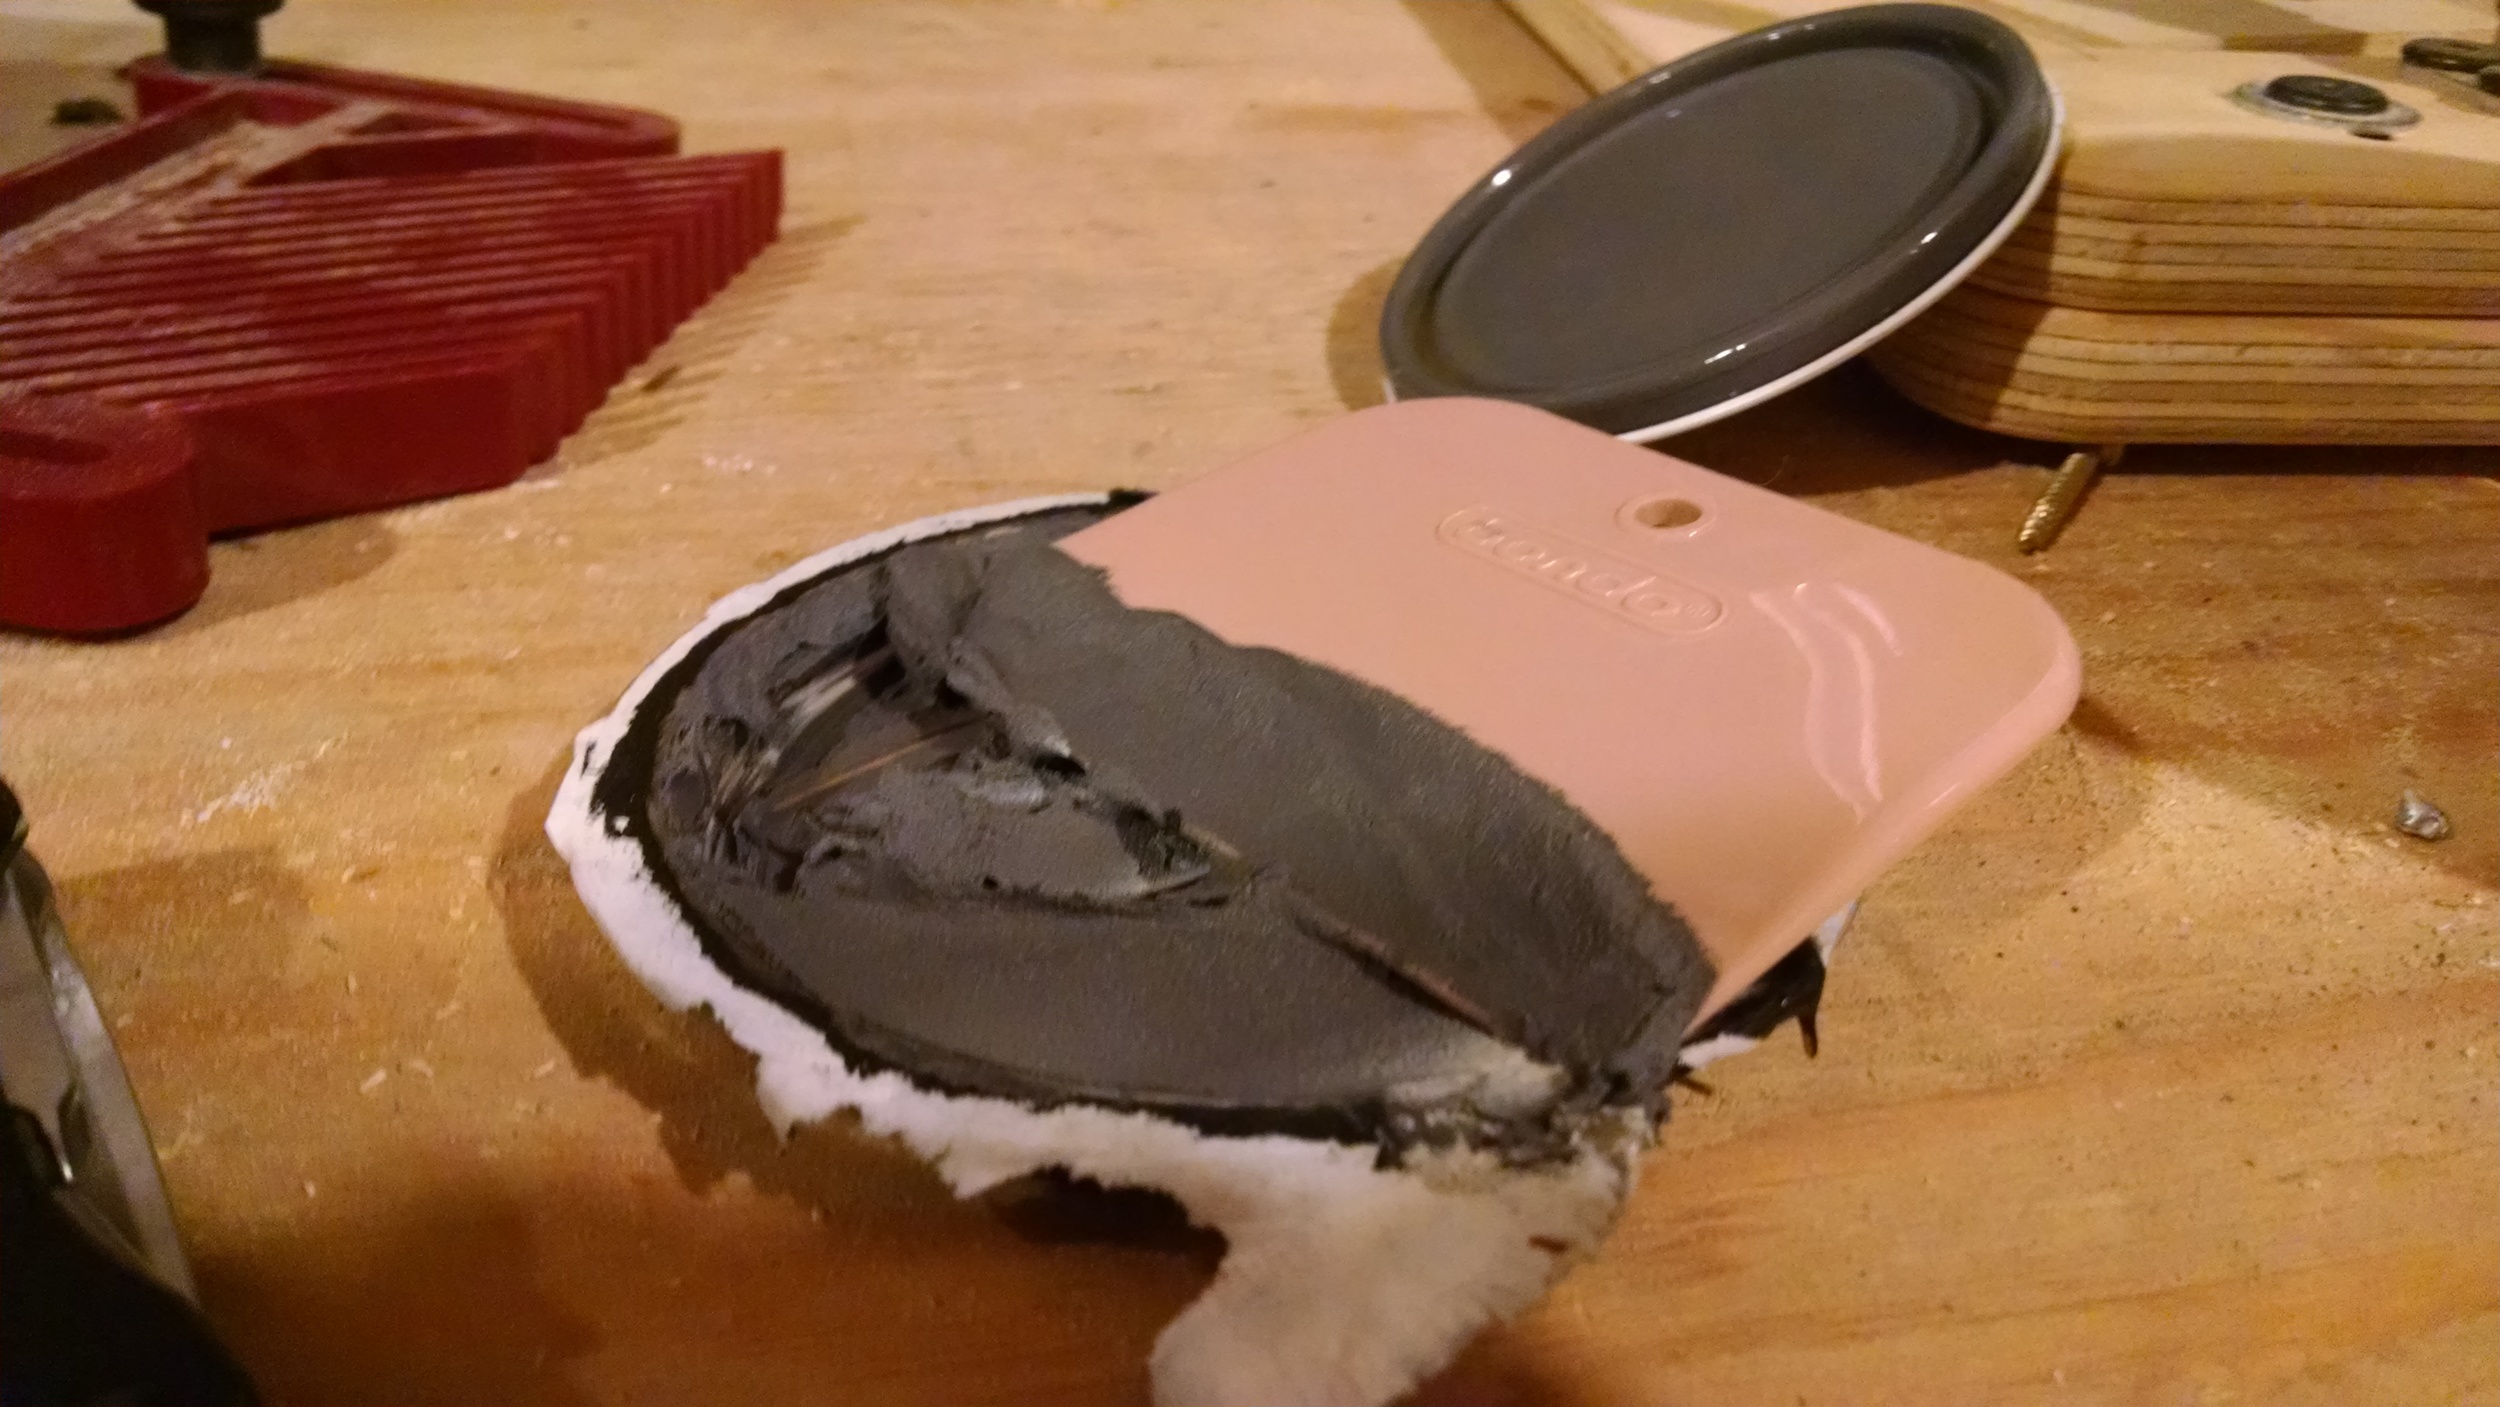
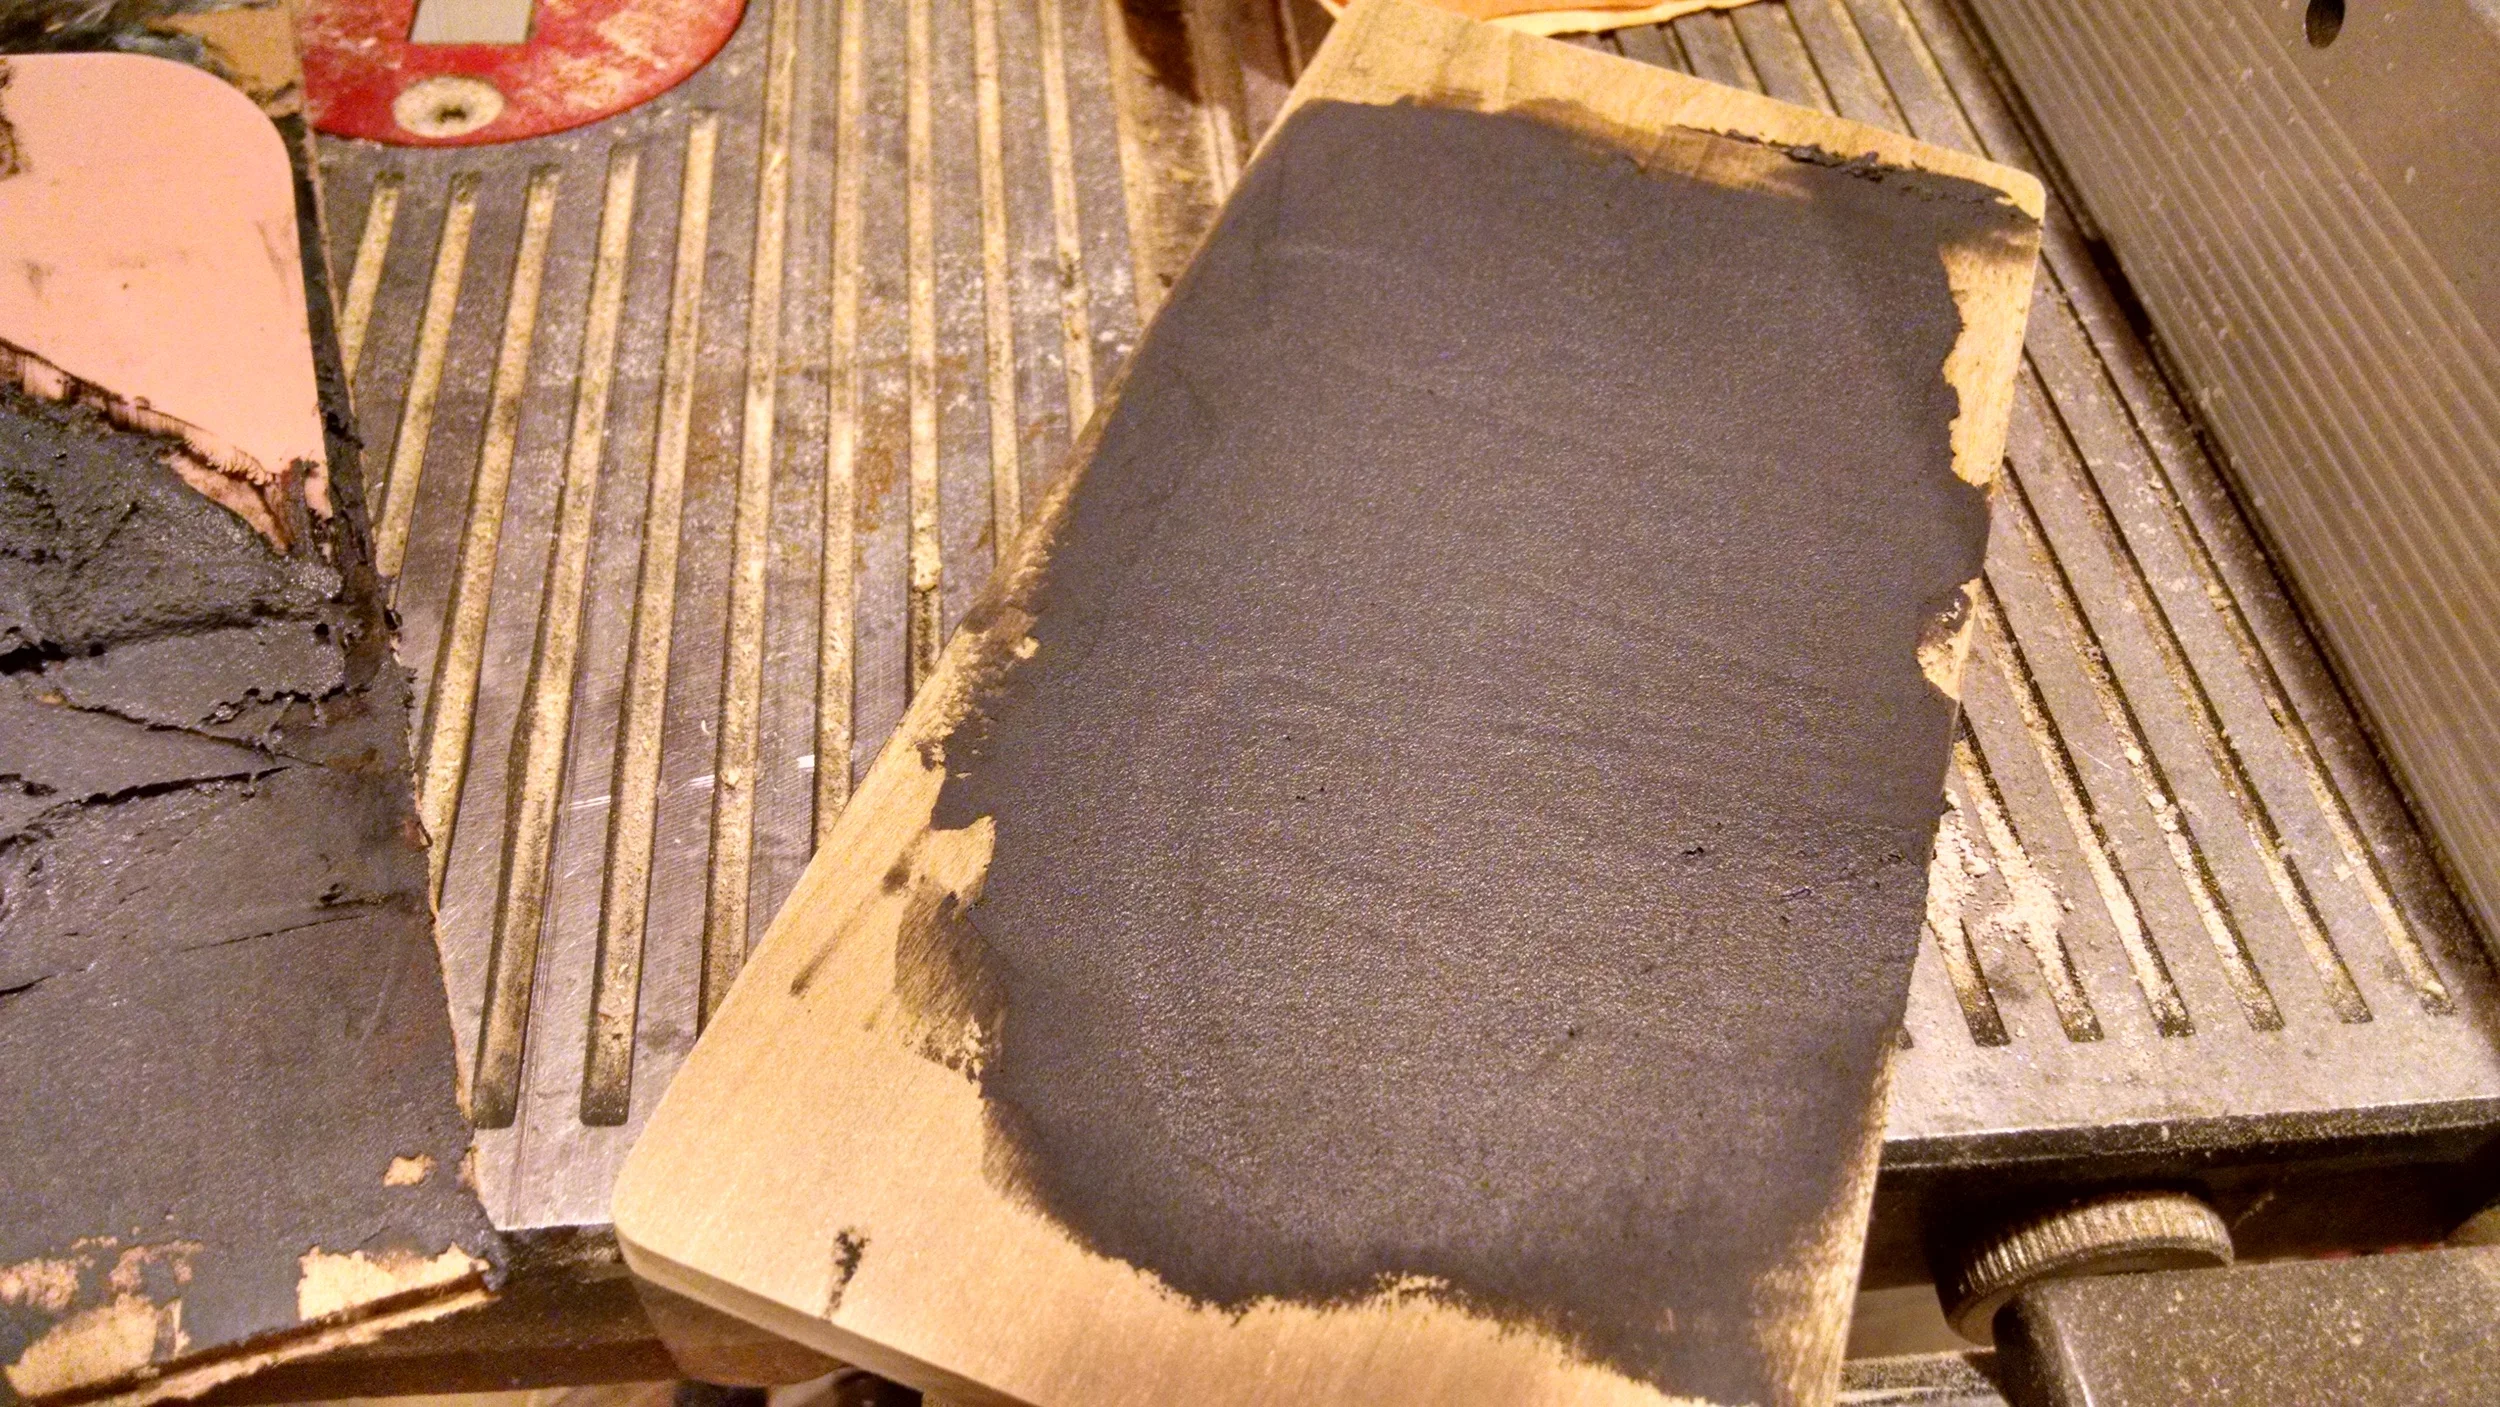
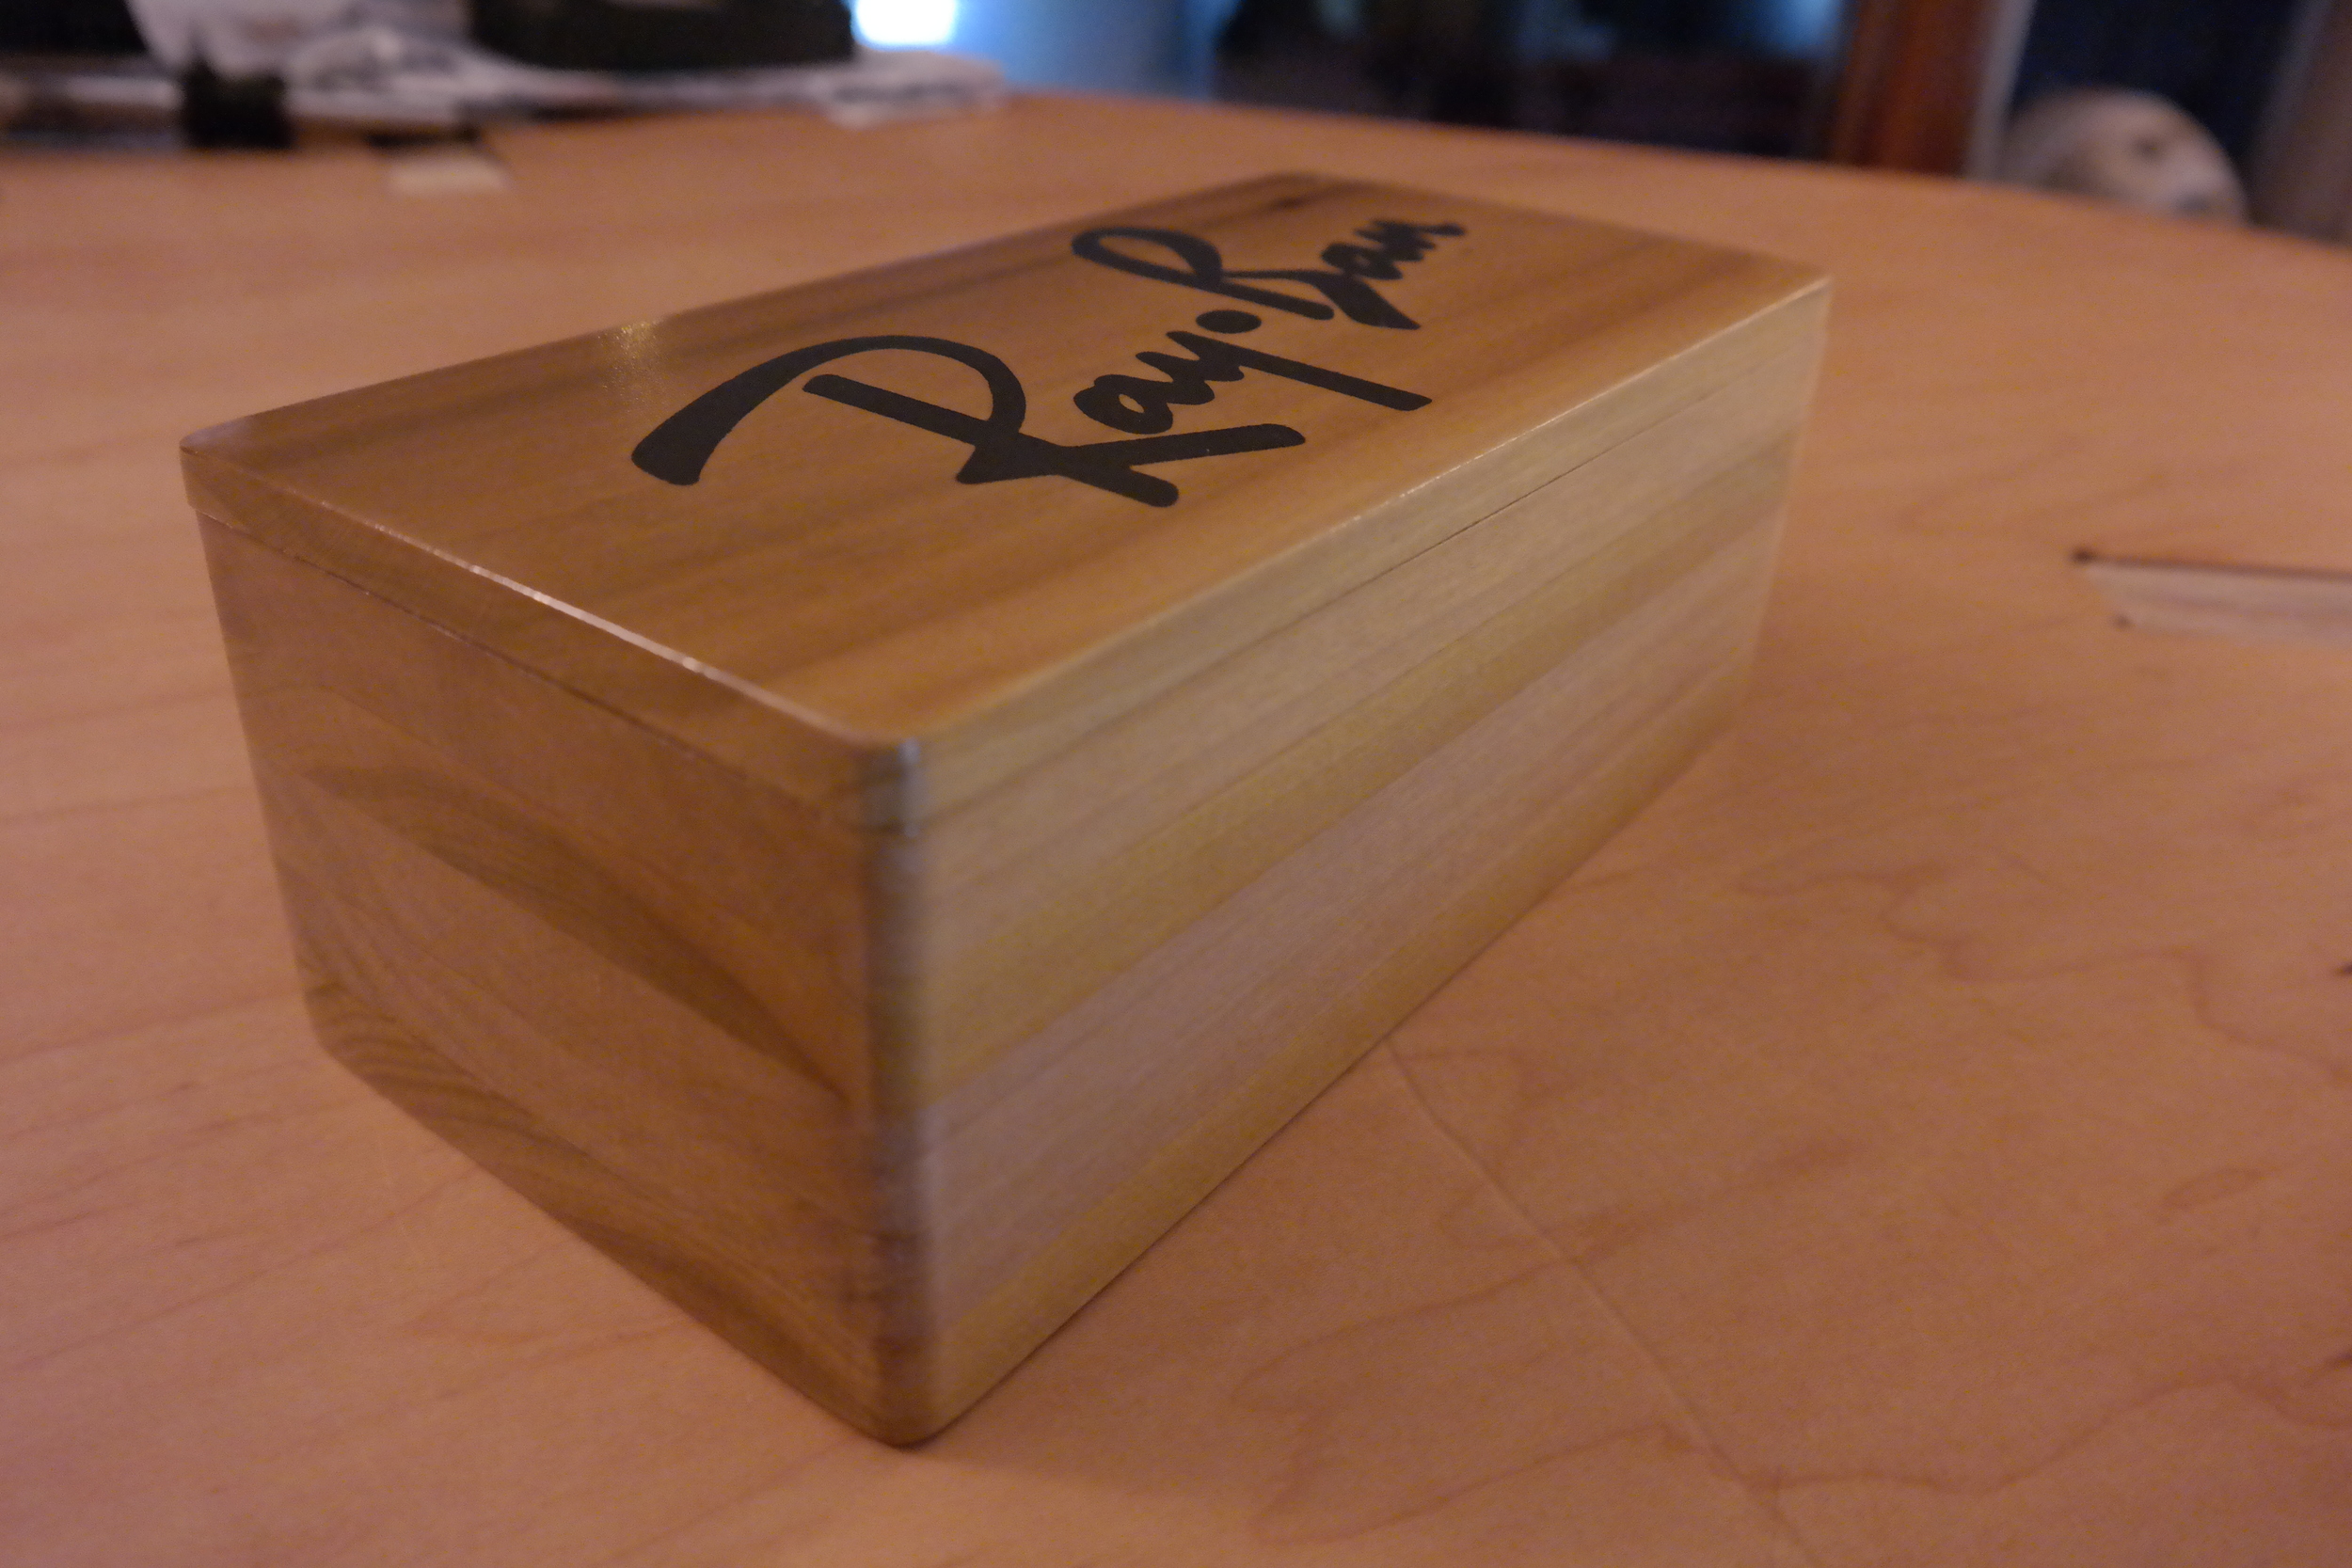
You'll notice here that the logo came out "hairy". Since I was going to Shellac this case when I was done, I needed to hand sand out the letters. I didn't have the patience to do that, so I had an idea about filling the letters and sanding them smooth. Since I used to work in autobody, I decided to use some automotive body filler. I took that and mixed it with some old black paint I had laying around. After mixing it together I smeared the filler on the letters and sanded it smooth. The result is this:

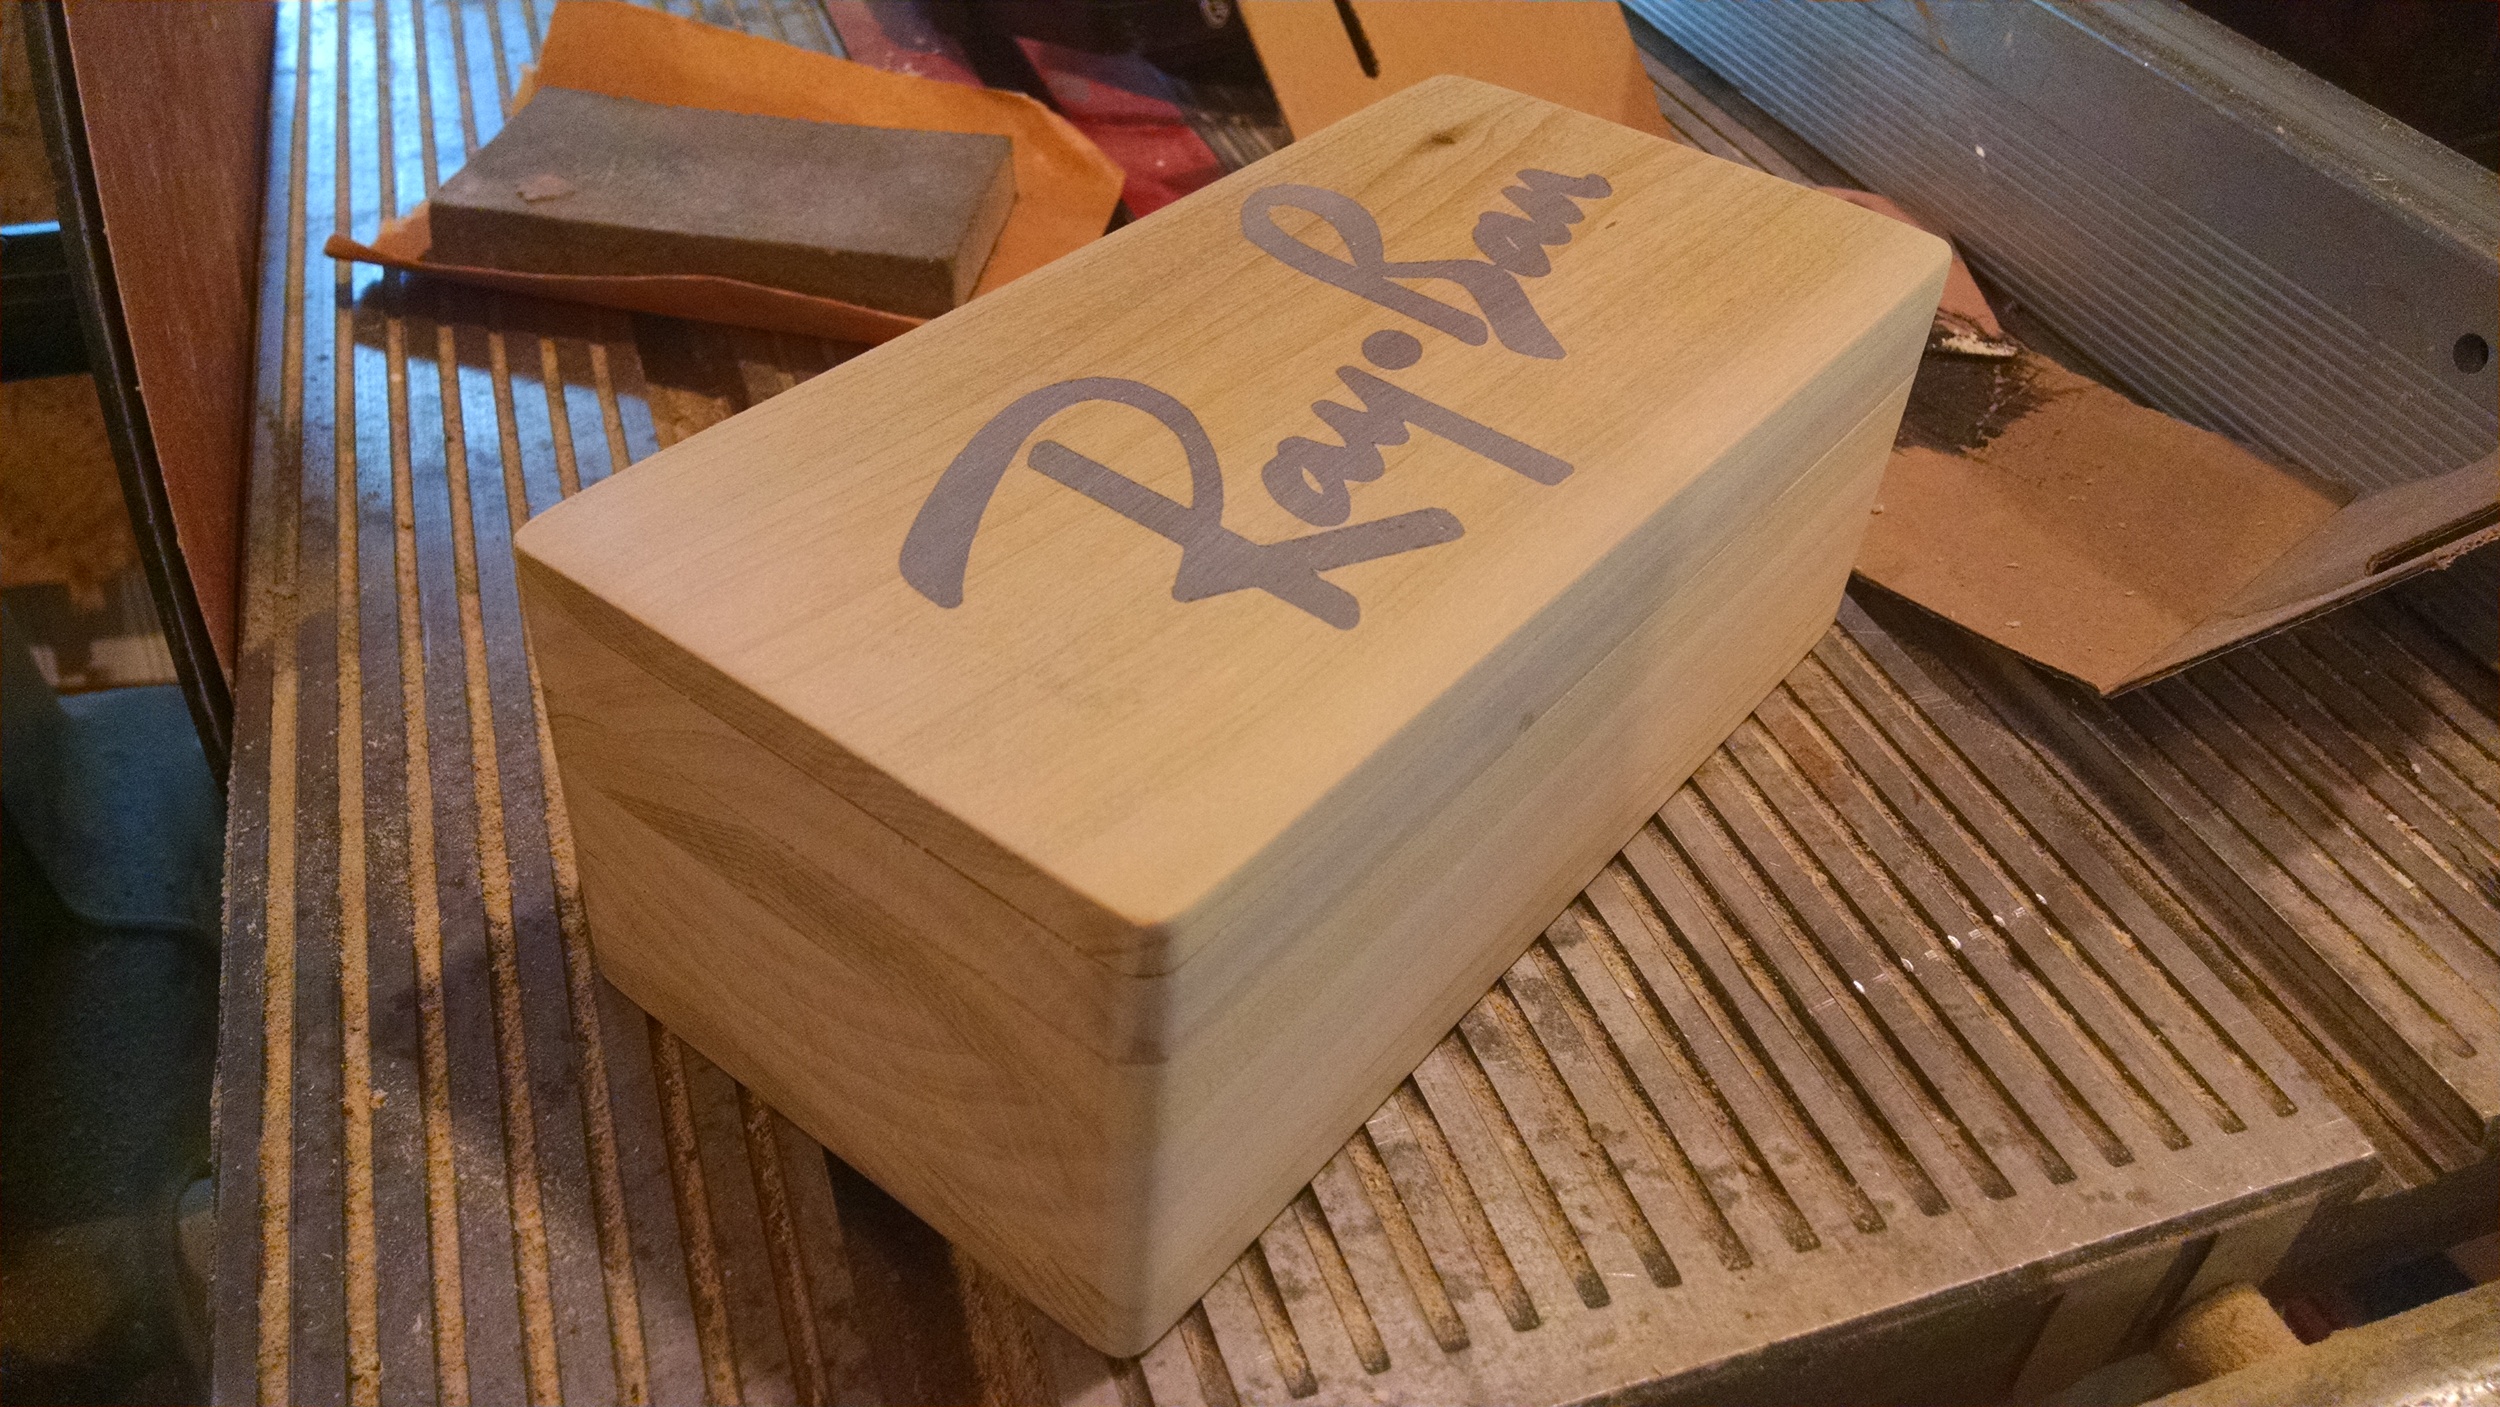
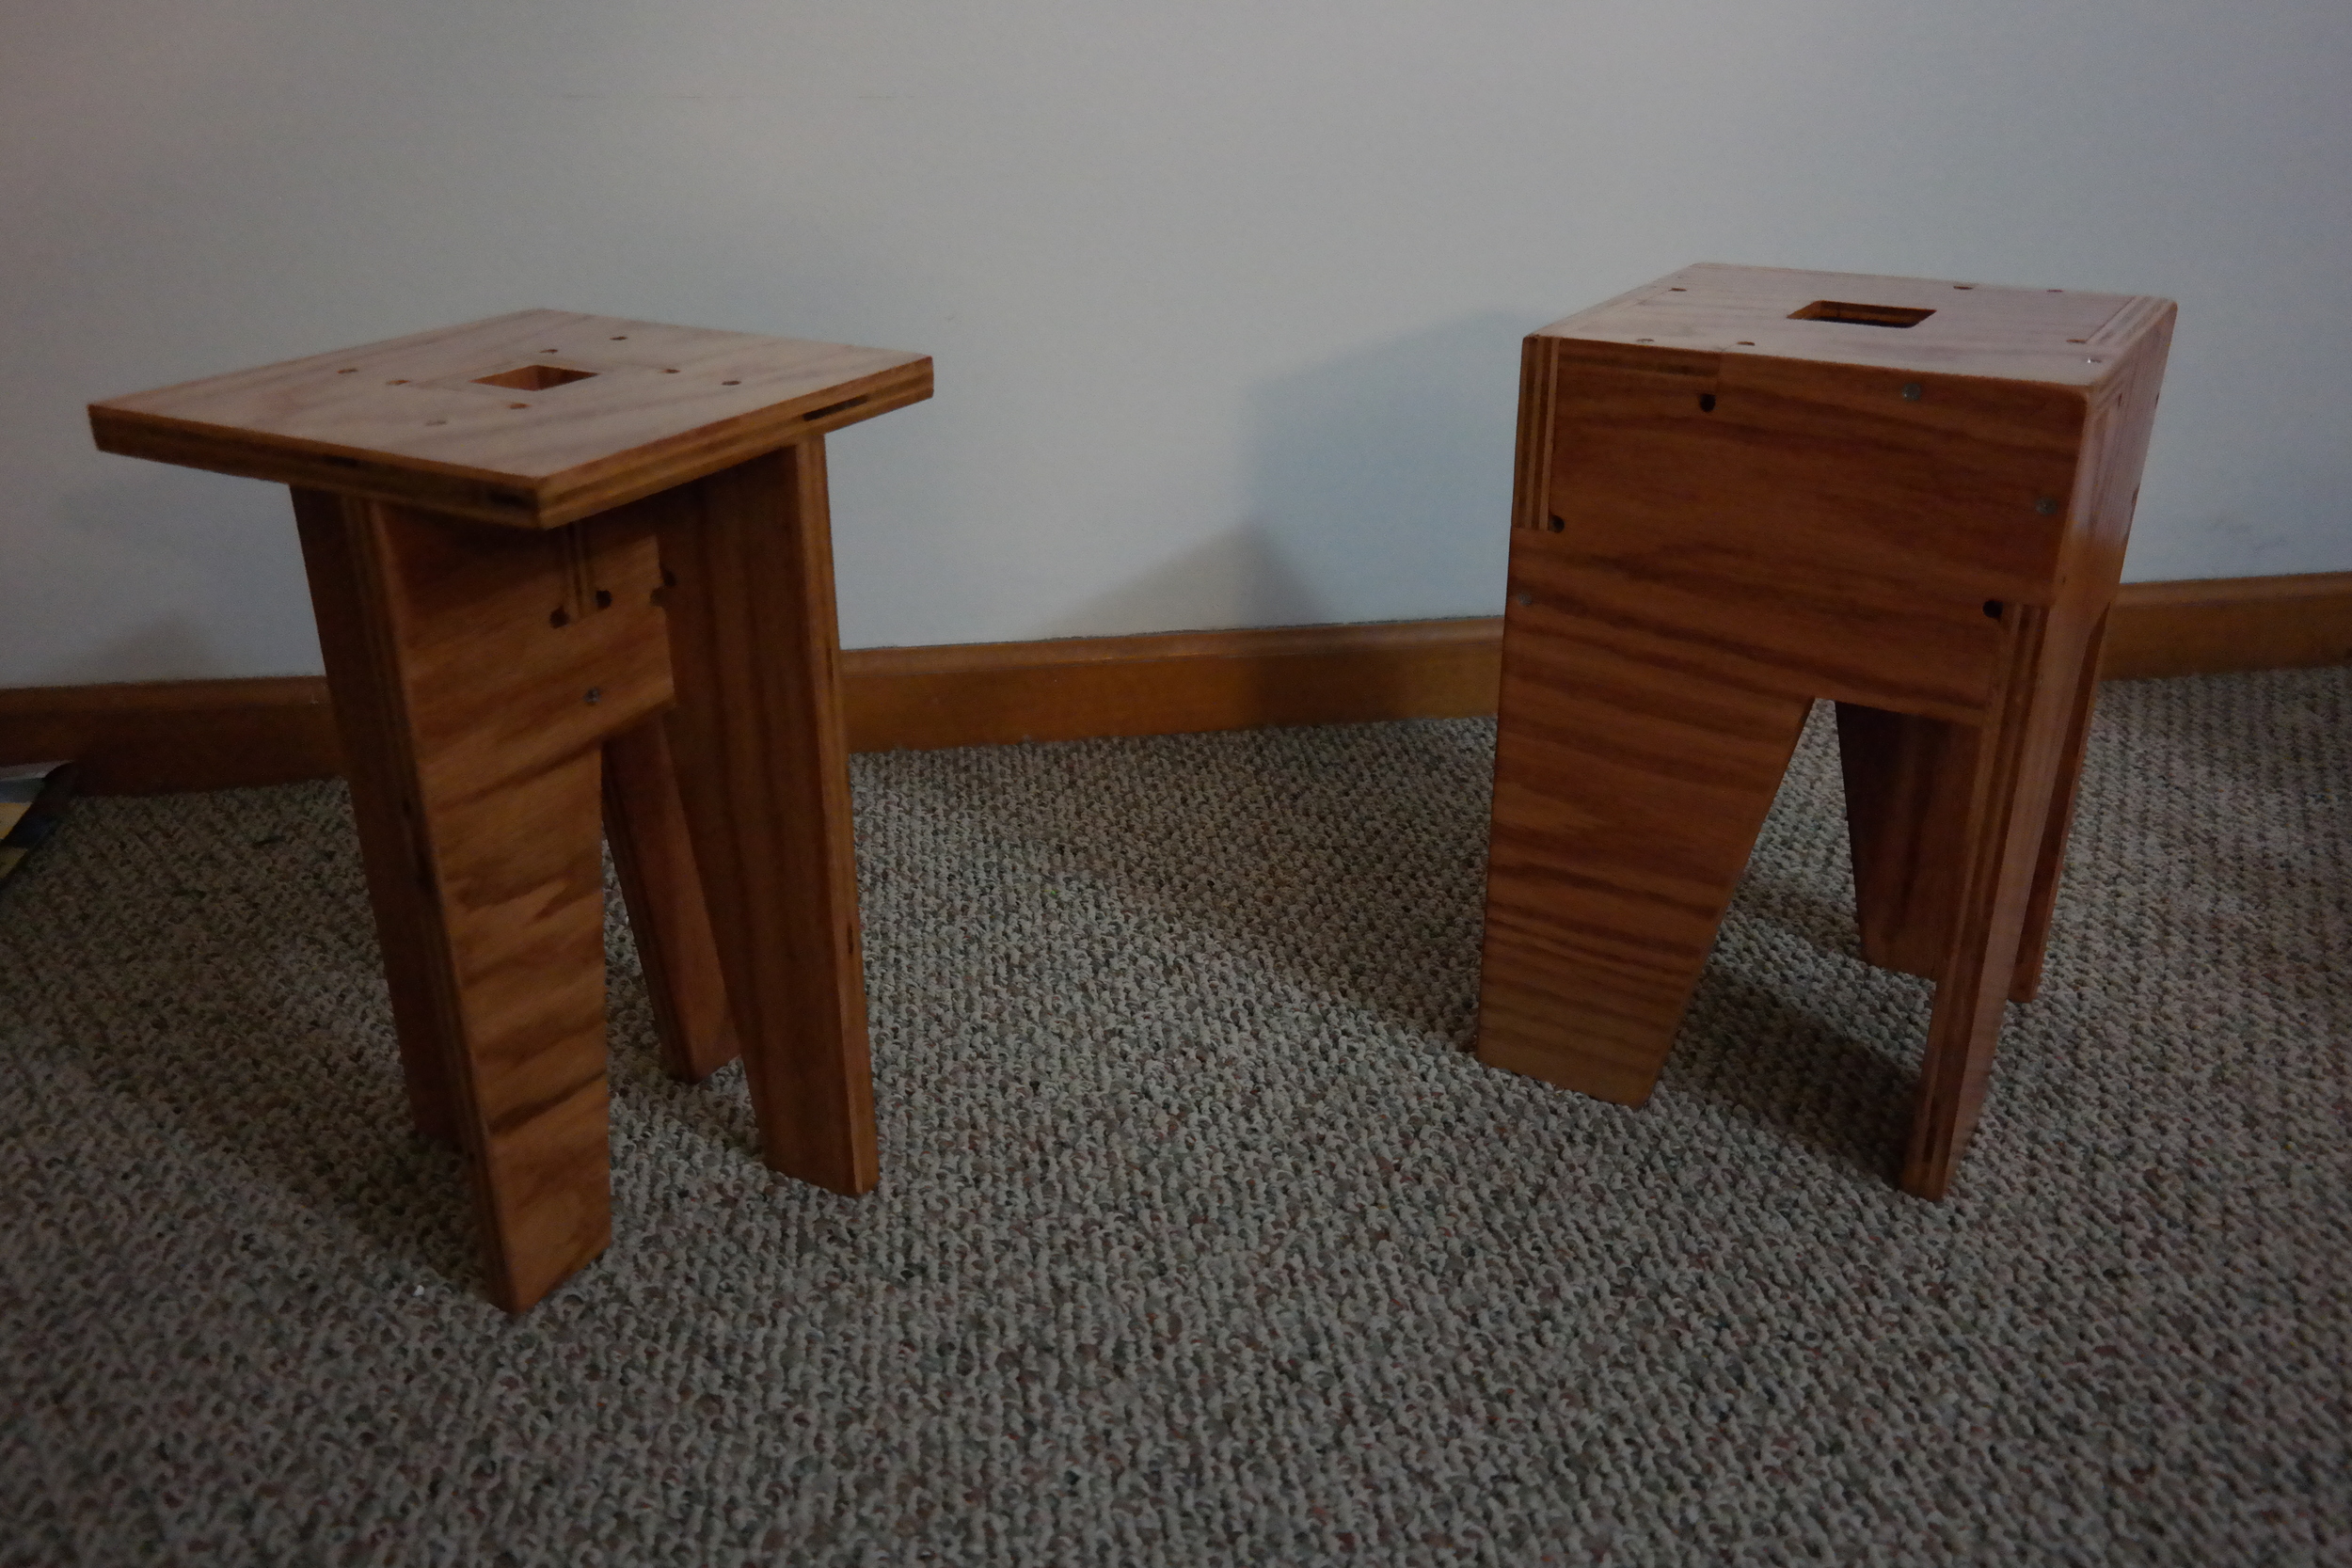
After that proved to be a success I Shellace'd the whole thing. The results were excellent.


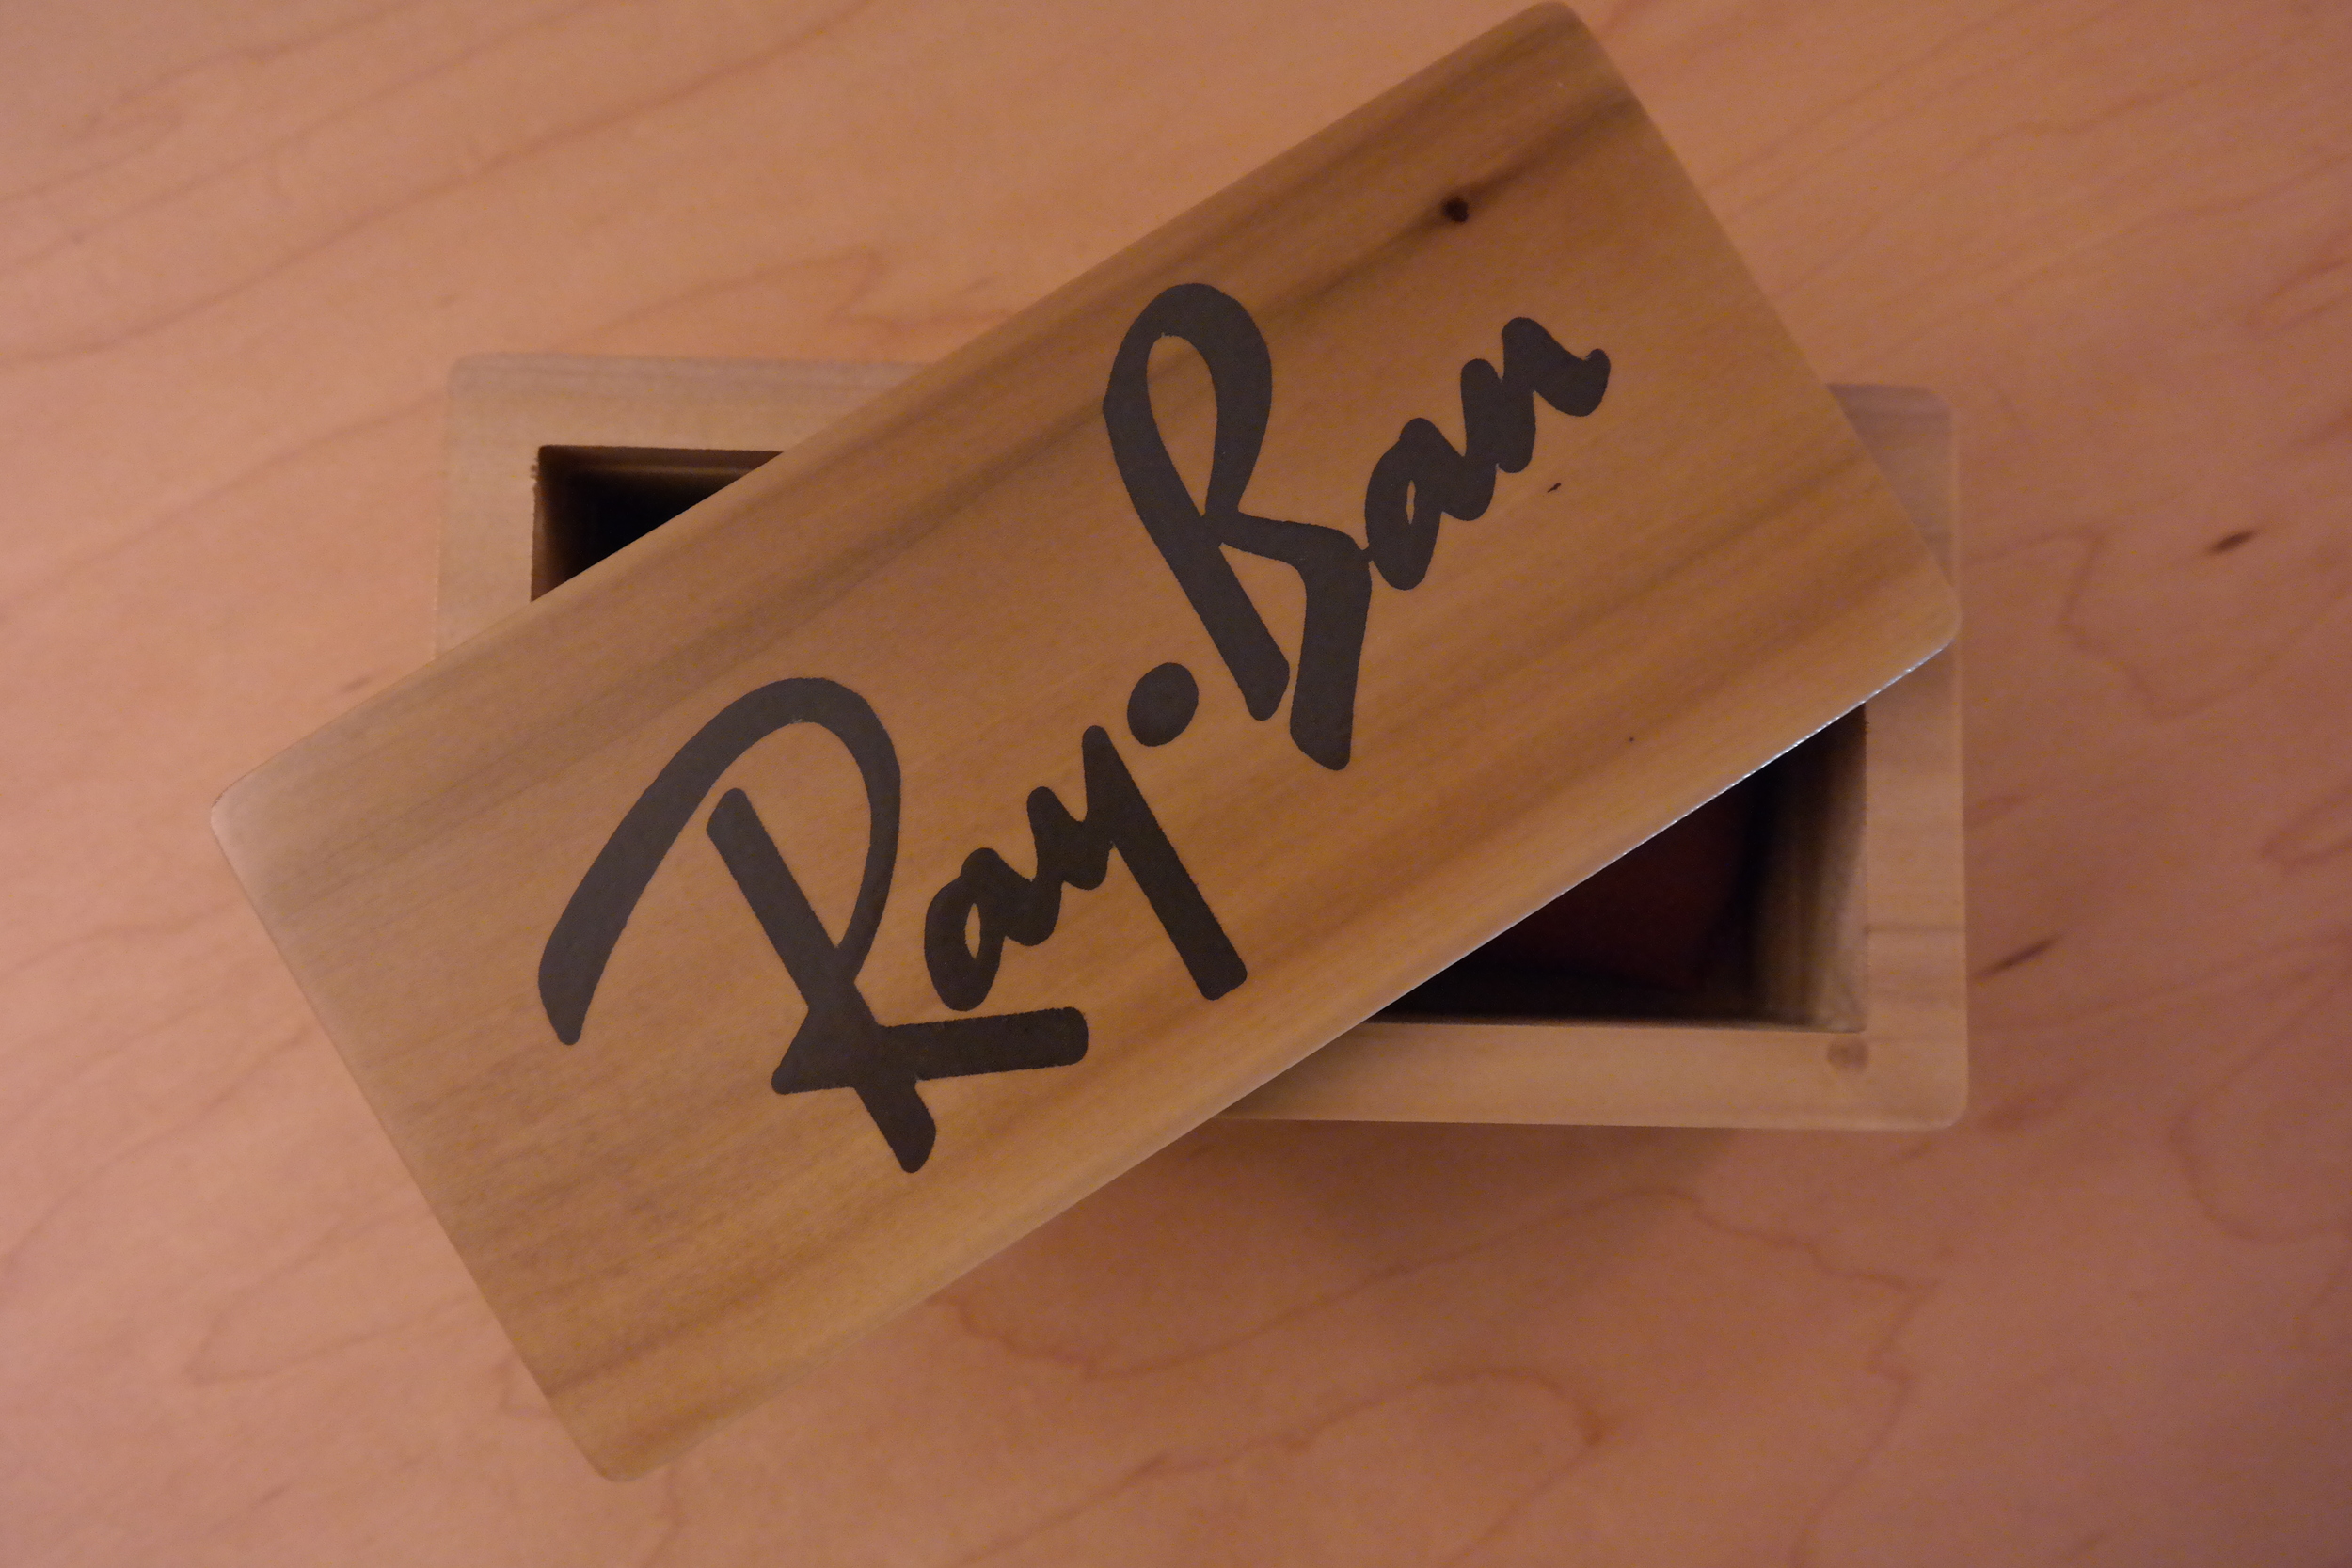
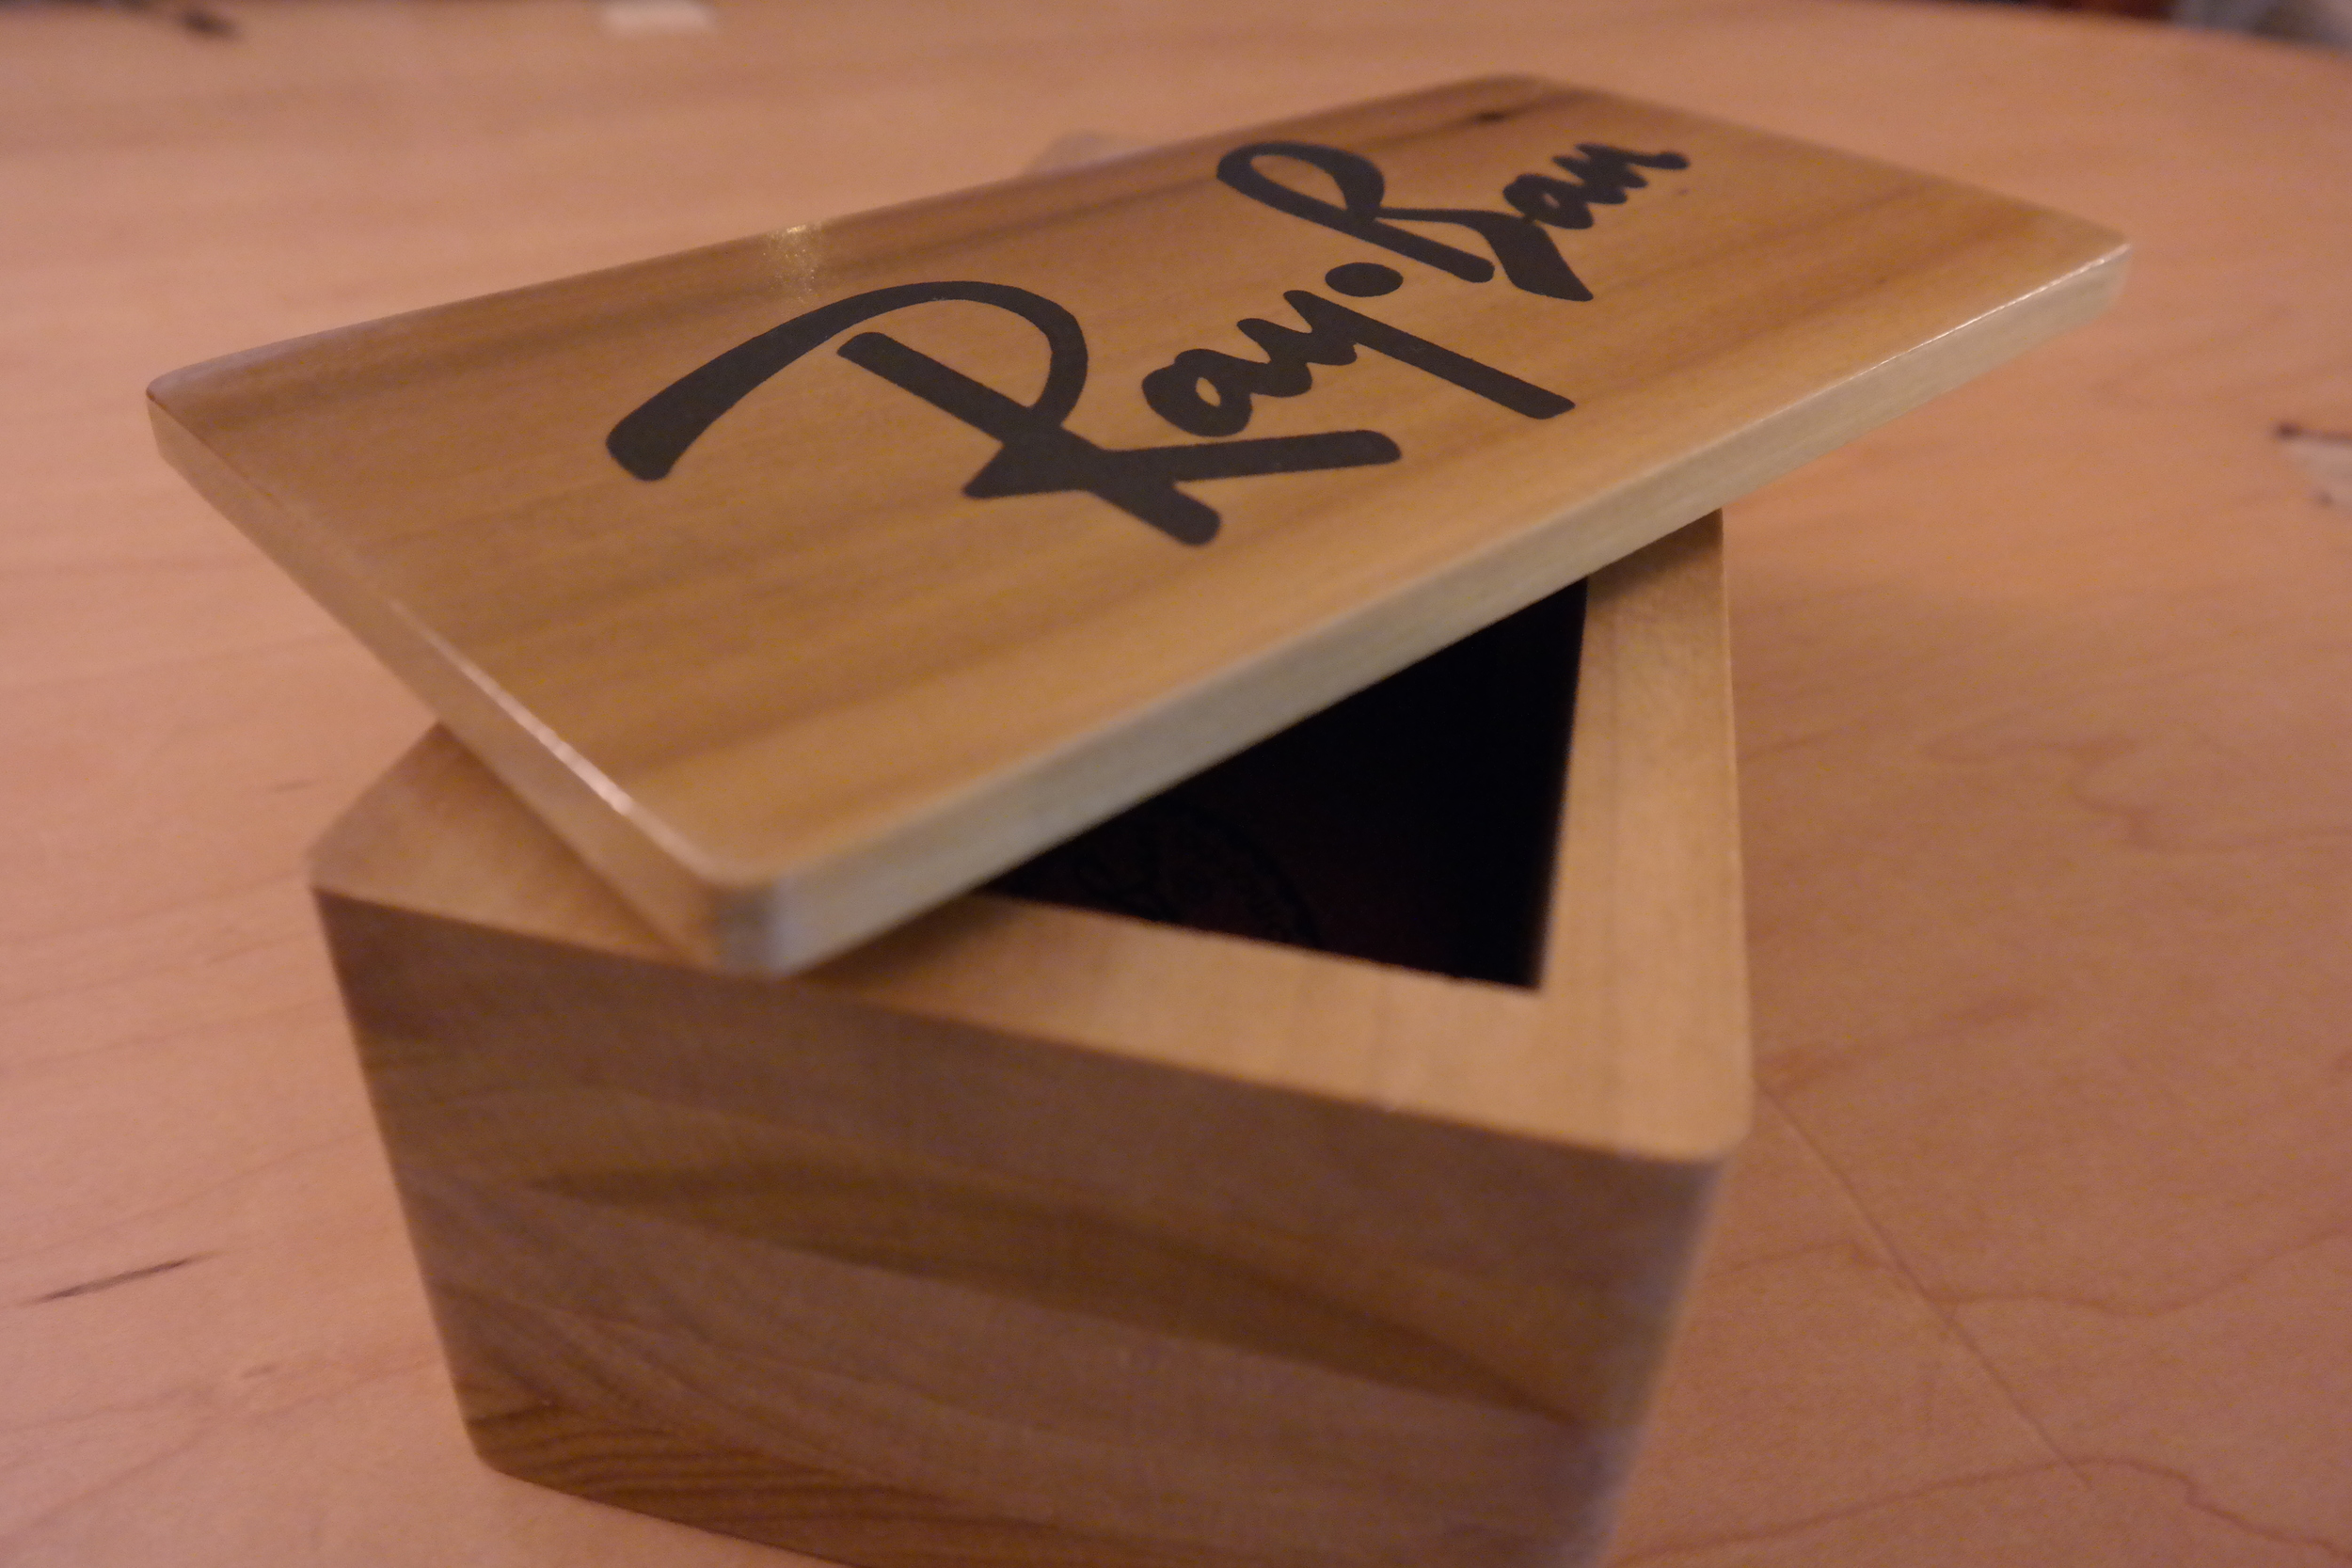
I have included the cutting files below. It should be noted that the Sketchup model shows everything at 0 tolerance. If you cut this way, your top will fit so tight into the rest of the case. You can either hand sand it, or you can add some tolerance in the cutting file. I did the latter, but I did it in VCarve. Depending on the wood, humidity, bit type, etc the amount of tolerance can vary. I find that .02" works pretty well. Test on some scrap to be sure before you commit to using finished wood.

The download here includes images, Sketchup files, and VCarve cutting files. Go mill it and let me know how you did!

Making Brio Train Tracks on the Handibot

Do you remember playing with those wooden Brio train tracks as a kid? I certainly did. Well, after getting my Handibot I decided that it would be really cool to try and make those. This would be a perfect project for a handheld CNC machine like this.

To make these you first need a drawing of the tracks. After that, you need to bring them into a CAM program, in my case VCarve because it came with my Handibot. Lucky for me my mother still had my old tracks. I grabbed a few and started measuring them. In addition to that, VCarve allows Sketchup import. If you're reading this blog, you probably realized how obsessed with Sketchup we are. So in a little while, I had a Sketchup model built:

I wanted to start out with just the straight tracks to test things out. I used an 1/8" single flute bit. I had tried a 1/4" bit, but it was much of a brute for these little tracks. I used 1/2" thick poplar.

After setting my toolpaths up in VCarve I placed the Handibot on my wood and started milling. 

They came out great! Now I am going to start making the adapters and the curved tracks. By using Sketchup and the Handibot I can customize these all I want. Do you want to customize and make your own? Download them below:

"Close Enough" Meme on the Handibot

close enough.jpg

Have you seen the meme "Close Enough"? It cracks me up every time I see it. The other day I decided to mill it on my Handibot.

I decided that this had to be a fast project. Dedicating any amount of serious brain power seemed like a waste of resources. Naturally I looked for the fastest route. 


Luckily I have a copy of Aspire. In this program you can take an image and with just a few clicks have it turned into usable vectors for milling.

Now that I had my toolpaths setup, I could get to milling.

That is how you mill a meme. I went from idea to sawdust in just a few minutes! If you want these cutting files for yourself download below!

A CNC made toolbox

The other day I decided to make a toolbox using my Handibot portable CNC machine. I actually found this model and modified it a bit to make it easier to fit on my sheet of plywood. Here is the result:

Pretty cool right? Do you want to make this yourself? Well if you have a Handibot, or any other CNC machine you can do it. I've posted all the files you need and instructions below.

Let me know if you have any questions!

An Afternoon with the Handibot

I've never been much of a woodworker. While I can design and plan woodworking projects, the finesse that woodworkers have with wood always amazes me. That's why CNC machines have always fascinated me. A few years ago I even built my own.

I would love to have a full size CNC machine, but for me as a tinkerer, it's cost and space prohibitive. That's why I was so excited to see ShopBot tools come out with the Handibot.

handibot-tool-1
handibot-tool-1

The Handibot is a portable CNC machine that you can carry around and drop on top of the work piece that you want to cut. It has an effective cutting area of 6" x 8" and the toolhead can plunge 4".

I've had a lot of fun cutting out all kinds of widgets with it in the few months that I've had it. I've always wanted to use it to cut something bigger, and today I was able to do that. I'll walk you through how I did it.

First, I needed something to cut. I chose these "Rotational Stools" from Open Desk. I've got two nephews that will put these to good use for tying their shoes.

5180fd575cc107a27cddc158e2e76db145a0b705-atfab_rotational_stools.2

Next, I had to prepare the files. Luckily OpenDesk offers DXF files of all the parts that you need to cutout right on their website.

To prepare files for cutting, you need to setup tool paths. The software I use for this is called VCarve. Not only does VCarve do tool pathing for CNC machines, in my case I needed to "tile" my toolpaths because what I am cutting is much larger than the area of the Handibot's range. This would allow me to cut one section at a time, taking the Handibot's small range and covering a larger area.

Windows_7_1
Windows_7_1

This is my parts layout, you can see that this is a toolpath for a larger CNC machine, but since it's divided into tiles I can cut one of them at a time, working my way over the workpiece. After I finished my tool paths, I loaded the Shopbot files into my tablet, grabbed my Handibot and headed to the garage.

1655637_10201781765598110_1099366838_o

But not before I swung over to Home Depot for some plywood!

SAMSUNG CSC
SAMSUNG CSC

To move the Handibot accurately over a large surface, it needs to be "indexed" so that it can me moved accurately between each tile. This jig you can see along the bottom has notches in it that correspond to an adapter I have on the Handibot that allows me to move it one tile at a time.

To make sure I was able to keep track of the tile I was on, I roughly marked them out on the work piece.

SAMSUNG CSC
SAMSUNG CSC
SAMSUNG CSC
SAMSUNG CSC

Here I am working my way down the first set of tiles. After each tile I slide the machine down to the next notch (which are numbered) and load up it's corresponding file.

SAMSUNG CSC
SAMSUNG CSC

I had to cut 8 tiles across, and 4 tiles up. To get to the next row I used this spacer and worked my way across the second row, loading each file and cutting it.

SAMSUNG CSC
SAMSUNG CSC

To get to the higher rows, I used more spacers. Each spacer engages into one another with the wedge cutouts.

SAMSUNG CSC
SAMSUNG CSC

Here are all my parts cutout. Now I just need to snap them out and to a test assembly.

SAMSUNG CSC
SAMSUNG CSC

There is the almost finished product. All the parts fit together nicely. In the picture here they aren't bolted together at all. It was about 9 degrees outside when I did this, and I was getting rather cold. I'm going to thaw out my toes and head back tomorrow to sand these down, assemble and paint them.

This is the kind of woodworking I can get into. Having these jigs attached to the Handibot really unlocks it's potential. I get a full size CNC when I need it, and for all the other times I can carry it to wherever I need it. This is the future of digital fabrication and it's AWESOME.

UPDATE:

Here's the final product:

SAMSUNG CSC
SAMSUNG CSC