I've never been much of a woodworker. While I can design and plan woodworking projects, the finesse that woodworkers have with wood always amazes me. That's why CNC machines have always fascinated me. A few years ago I even built my own.
I would love to have a full size CNC machine, but for me as a tinkerer, it's cost and space prohibitive. That's why I was so excited to see ShopBot tools come out with the Handibot.
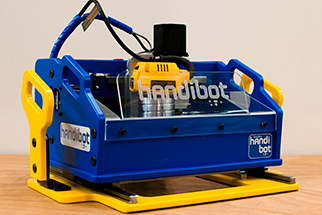
The Handibot is a portable CNC machine that you can carry around and drop on top of the work piece that you want to cut. It has an effective cutting area of 6" x 8" and the toolhead can plunge 4".
I've had a lot of fun cutting out all kinds of widgets with it in the few months that I've had it. I've always wanted to use it to cut something bigger, and today I was able to do that. I'll walk you through how I did it.
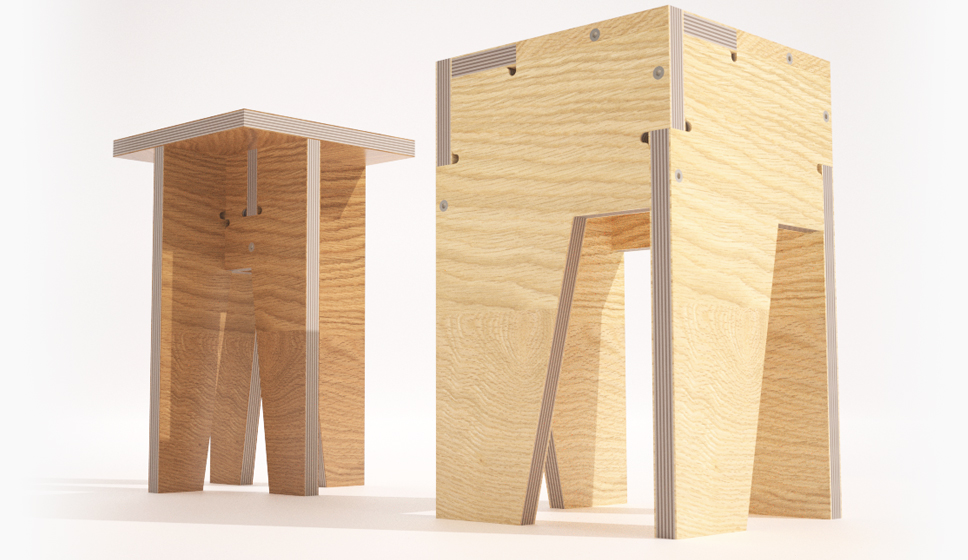
First, I needed something to cut. I chose these "Rotational Stools" from Open Desk. I've got two nephews that will put these to good use for tying their shoes.
Next, I had to prepare the files. Luckily OpenDesk offers DXF files of all the parts that you need to cutout right on their website.
To prepare files for cutting, you need to setup tool paths. The software I use for this is called VCarve. Not only does VCarve do tool pathing for CNC machines, in my case I needed to "tile" my toolpaths because what I am cutting is much larger than the area of the Handibot's range. This would allow me to cut one section at a time, taking the Handibot's small range and covering a larger area.
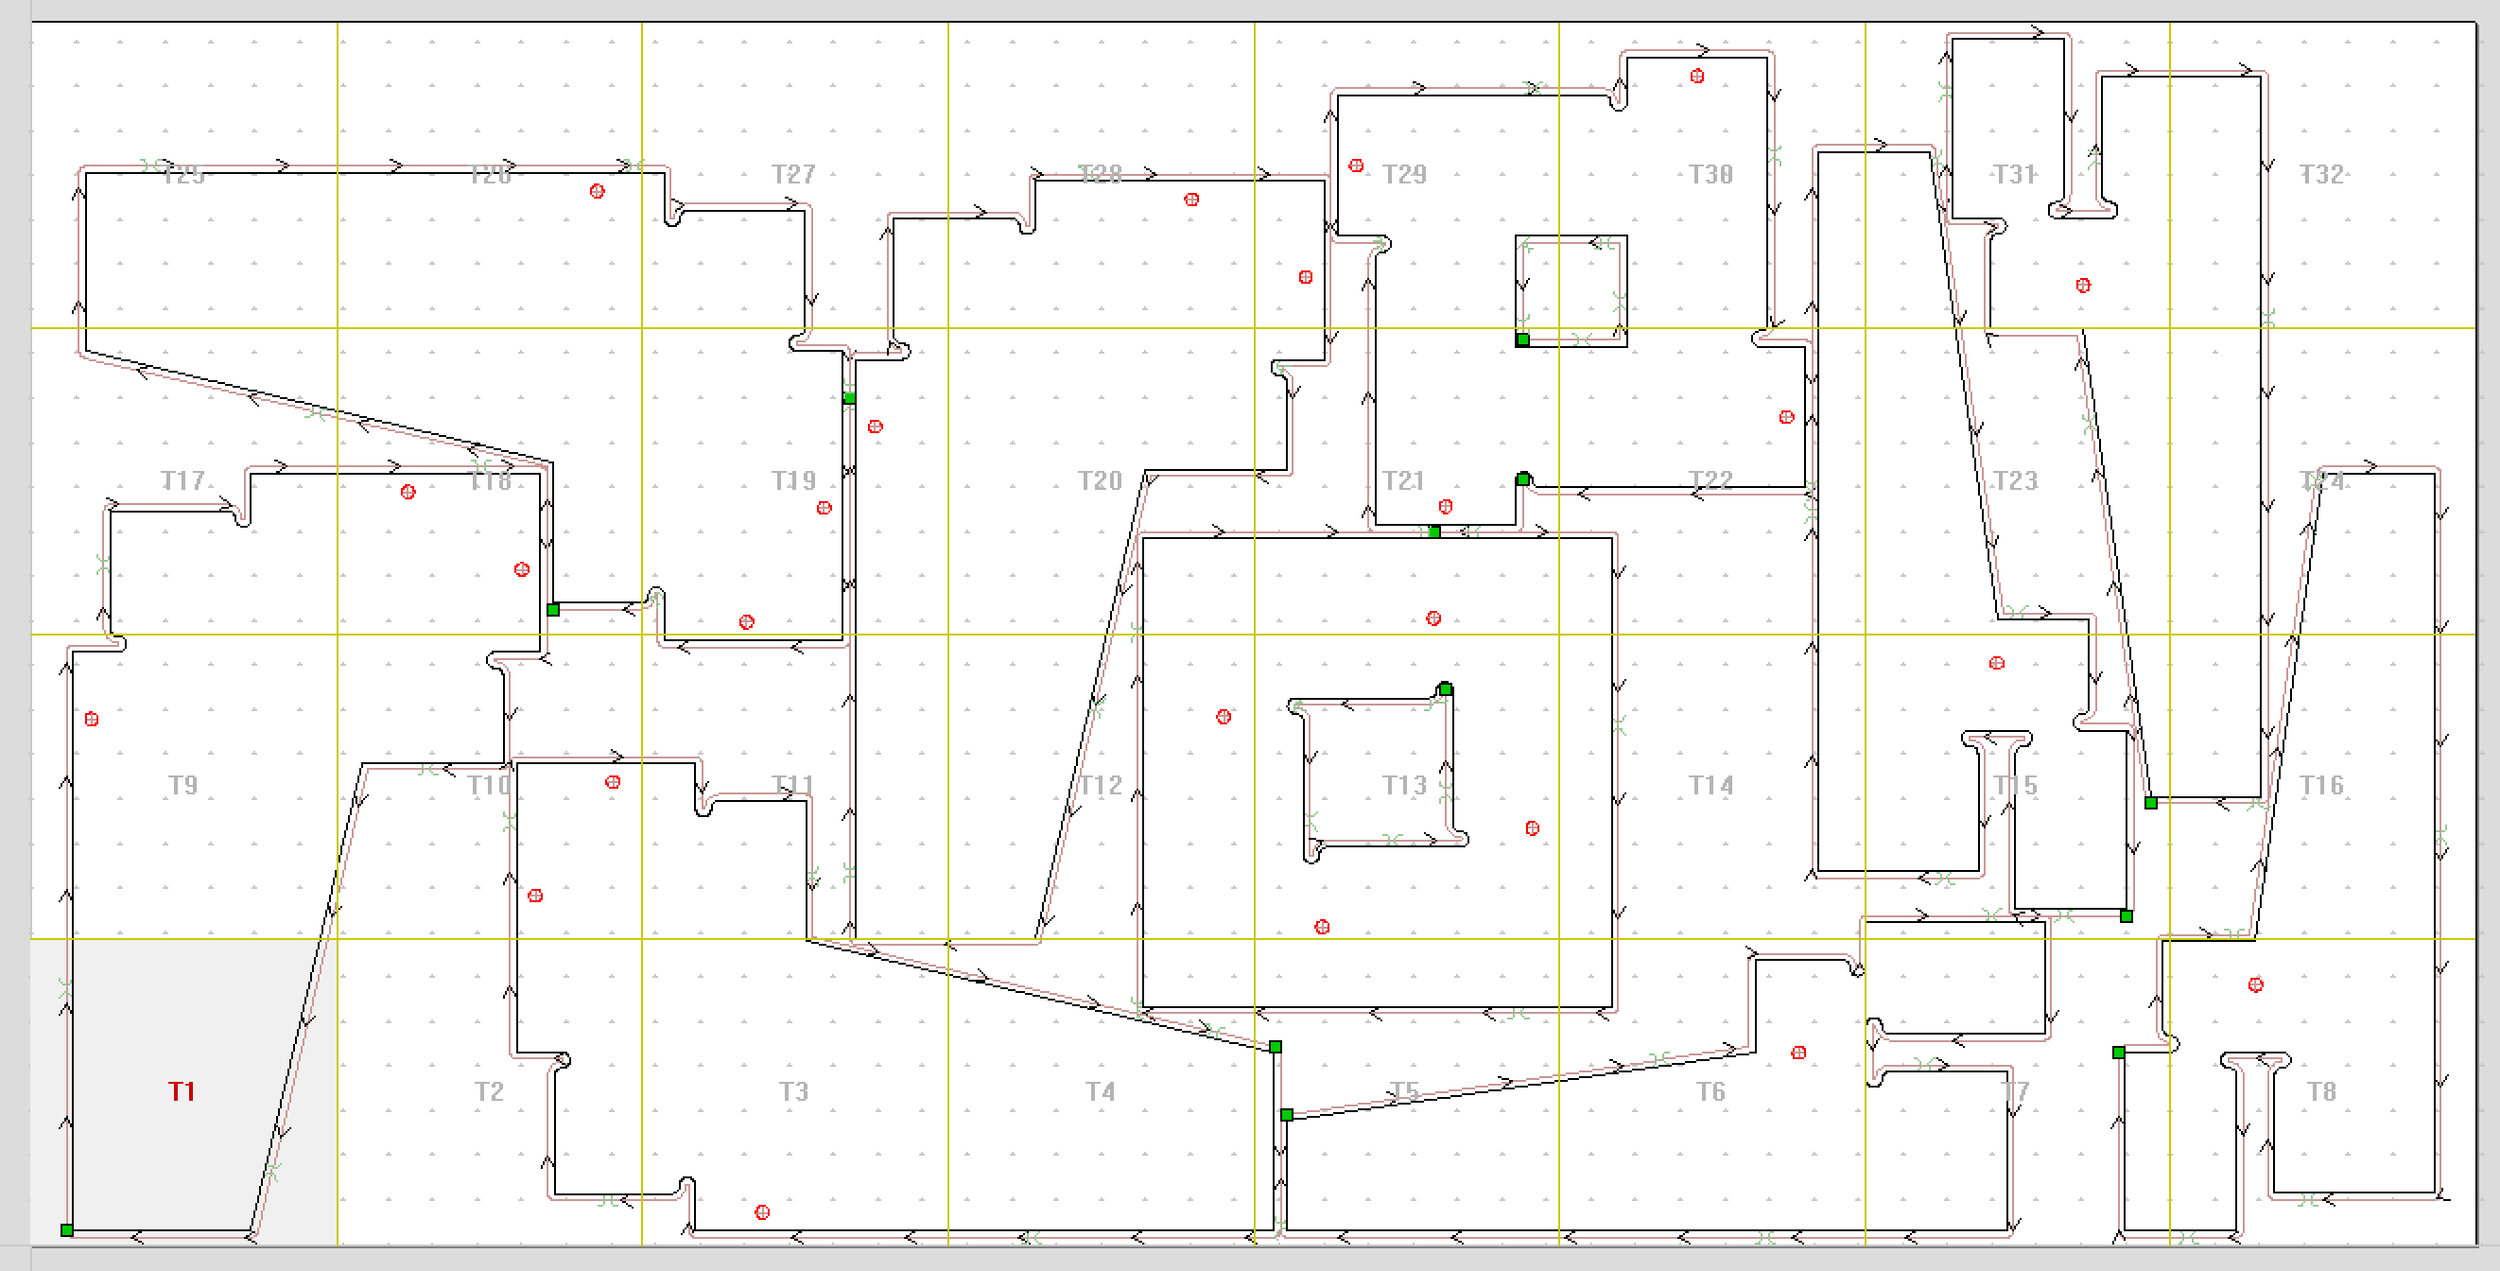
This is my parts layout, you can see that this is a toolpath for a larger CNC machine, but since it's divided into tiles I can cut one of them at a time, working my way over the workpiece. After I finished my tool paths, I loaded the Shopbot files into my tablet, grabbed my Handibot and headed to the garage.
But not before I swung over to Home Depot for some plywood!
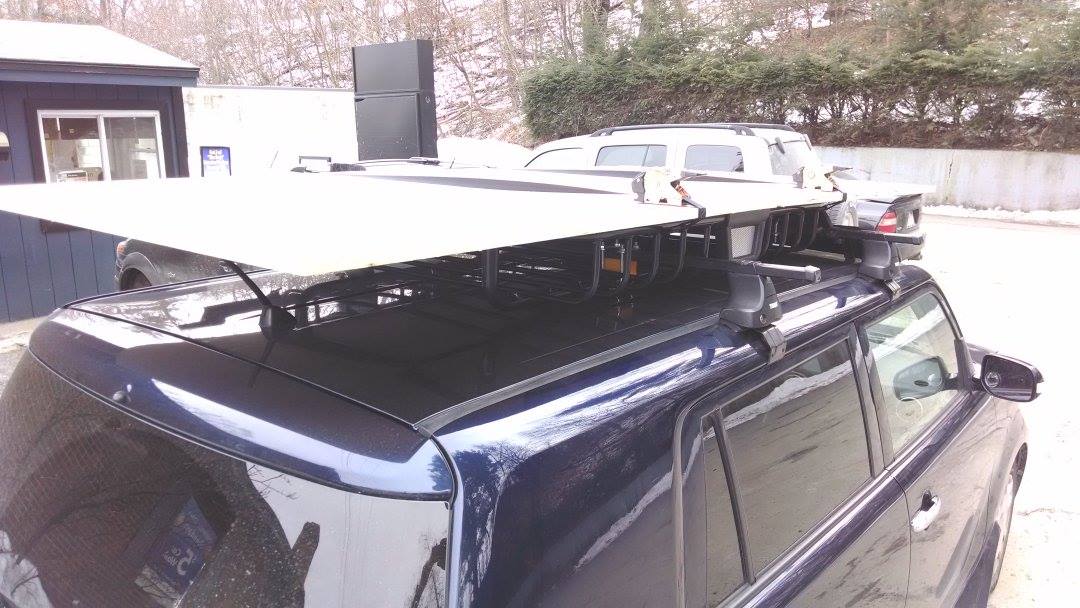
To move the Handibot accurately over a large surface, it needs to be "indexed" so that it can me moved accurately between each tile. This jig you can see along the bottom has notches in it that correspond to an adapter I have on the Handibot that allows me to move it one tile at a time.
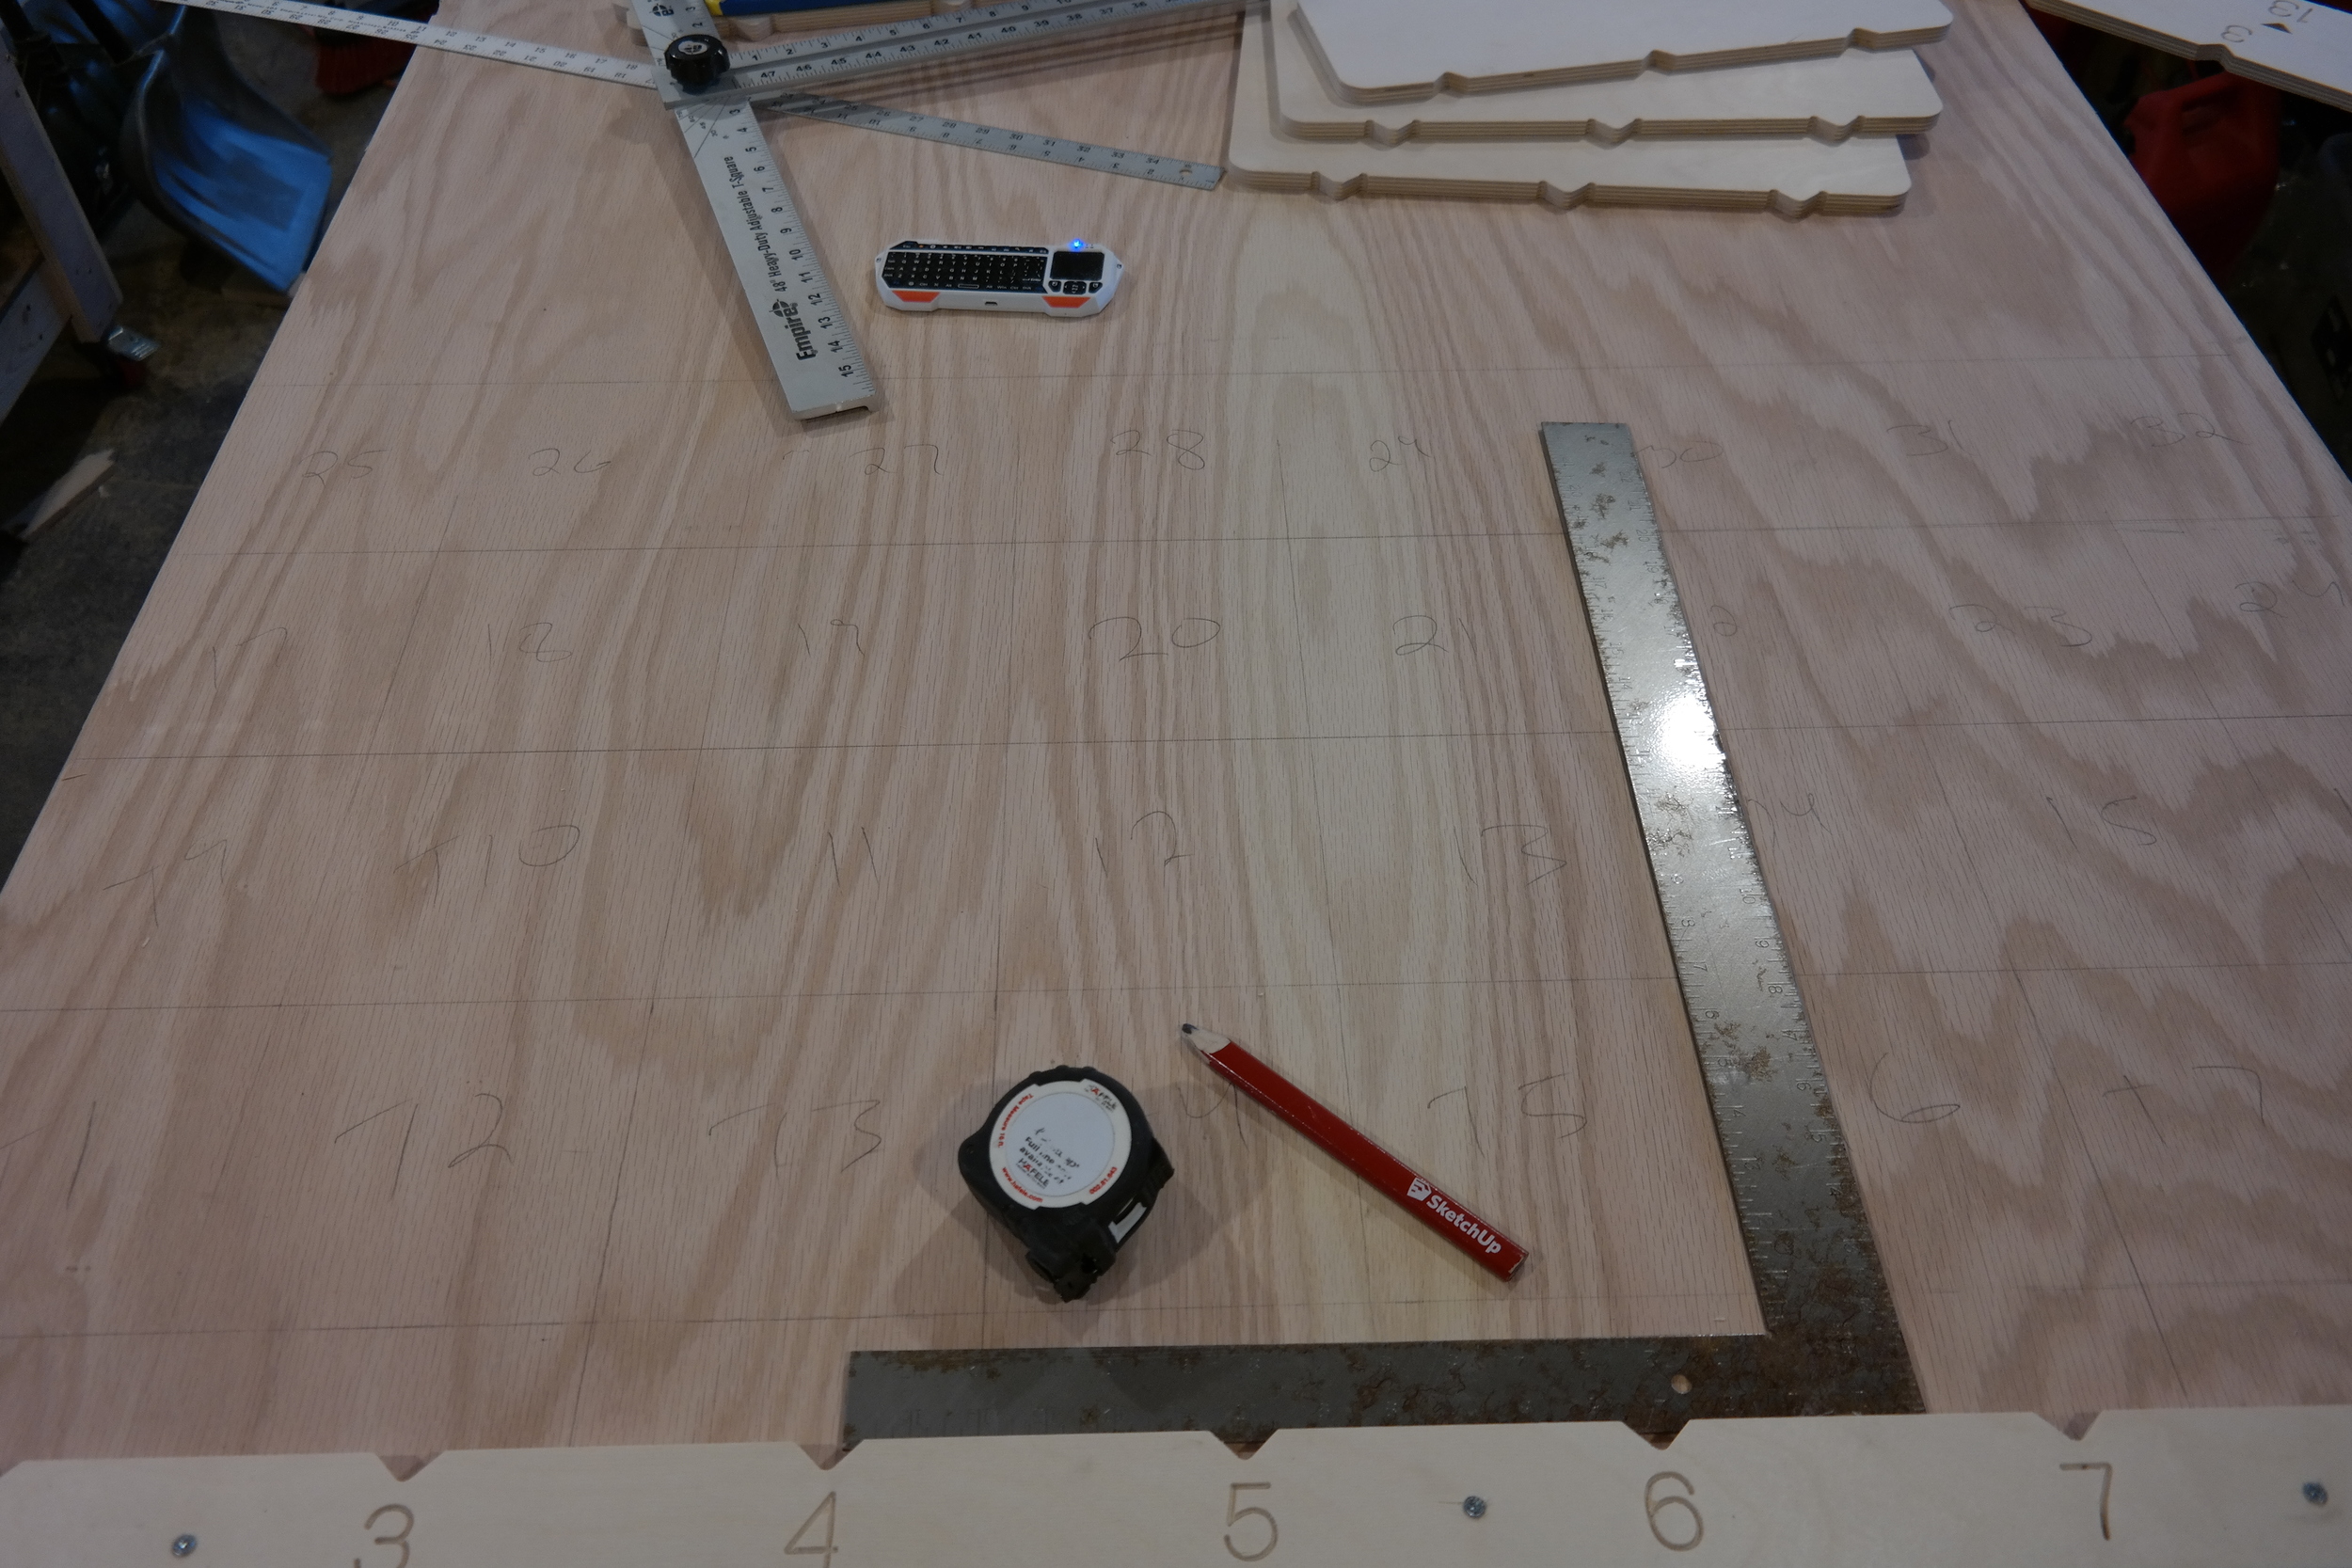
To make sure I was able to keep track of the tile I was on, I roughly marked them out on the work piece.
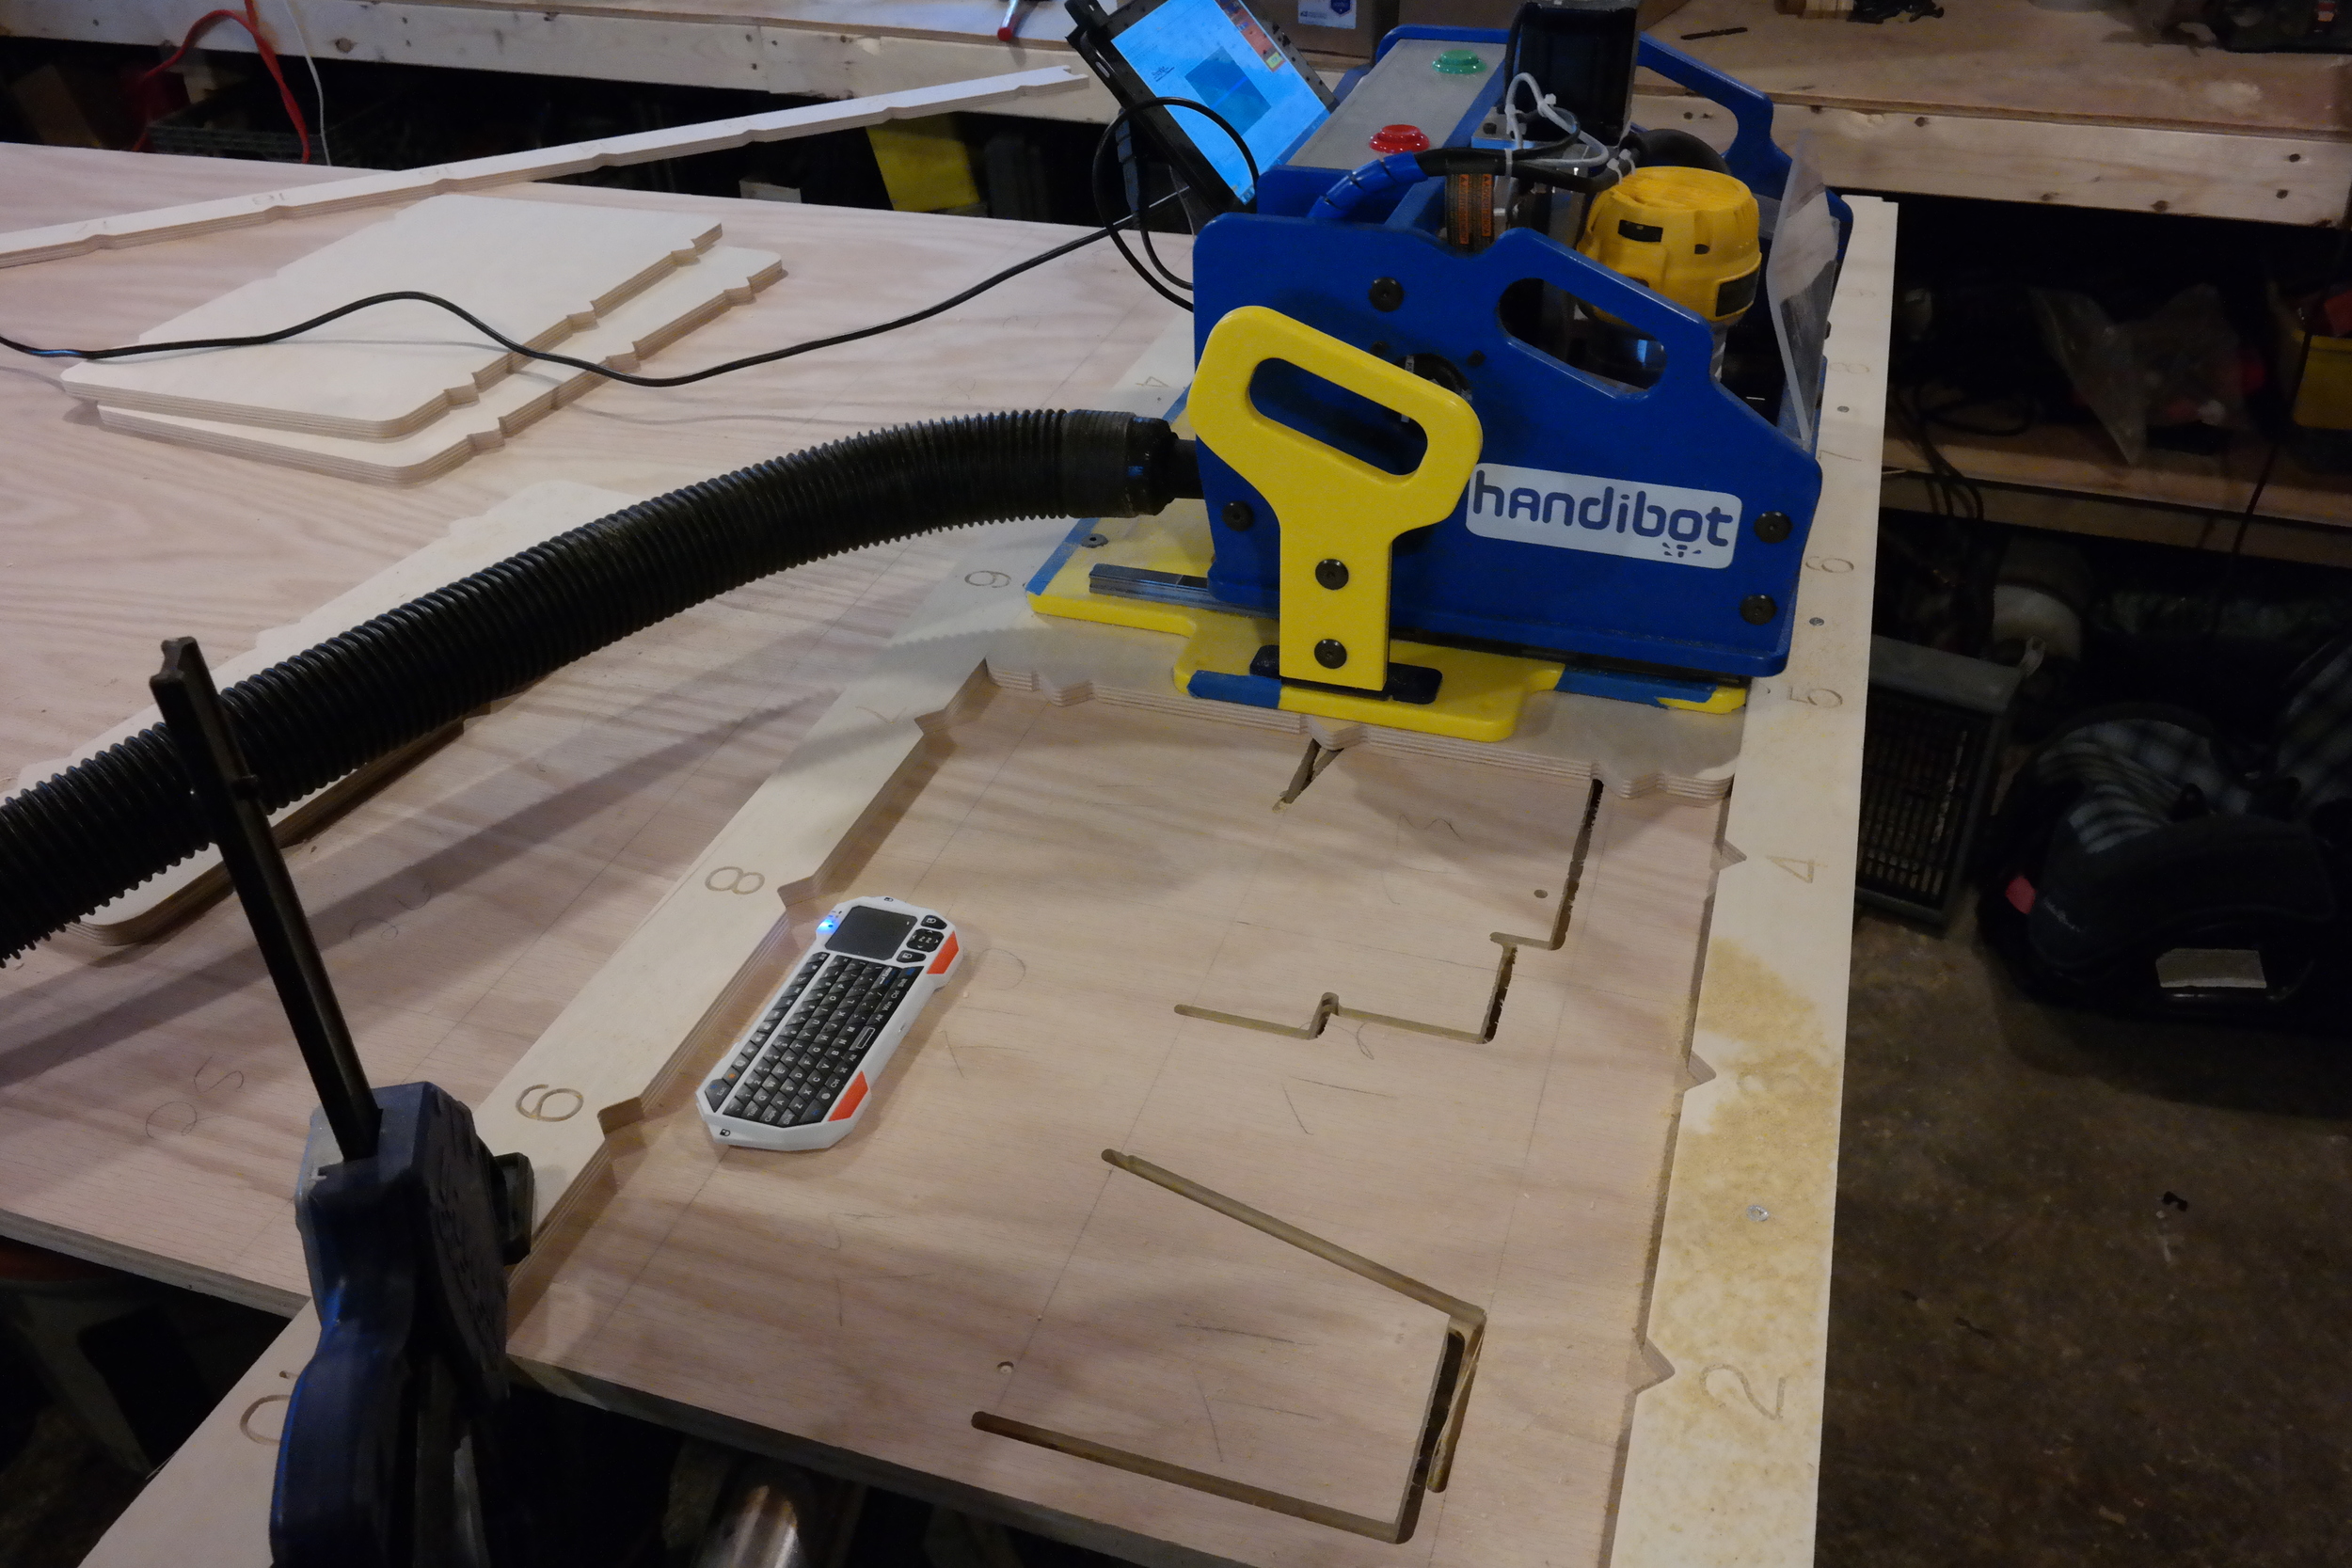

Here I am working my way down the first set of tiles. After each tile I slide the machine down to the next notch (which are numbered) and load up it's corresponding file.

I had to cut 8 tiles across, and 4 tiles up. To get to the next row I used this spacer and worked my way across the second row, loading each file and cutting it.
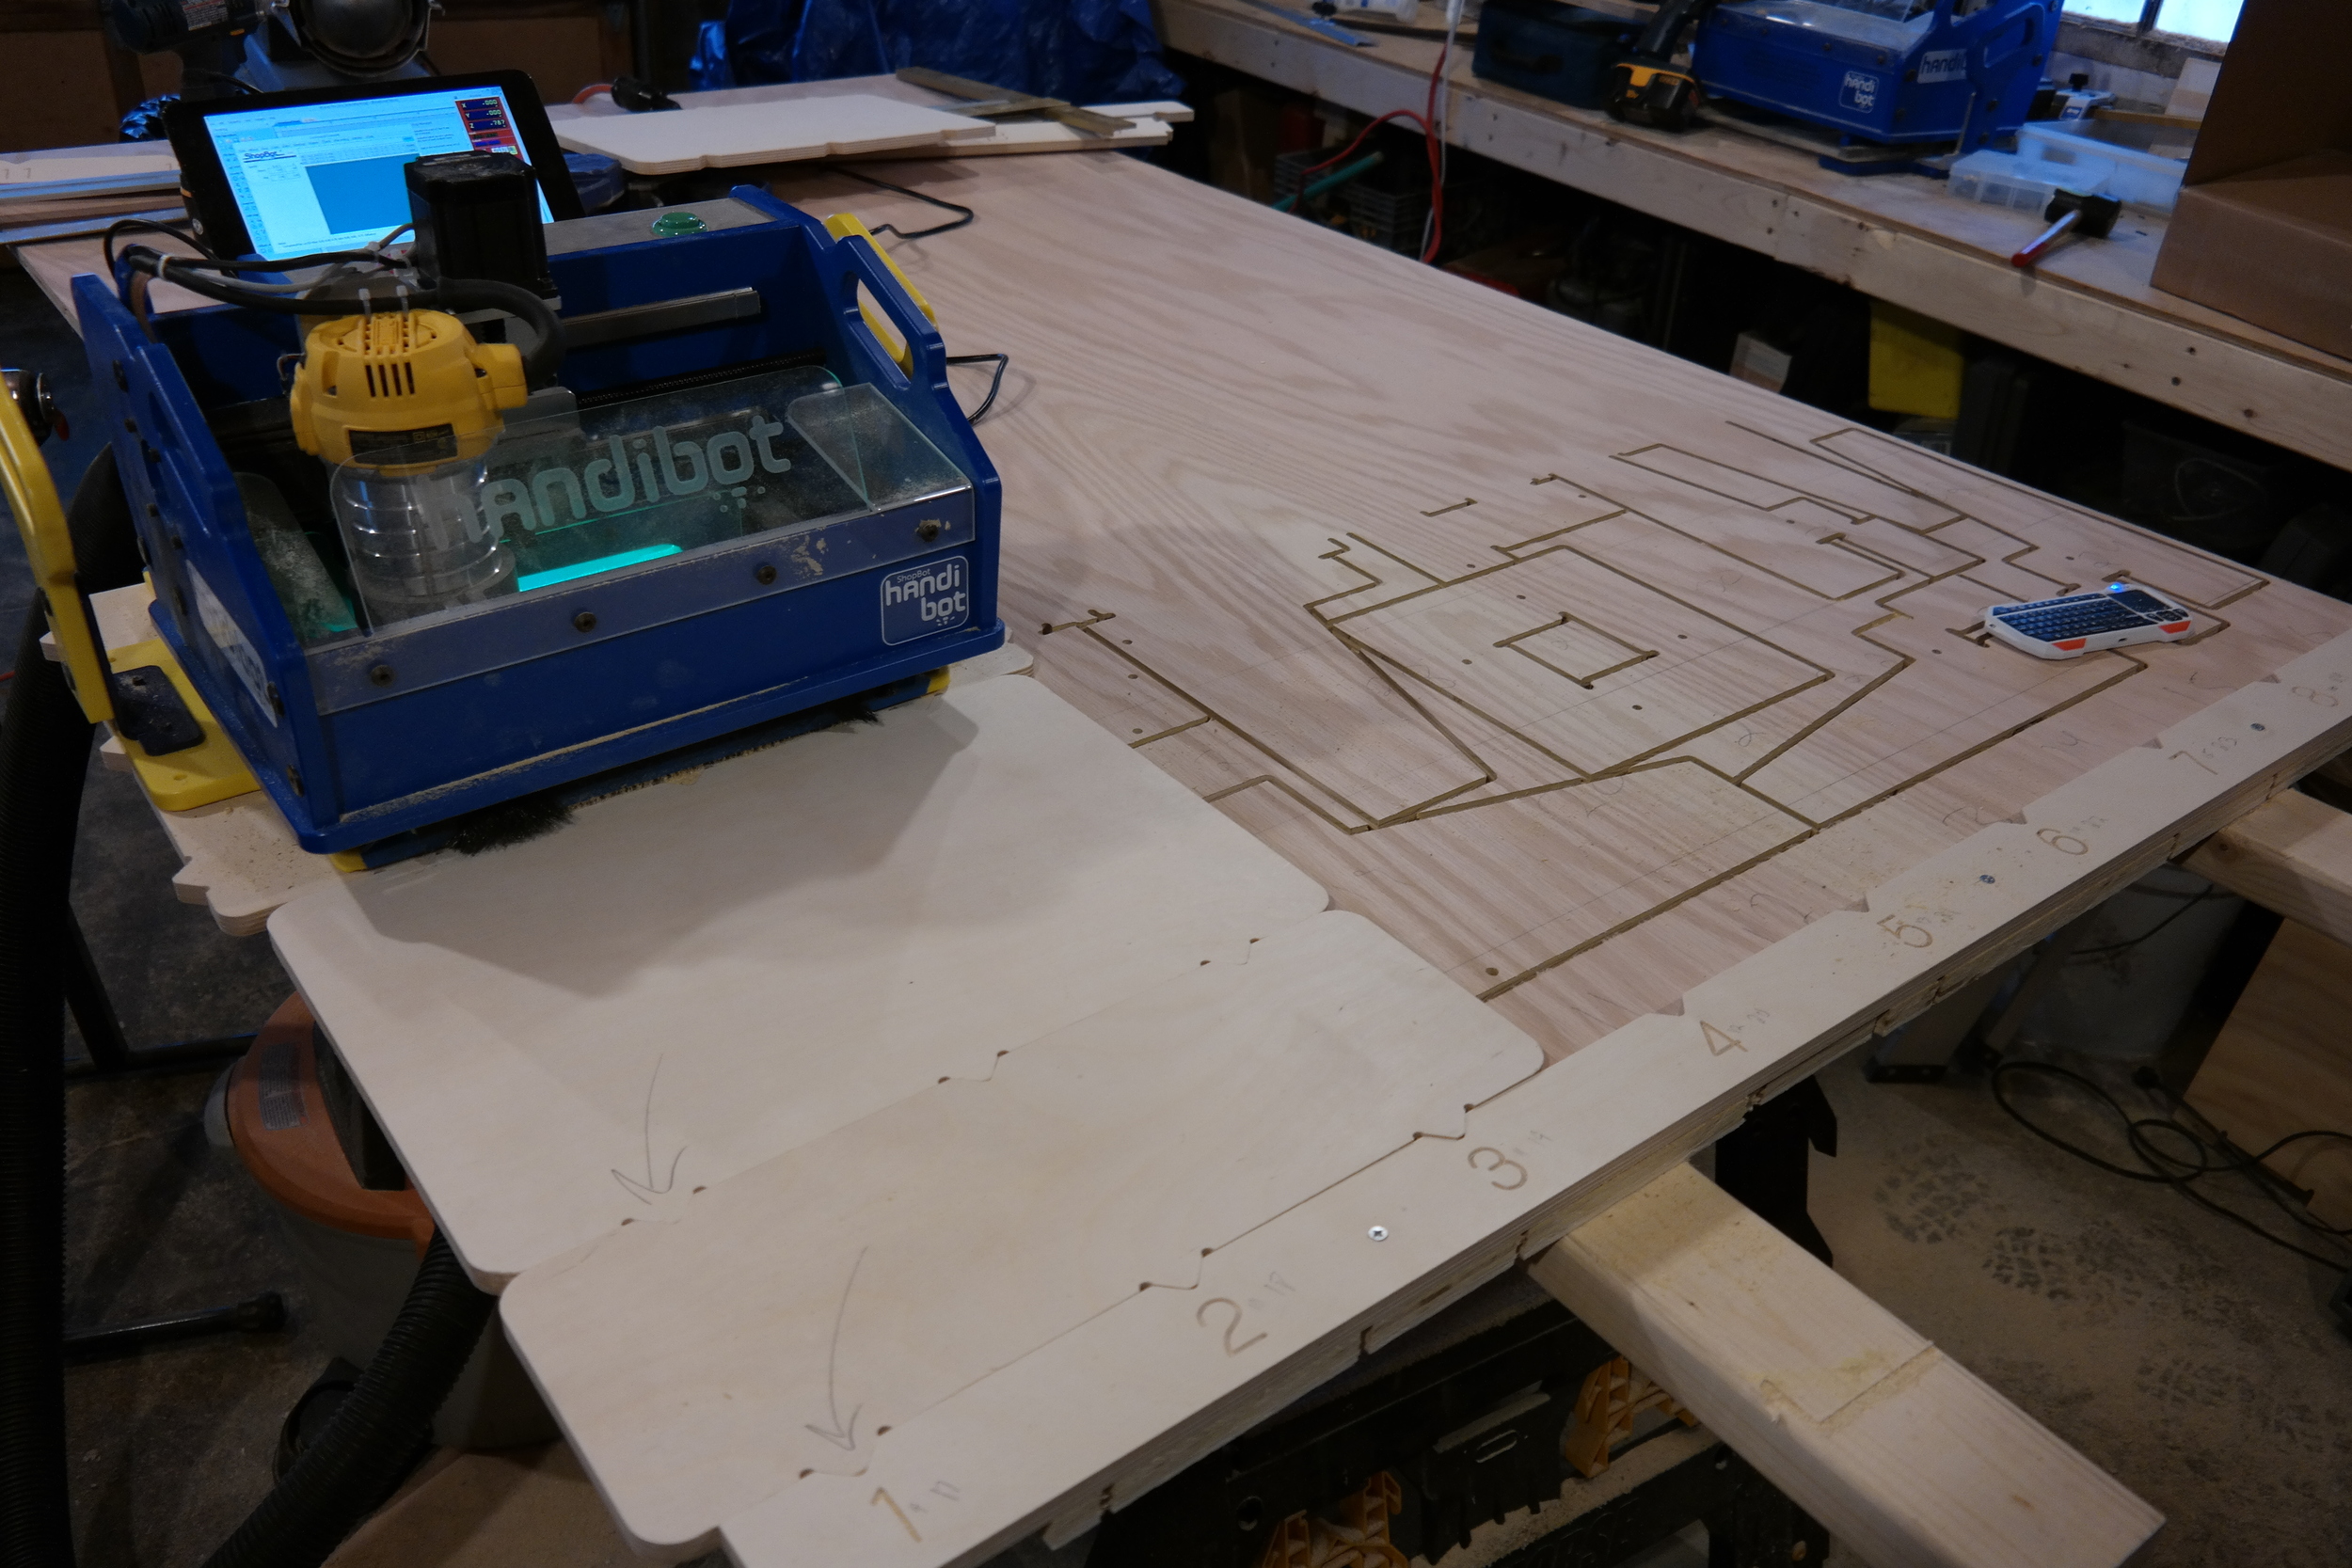
To get to the higher rows, I used more spacers. Each spacer engages into one another with the wedge cutouts.

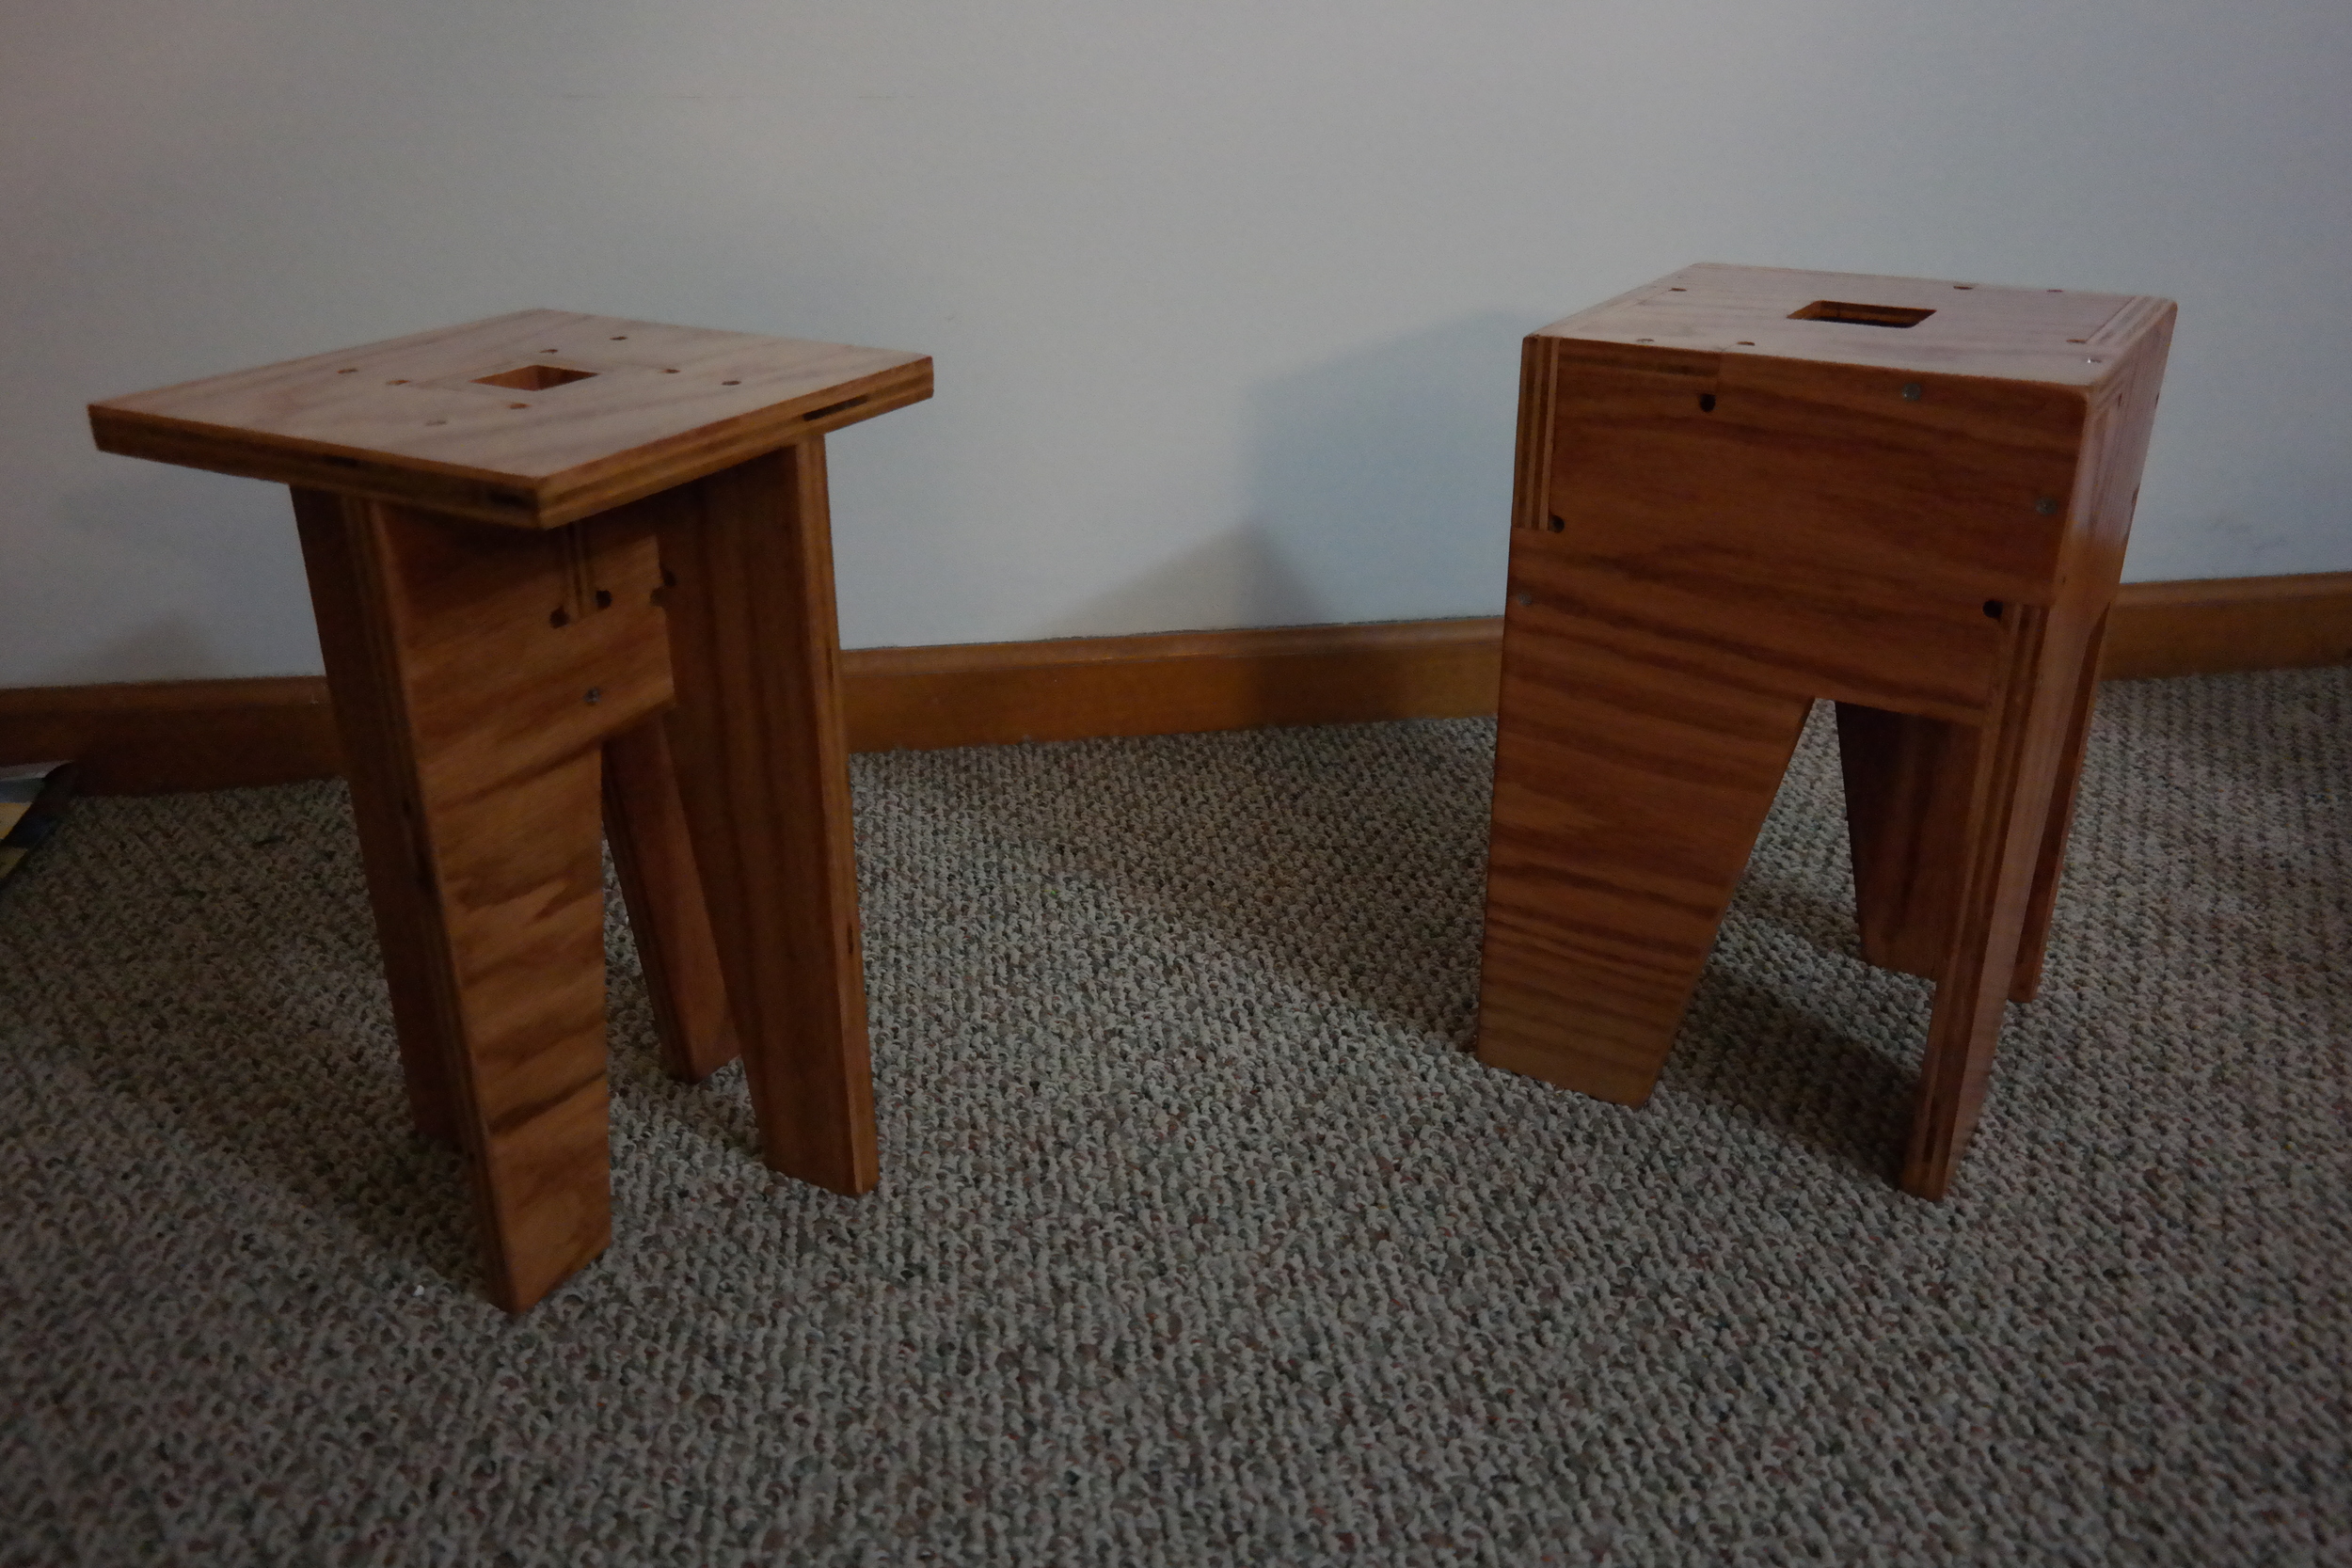
Here are all my parts cutout. Now I just need to snap them out and to a test assembly.
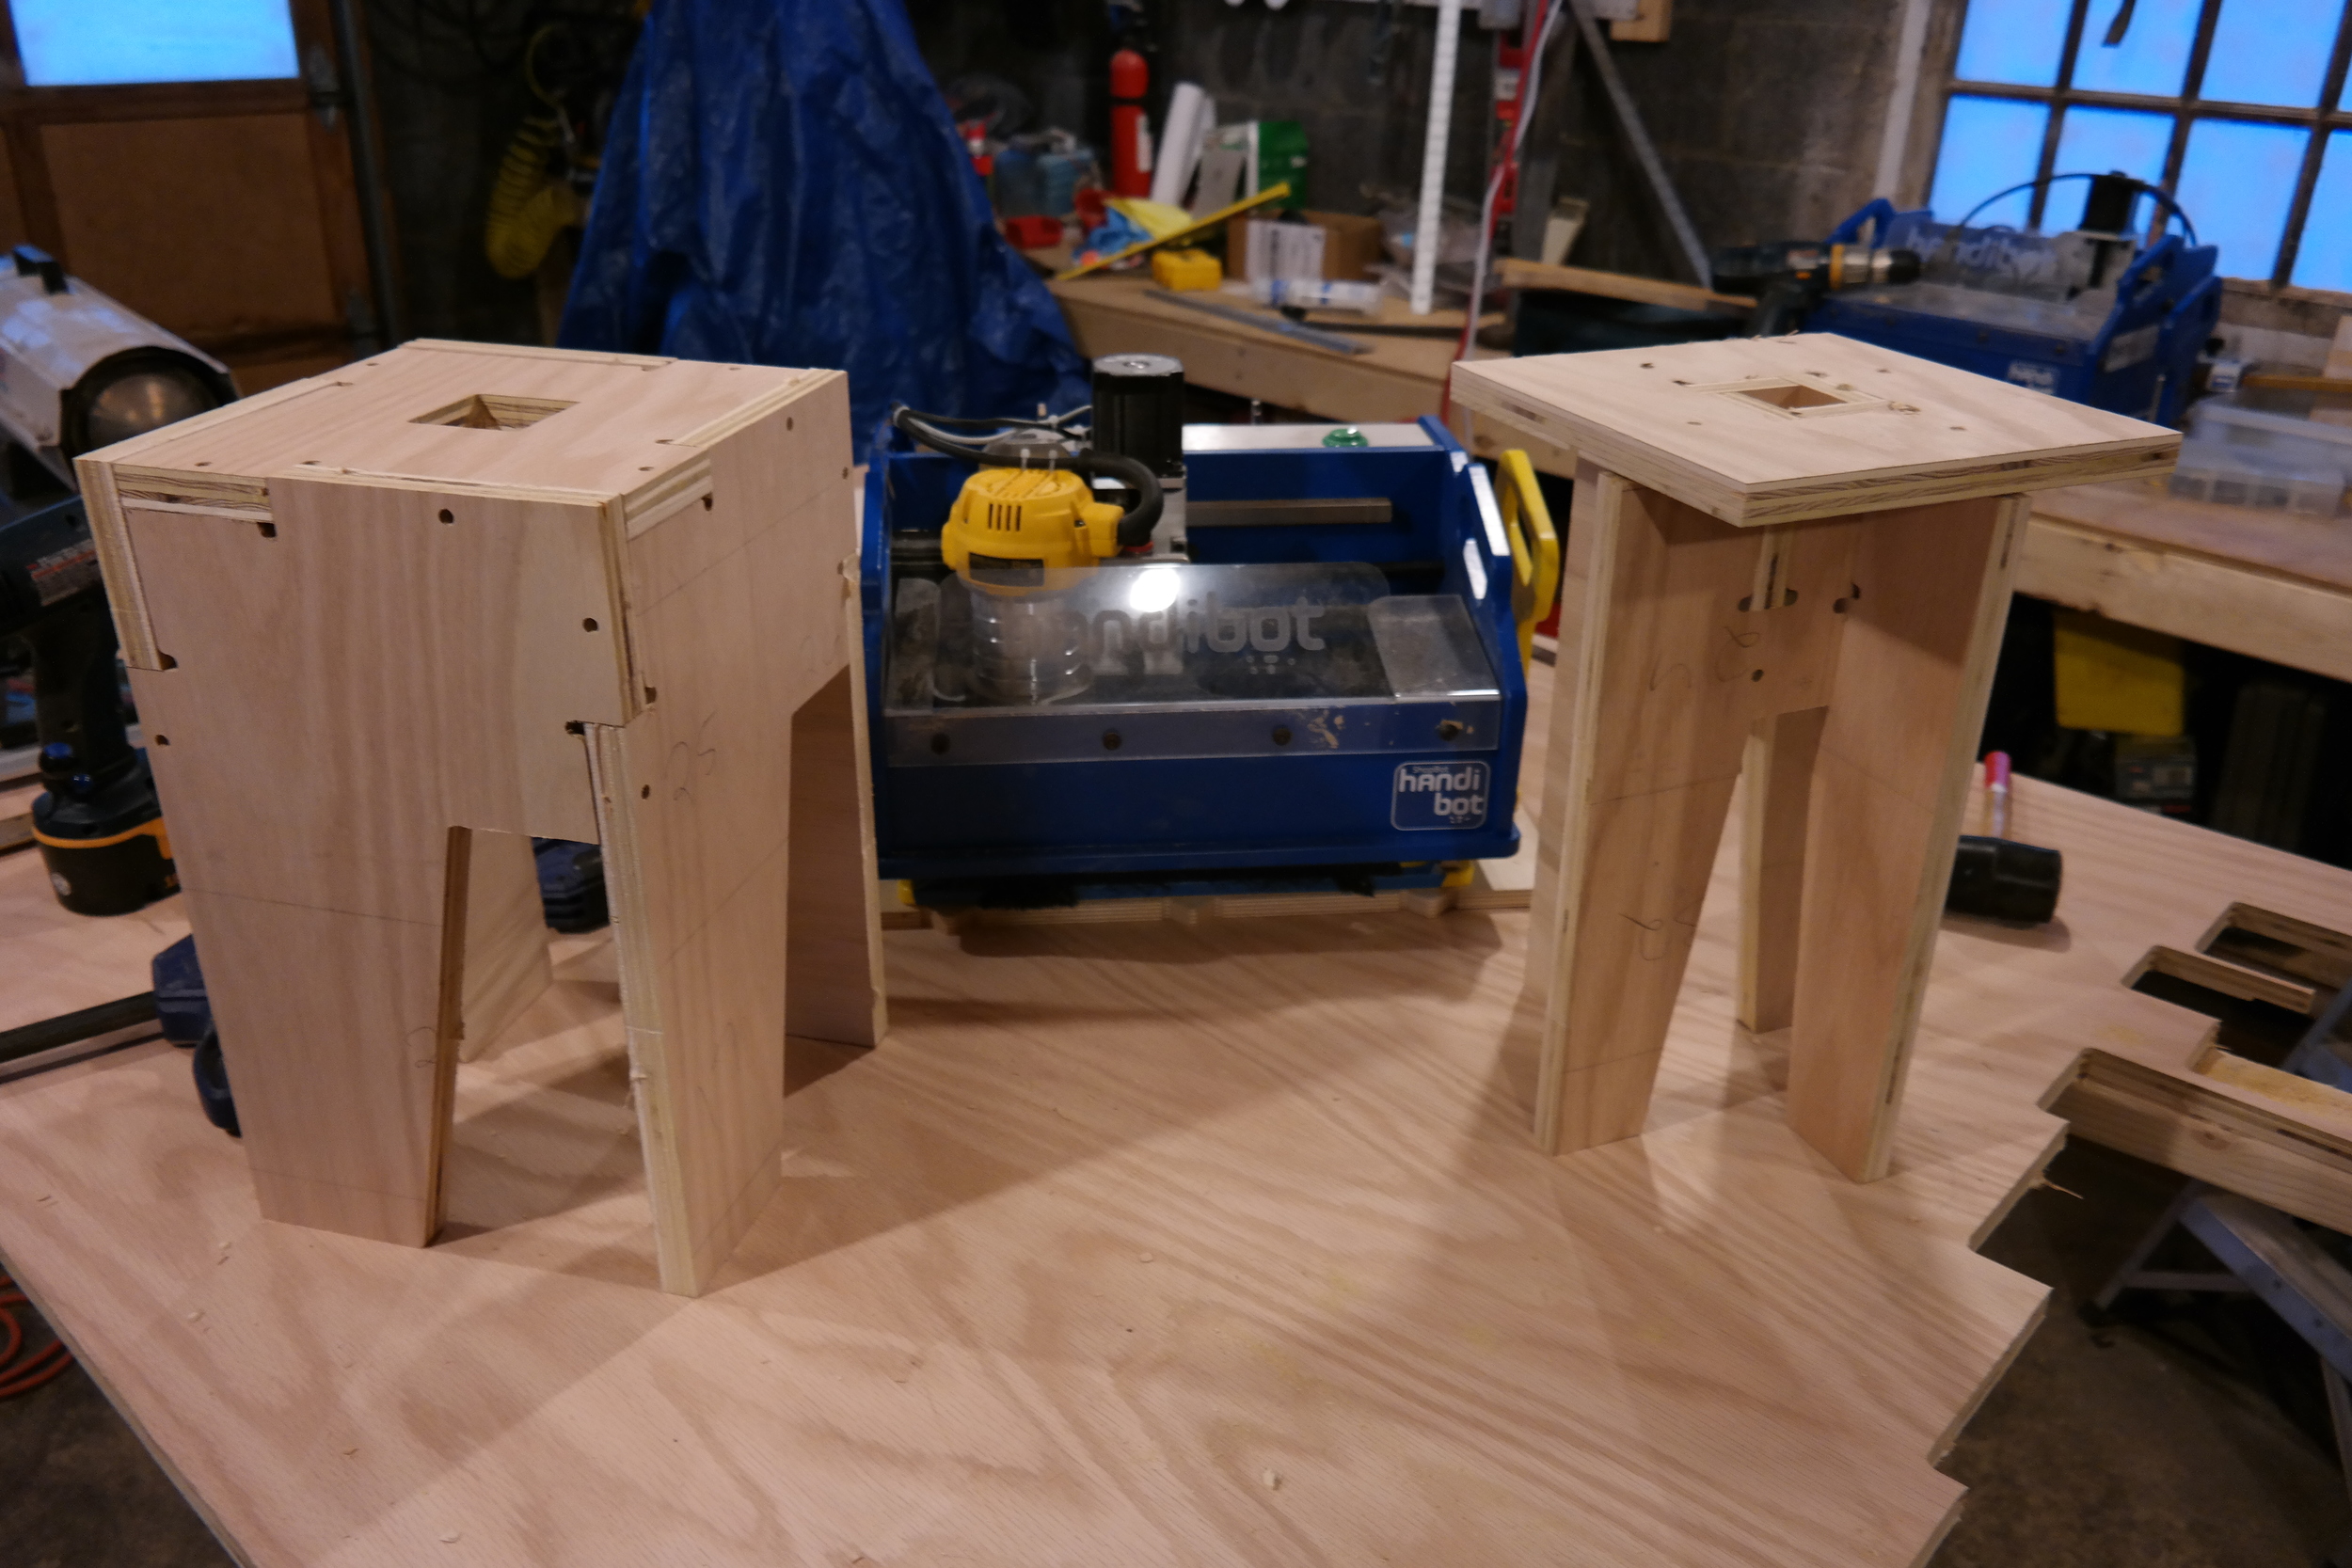
There is the almost finished product. All the parts fit together nicely. In the picture here they aren't bolted together at all. It was about 9 degrees outside when I did this, and I was getting rather cold. I'm going to thaw out my toes and head back tomorrow to sand these down, assemble and paint them.
This is the kind of woodworking I can get into. Having these jigs attached to the Handibot really unlocks it's potential. I get a full size CNC when I need it, and for all the other times I can carry it to wherever I need it. This is the future of digital fabrication and it's AWESOME.
UPDATE:
Here's the final product: